DIY Spring Art Decor
I wanted some spring art decor for behind our couch so I thought I would do a little DIY project!
If you are looking for another spring DIY project, check out this hanging floral garland.
This DIY spring art decor is fun and whimsical for the season and can be made to fit any color scheme you choose!

I made this simple Spring art decor in about an hour so it’s super quick to make! It gives our living room a fresh new look for Spring which is always welcoming after the cold winter months.
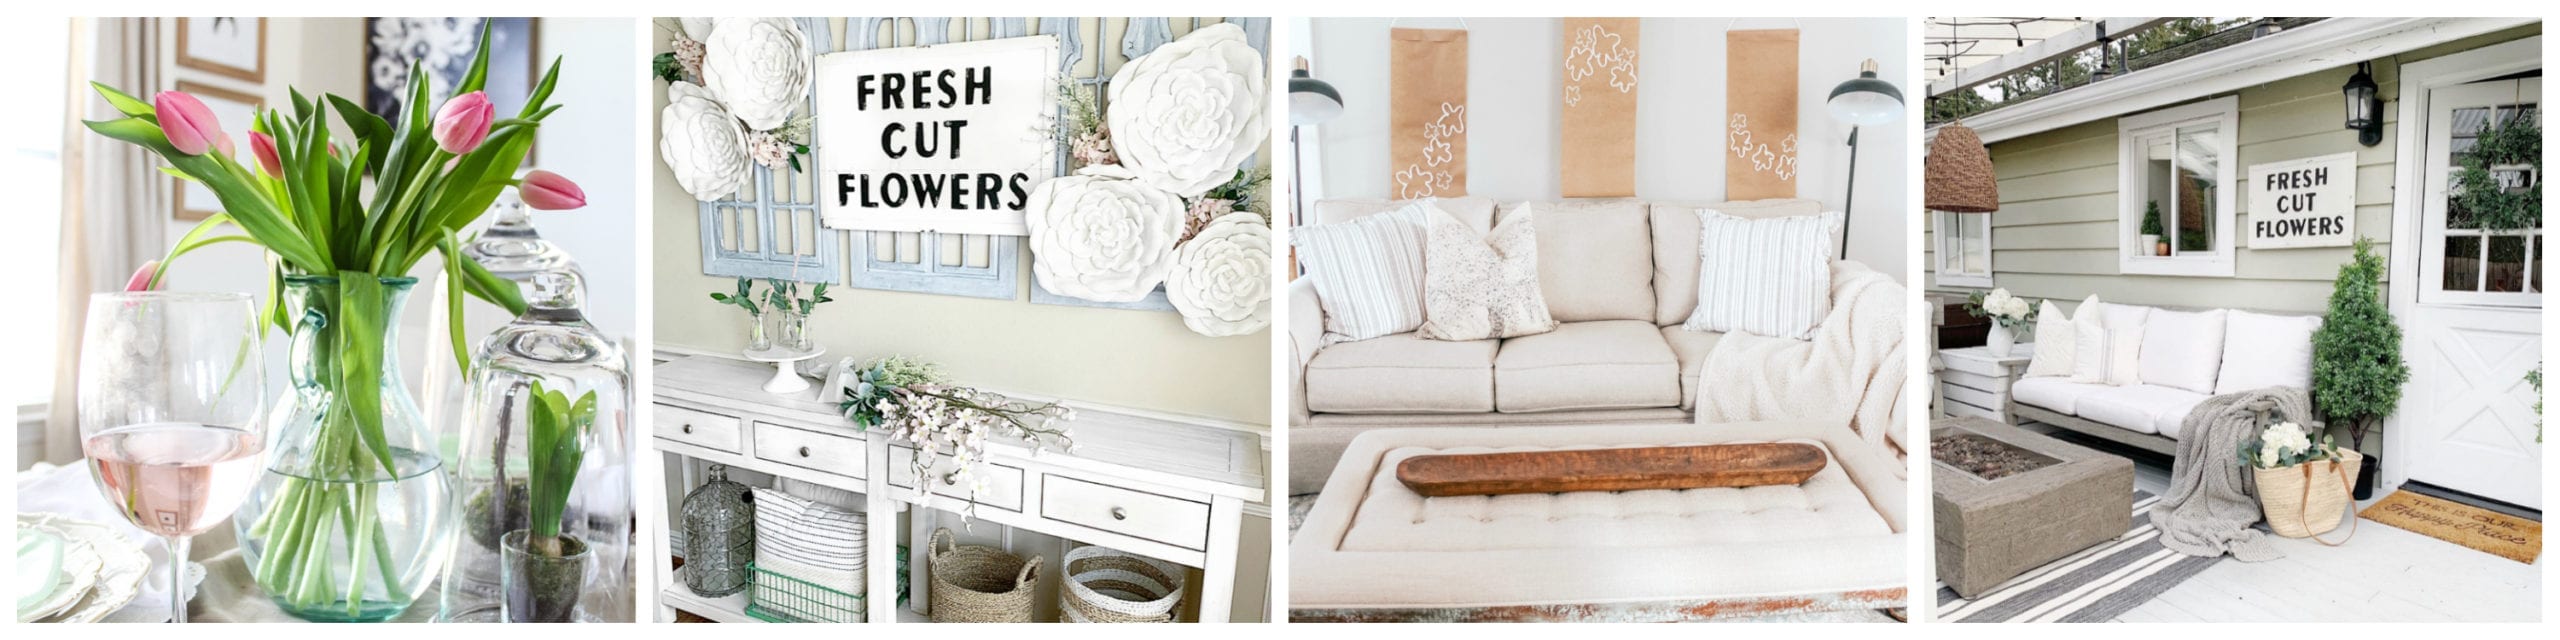
I am so excited to be a part of this Spring blog hop hosted by Kelly, The Tattered Pew! Each of the ladies will be sharing some spring inspiration with you so be sure to check them out at the bottom of the post! If you are hopping over from, Bethany, Crisp Collective—WELCOME! I love Bethany’s ideas for spring!
DIY HOME DECOR
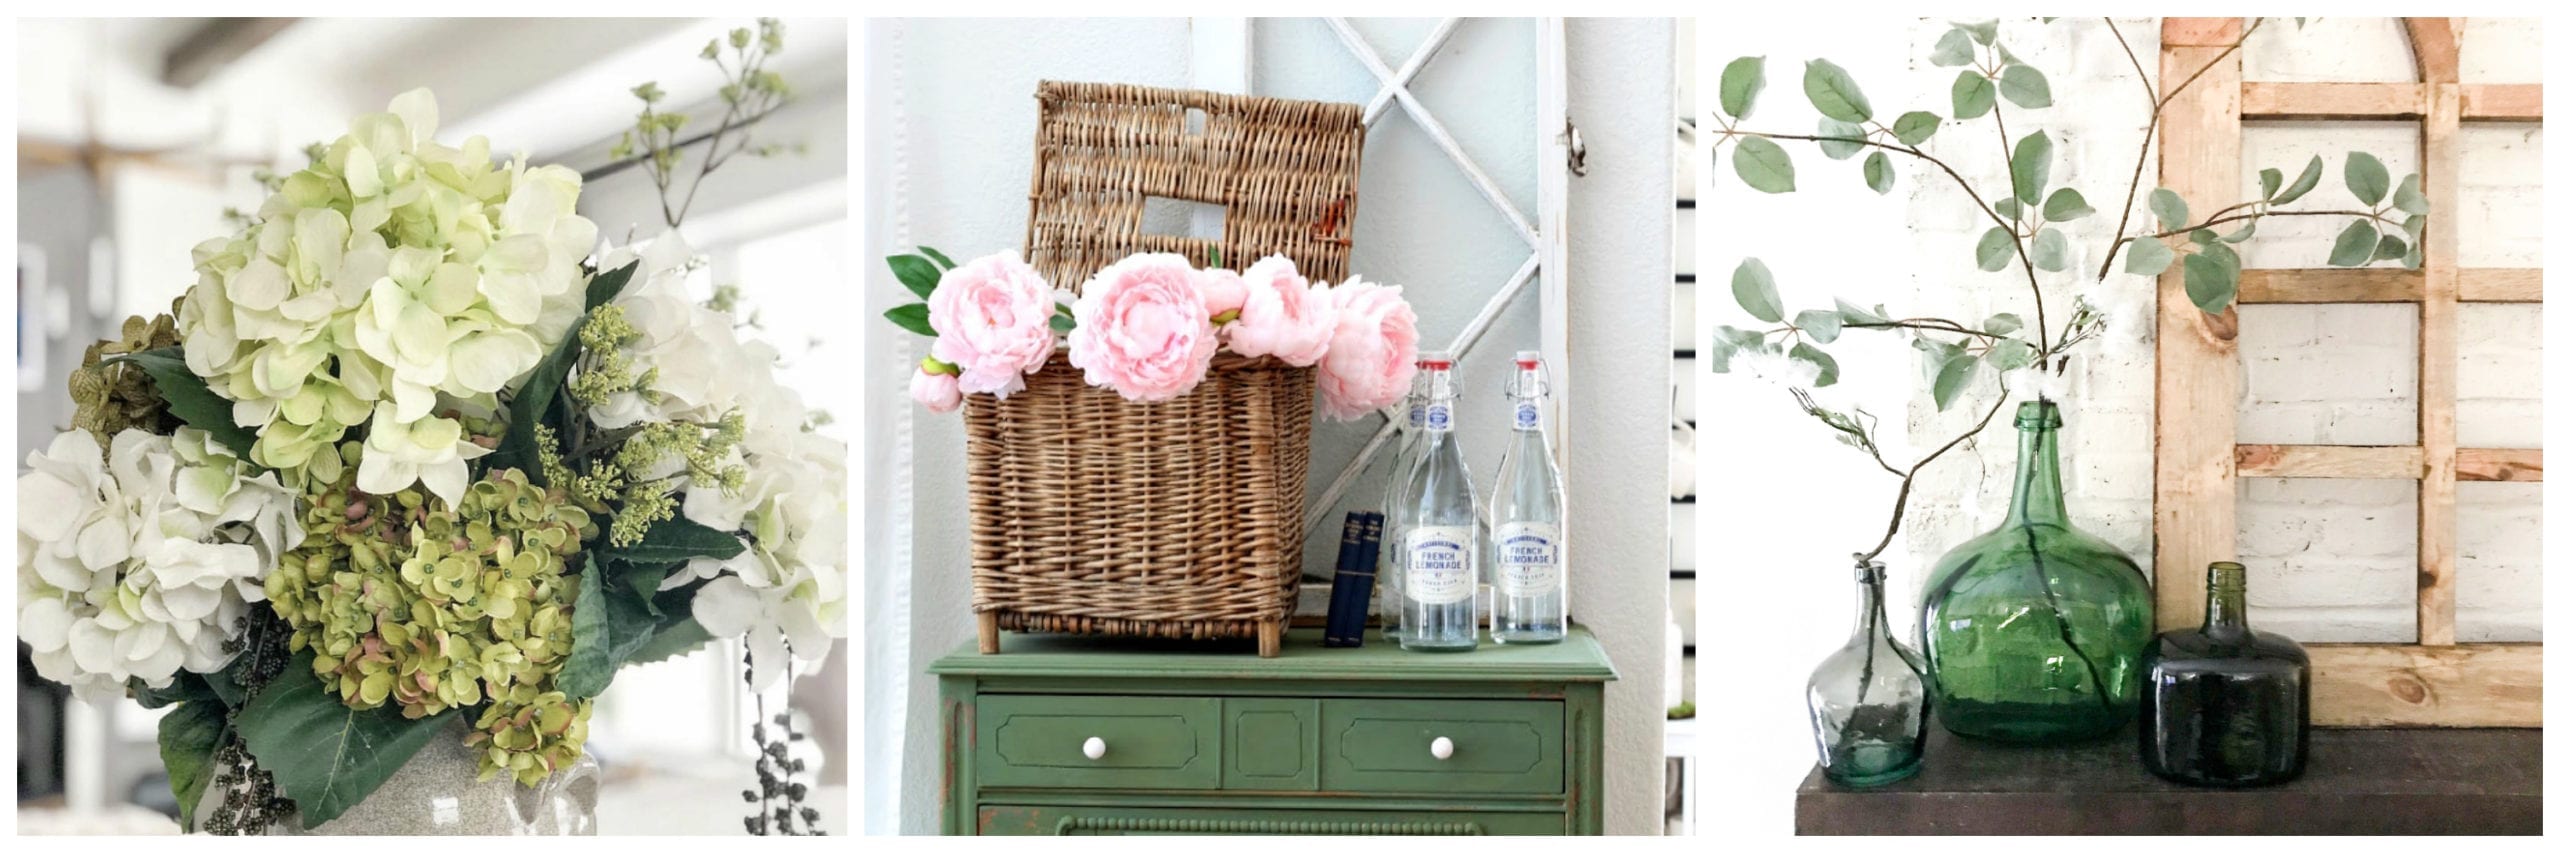
Spring means rebirth and renewal so I like to reflect that a bit in my decorating ideas for the season! I love to to do a little DIY home decor project every once in a while to get the creativity flowing!
This DIY spring art was a relaxing project to complete and added some new decor to our home!

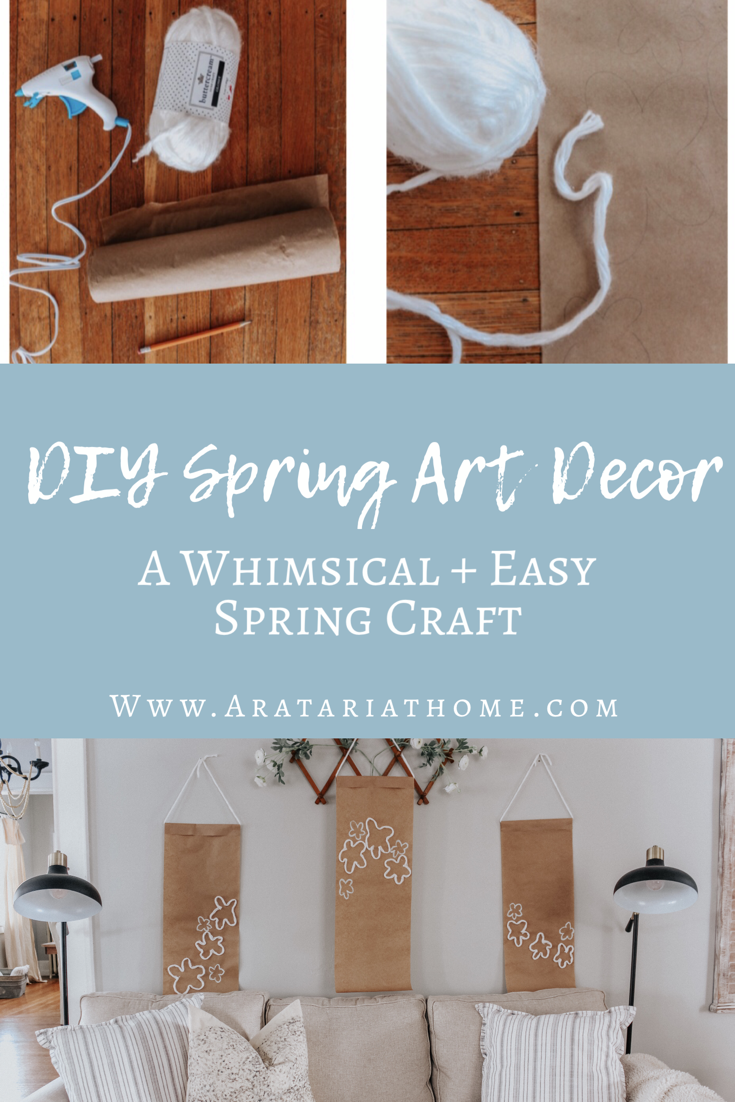
SUPPLIES FOR DIY SPRING ART DECOR
Paint ( I decided to paint the smaller flowers after I had finished all the other flowers)
Scissors


DIRECTIONS
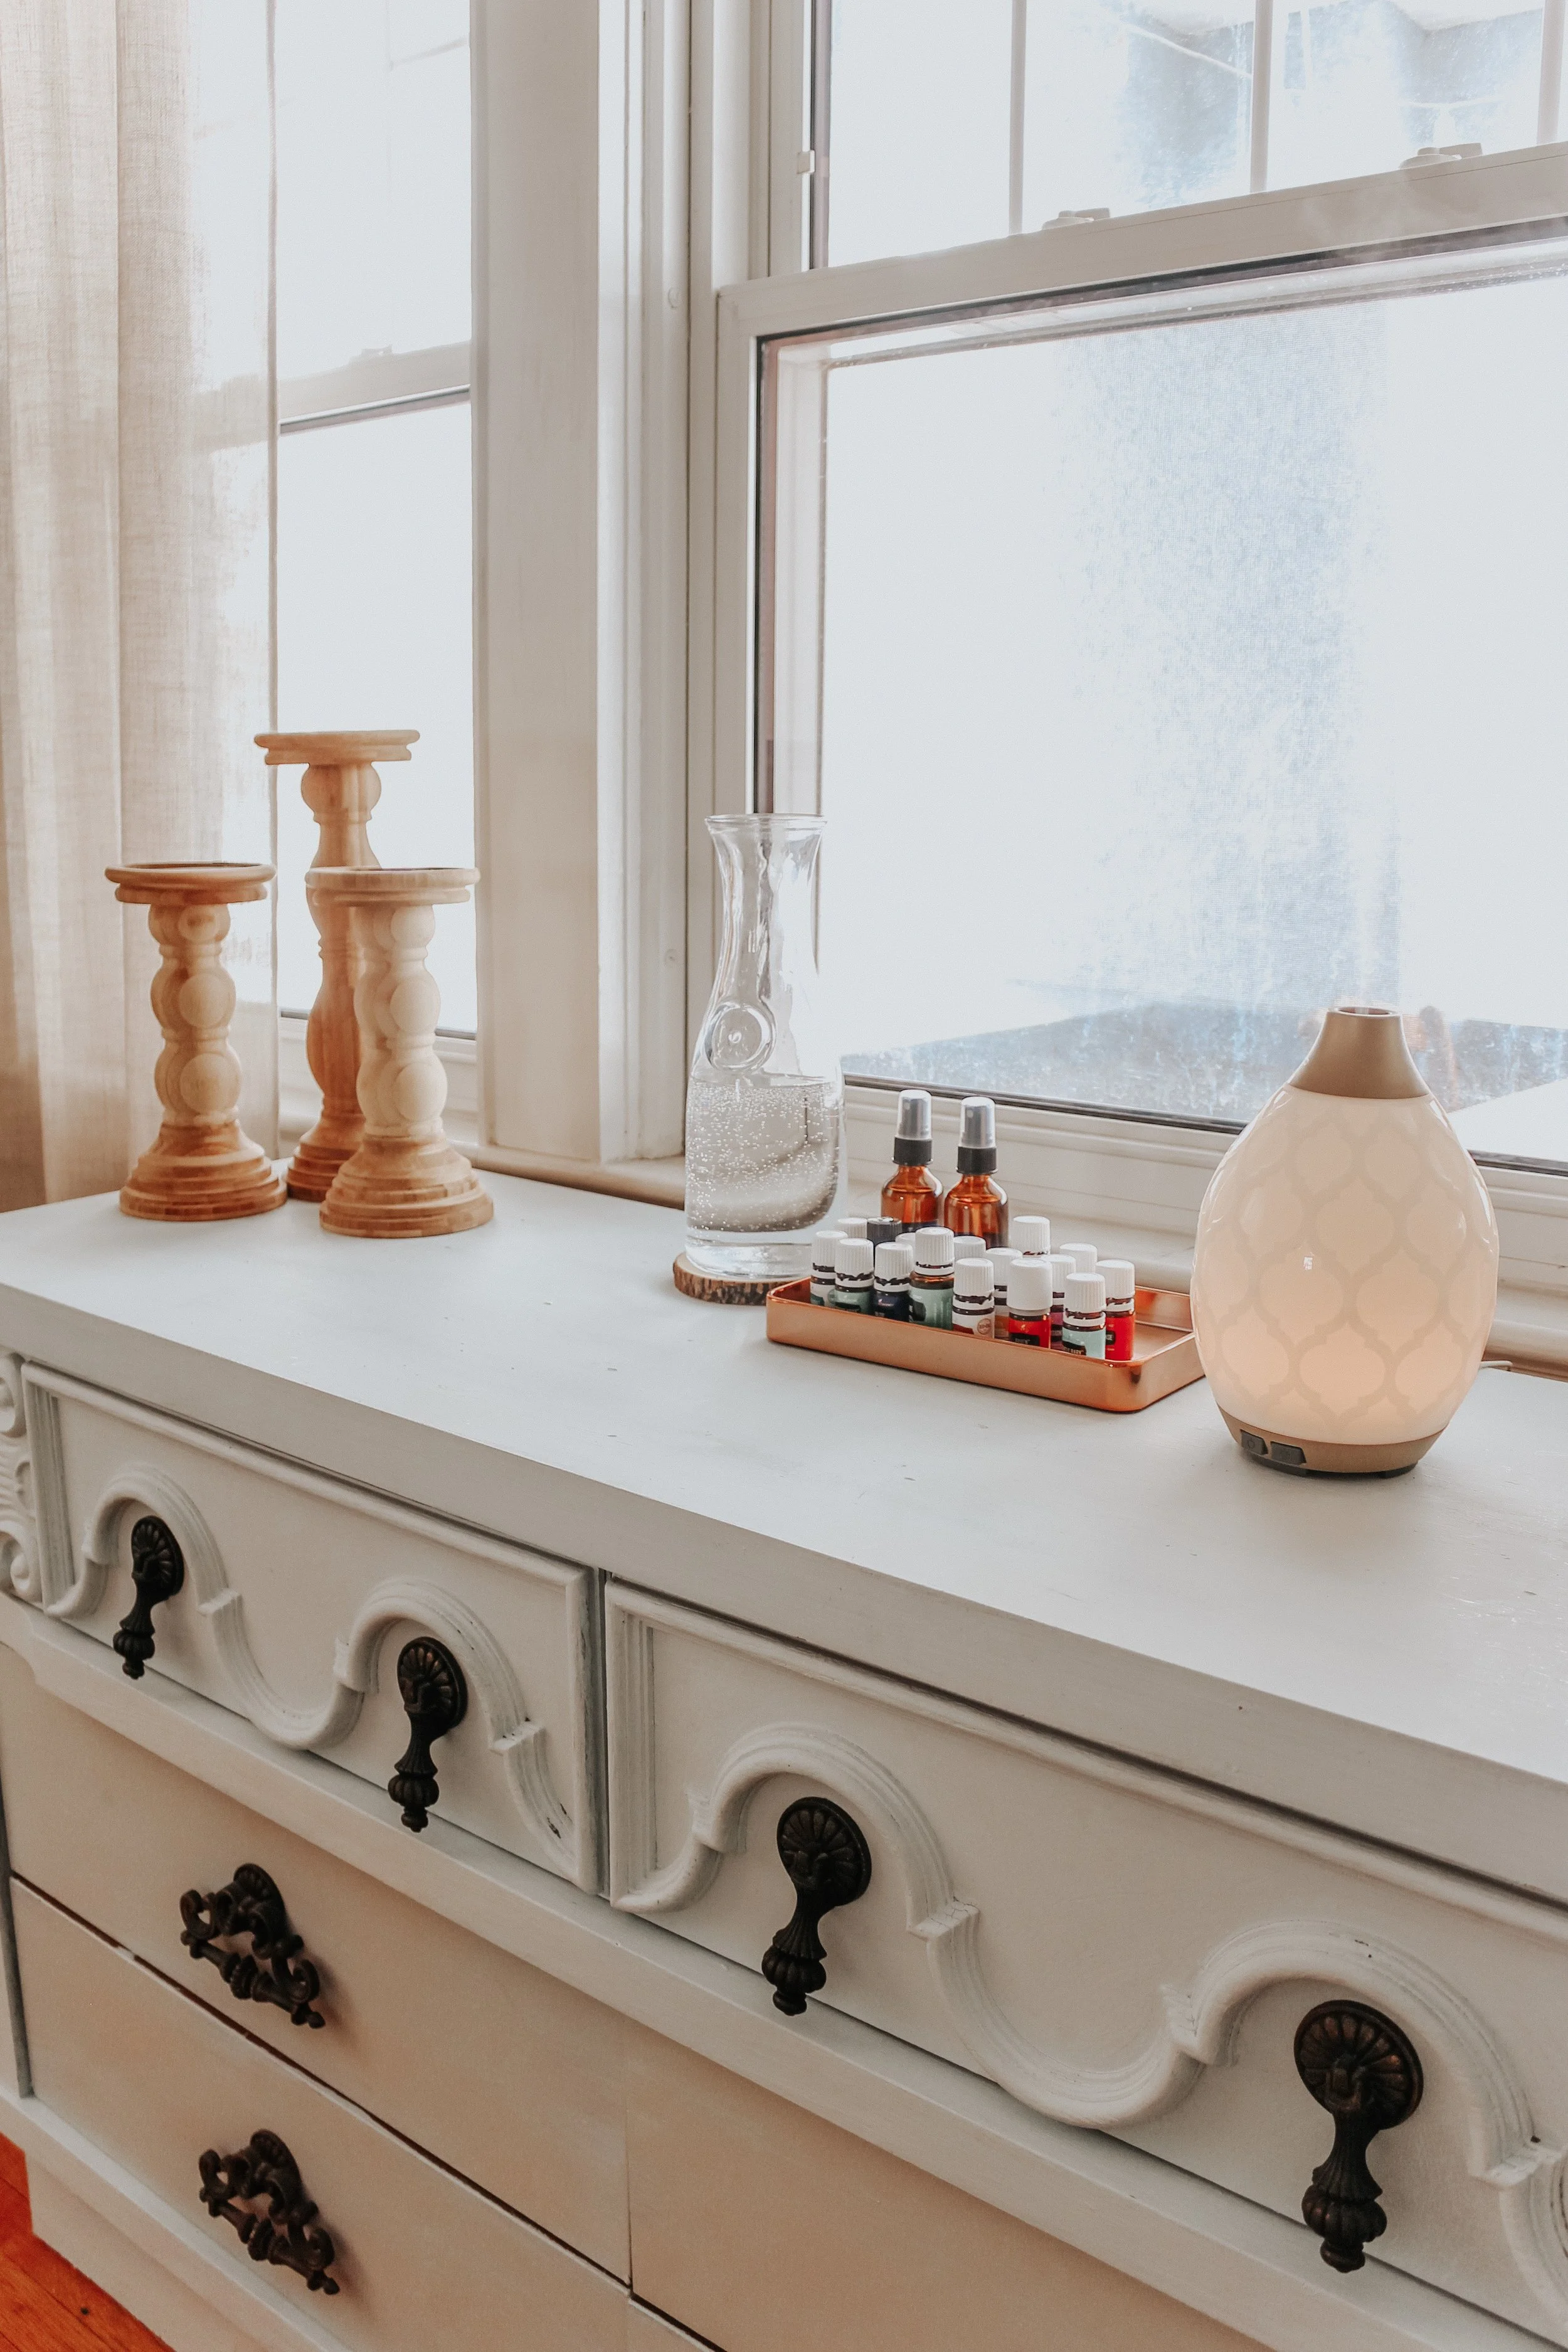
Decide on how many pieces of art decor you want, I chose to do 3, and cut them all to be the length desired
Using a pencil, sketch out the design of the flowers. I wanted to create a cascading and flowing look so I started on the bottom left, went up to the top, then back down to the right.
Starting with one petal at a time, outline the pencil lines with the hot glue and place the yarn on top of the hot glue. Work quickly so the hot glue doesn’t dry. This is why I recommend only doing 1 petal at a time so that you have time to get the yarn placed correctly.
Finish the whole flower and then cut the end of the yarn and hot glue the end down so it stays in place.
Repeat steps 3-4 on all of your flowers.
Paint the smaller flowers, if you want! I liked the mix of the 2 different medias so that is why I chose to paint some and use yarn on some.
Fold the top down about 1-2 inches depending on how thick you want the top to look.
Cut the yarn to the desired length for hanging and place under the folded craft paper. Tie the yarn at the top so that you can hang it.
Hot glue the folded down craft paper to hold the yarn in place.
Hang your DIY Spring art decor and ENJOY :)
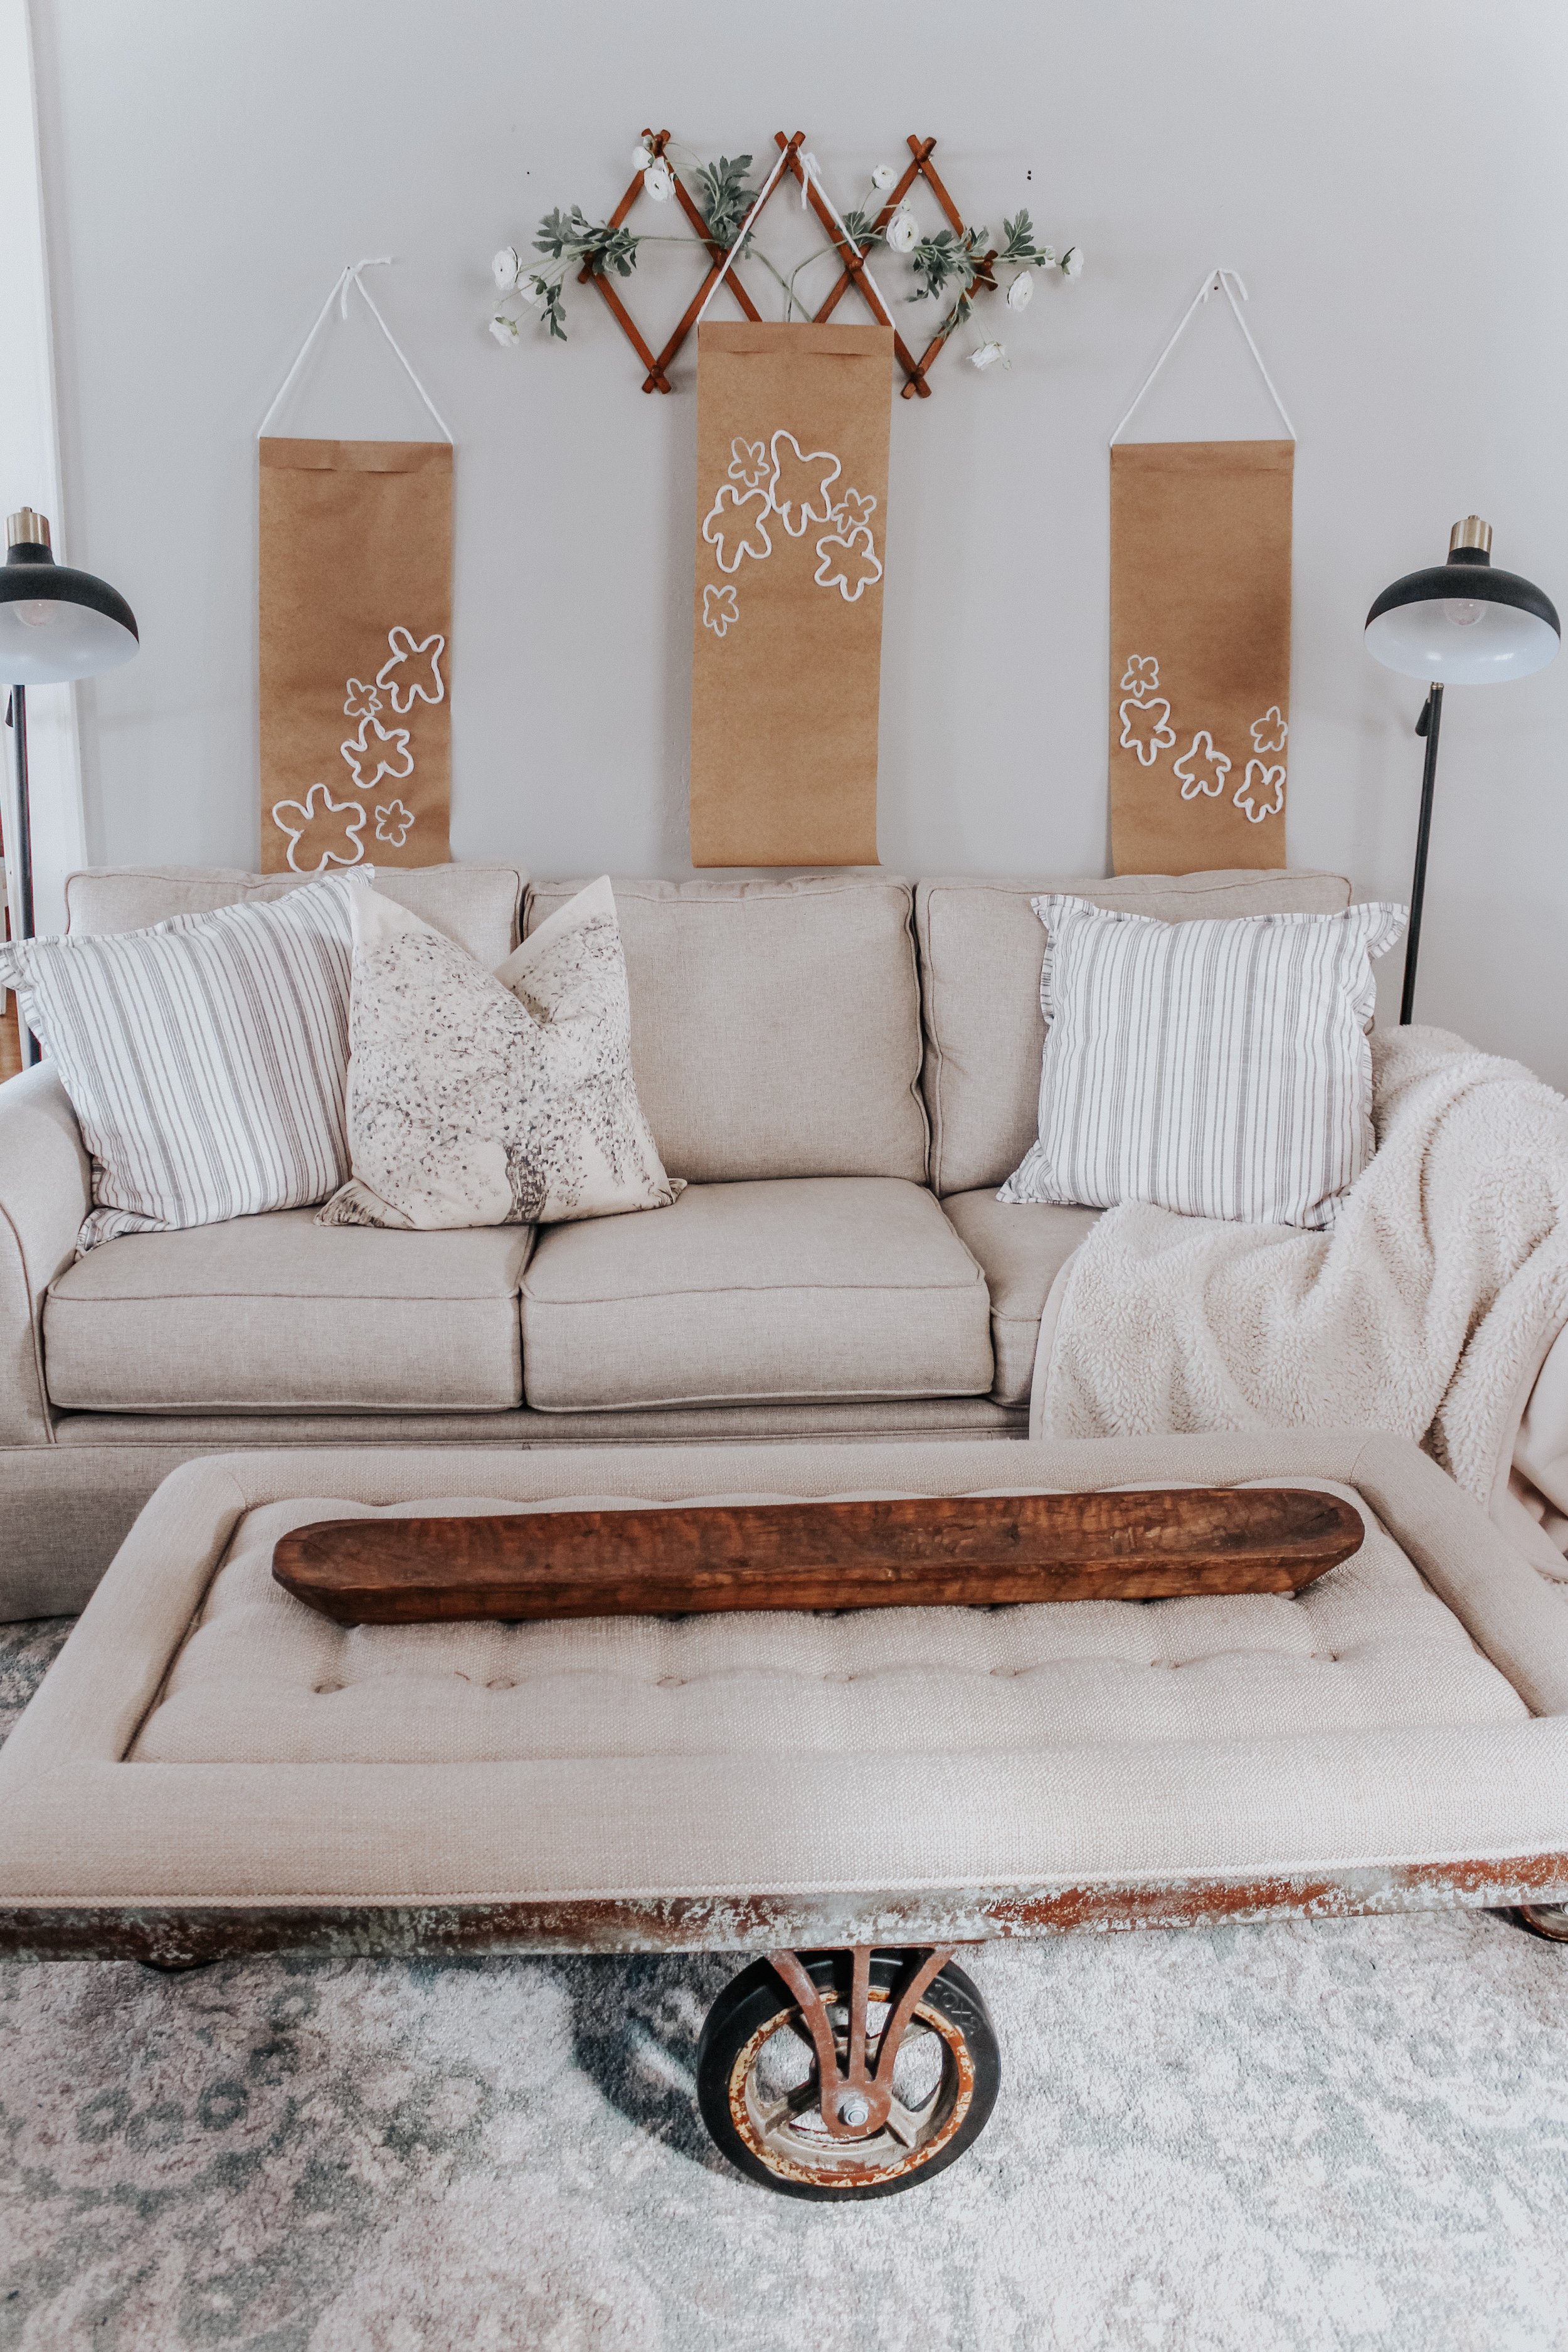
This DIY project can easily be done to fit any style. You can change the color of the paint, the yarn type, use different paper, etc! I love how versatile it can be!
I hope this little DIY spring art helps to get your creative juices flowing too! I think we are all ready for some continuous Spring weather, so hopefully this ushers in the Spring decorating vibes to your home!
I would love to see your DIY spring art decor if you decide to try this out so please send me photos :)
Now, next on this little hop is Sarah, Dreaming of Homemaking! Enjoy her beautiful home!
Be sure to check out all these ladies on this spring inspiration tour with me!
Spring Inspiration Blog Hop
A Blue Nest / Crisp Collective / Aratari at Home / Dreaming of Homemaking /
Patina Gray Home & Living / The Tattered Pew / Bless This Nest
Thank you for stopping by the blog!
XO
-LA
*This post contains affiliate links. If you click on these links and purchase something, I make a commission at no additional cost to you. This helps to support my blog, so thank you SO much!*
SAVE THIS POST FOR LATER, PIN IT NOW: