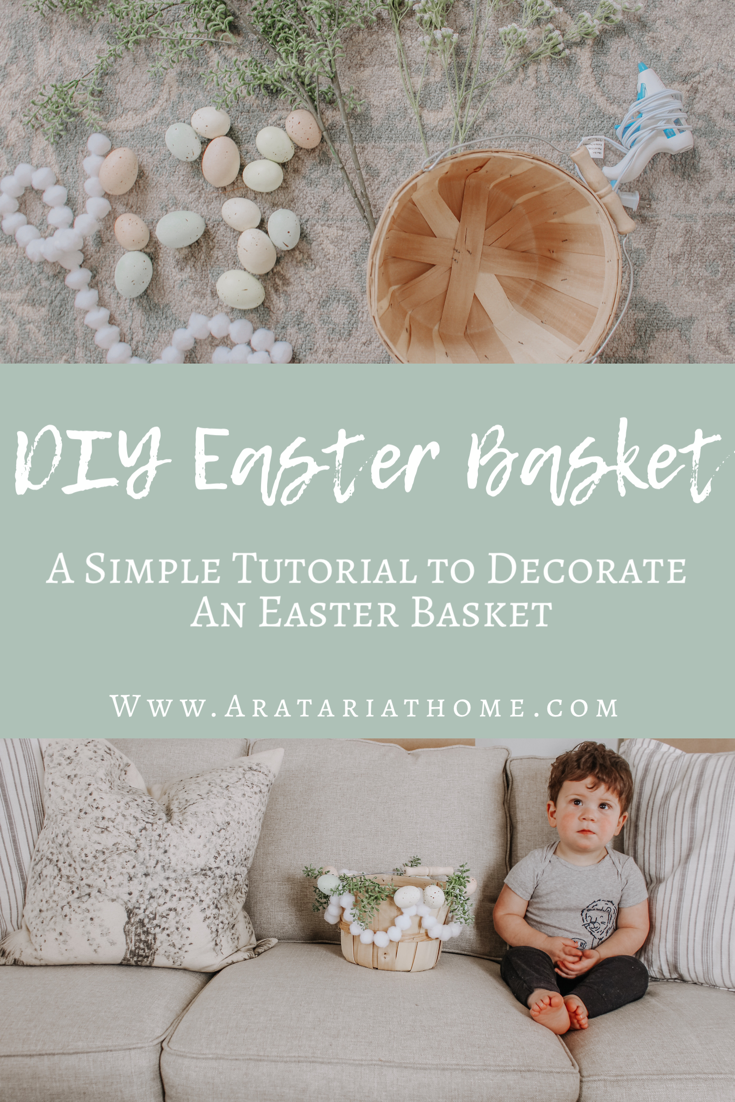
DIY Easter Basket
For Easter this year, I decided to make a really simple DIY basket for Dominic.
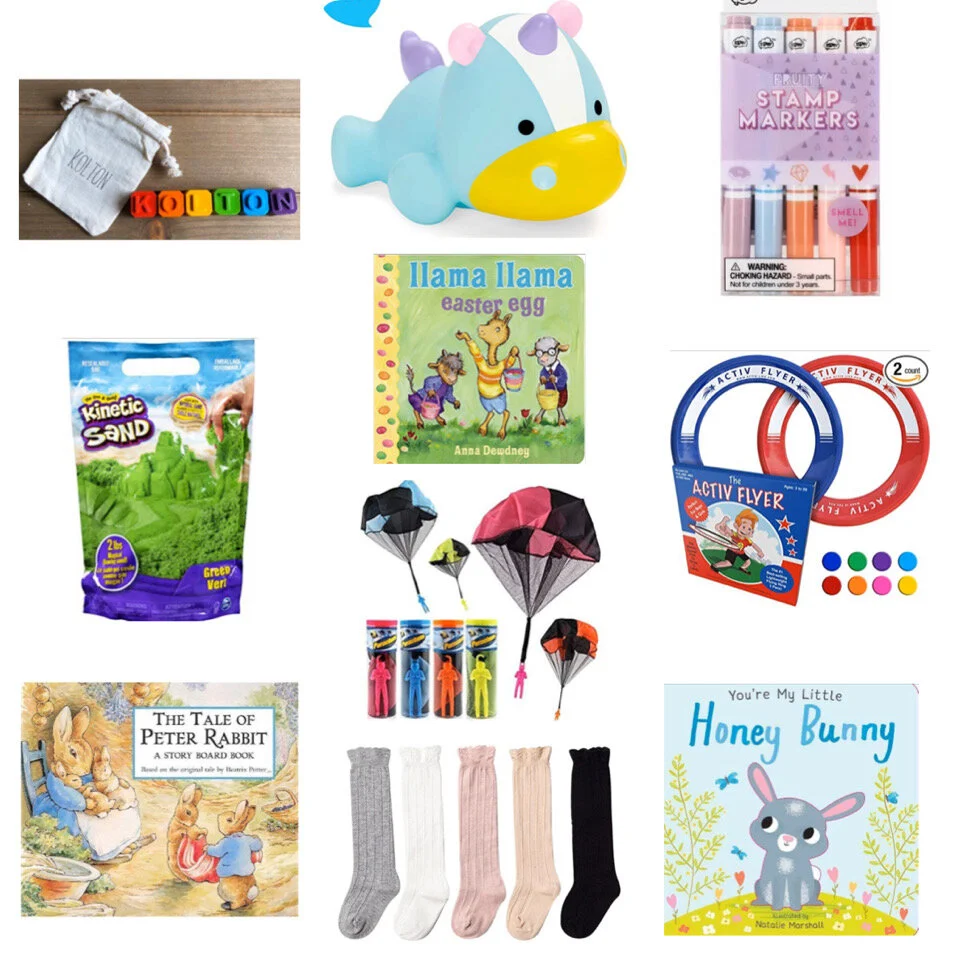
If you are looking for some toddler easter basket filler ideas, check out my finds from Amazon, HERE.
This DIY Easter basket could be made for all different people and you only need a hot glue gun to assemble it all!
I was able to make this Easter basket within 30 minutes during Dominic’s nap so it is super quick and easy to assemble! It can also be made with any of your favorite items!
Not only am I sharing this simple DIY Easter Basket tutorial, but there are several ladies joining me in sharing their Easter basket ideas so be sure to stop by their posts linked at the end of this post :)
I wanted to make an Easter basket for Dominic this year since he never really had a basket last year. We got him a few things last year, but since he was so little, we didn’t do too much. Not that we will go crazy with filling the basket this year, but at least he now has a cute basket to use for years to come….until he decides he wants a new one haha!

DIY EASTER BASKET TUTORIAL
SUPPLIES:
Hot Glue Gun

DIRECTIONS:
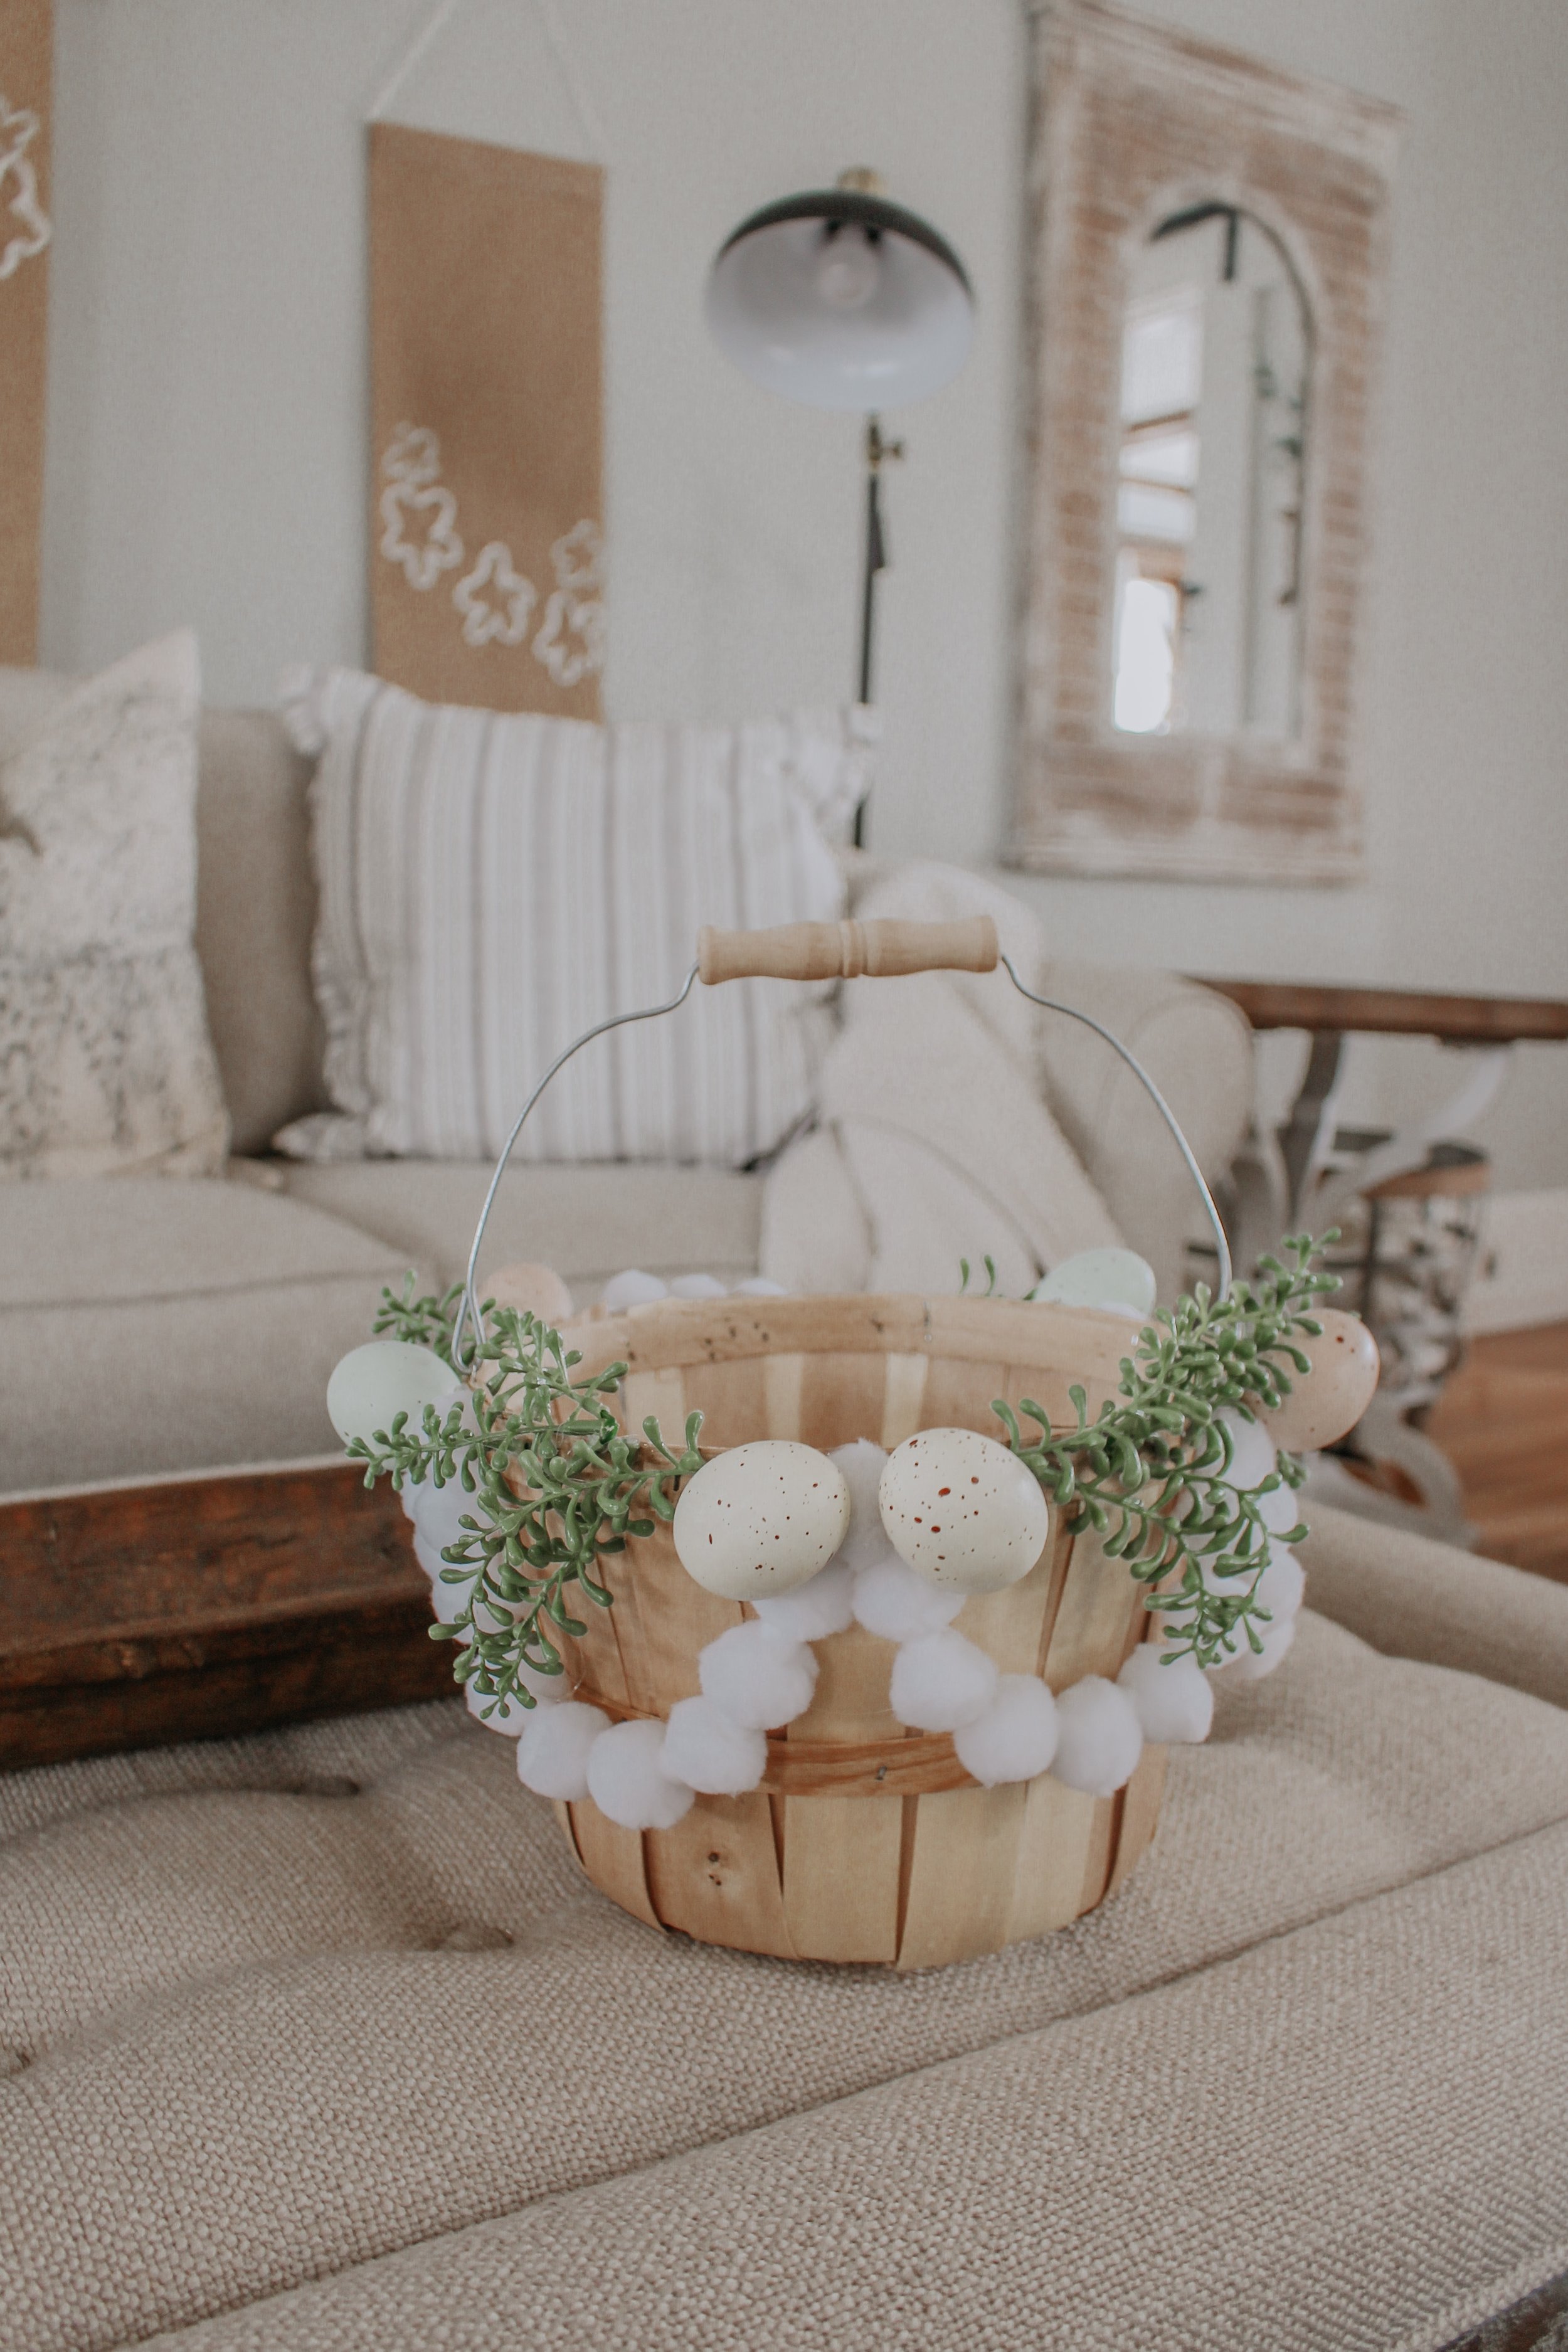
Gather your supplies and plan out how you want to assemble the basket. I knew I was planning to hot glue my items onto the basket, but I played around with the placement for a bit before deciding what to do.
Start to hot glue the pom pom garland first as it won’t take up space on the top where the greenery is going. I spaced my garland about every 2 staples on the top of the basket and then placed a drop of glue and put the pom pom on the glue.
Pull the branches/greenery/flowers off of the stems or cut them if they do not easily pull away from the stem.
Hot glue the greenery around the top of the basket. Hold the basket on its’ side to easily keep the greenery in place while it is drying so that it doesn’t run down the basket. I started in the middle and worked my way from the sides, making sure the greenery was going to the left (on the left side) and to the right (on the right side).
When you are satisfied with the amount of flowers/greenery, hot glue the eggs around the top. I did varying colors all around to add a little pop of color.
Allow all the pieces to completely dry before use!
FILL IT UP WITH YOUR FAVE GOODIES AND ENJOY!

This tutorial is really very simple and you could have your kiddos help, if they wanted to decorate it. When Dominic grows out of this basket, I could easily pass it down to his sister! Love when a project is double duty!
Can’t wait to add some Easter fillers to Dominic’s basket and see his little face as he looks at his surprises!
Swing by these ladies’ posts to see what they have planned for Easter baskets this year:
What do you do for your Easter Baskets?
Be sure to sign up for our free newsletter to stay up to date with what is going on over here :) Upon signing up, you will receive 3 gallery wall printables, 5 on the go Mom hacks, and gain access to our FB group! Scroll to the bottom of the page to join! We’d love to have you as part of our community!
Thank you for stopping by the blog!
XO
-LA
*This post contains affiliate links. If you click on these links and purchase something, I make a commission at no additional cost to you. This helps to support my blog, so thank you SO much!*
SAVE THIS POST FOR LATER, PIN IT NOW: