How to Paint Kitchen Cabinets
Learn how to paint kitchen cabinets with this step by step guide.
See my kitchen plans, HERE.
With this tutorial, you will learn how to paint kitchen cabinets which will completely transform the space!

This post contains affiliate links. If you click on these links and purchase something, I make a commission at no additional cost to you. This helps to support my blog, so thank you SO much!
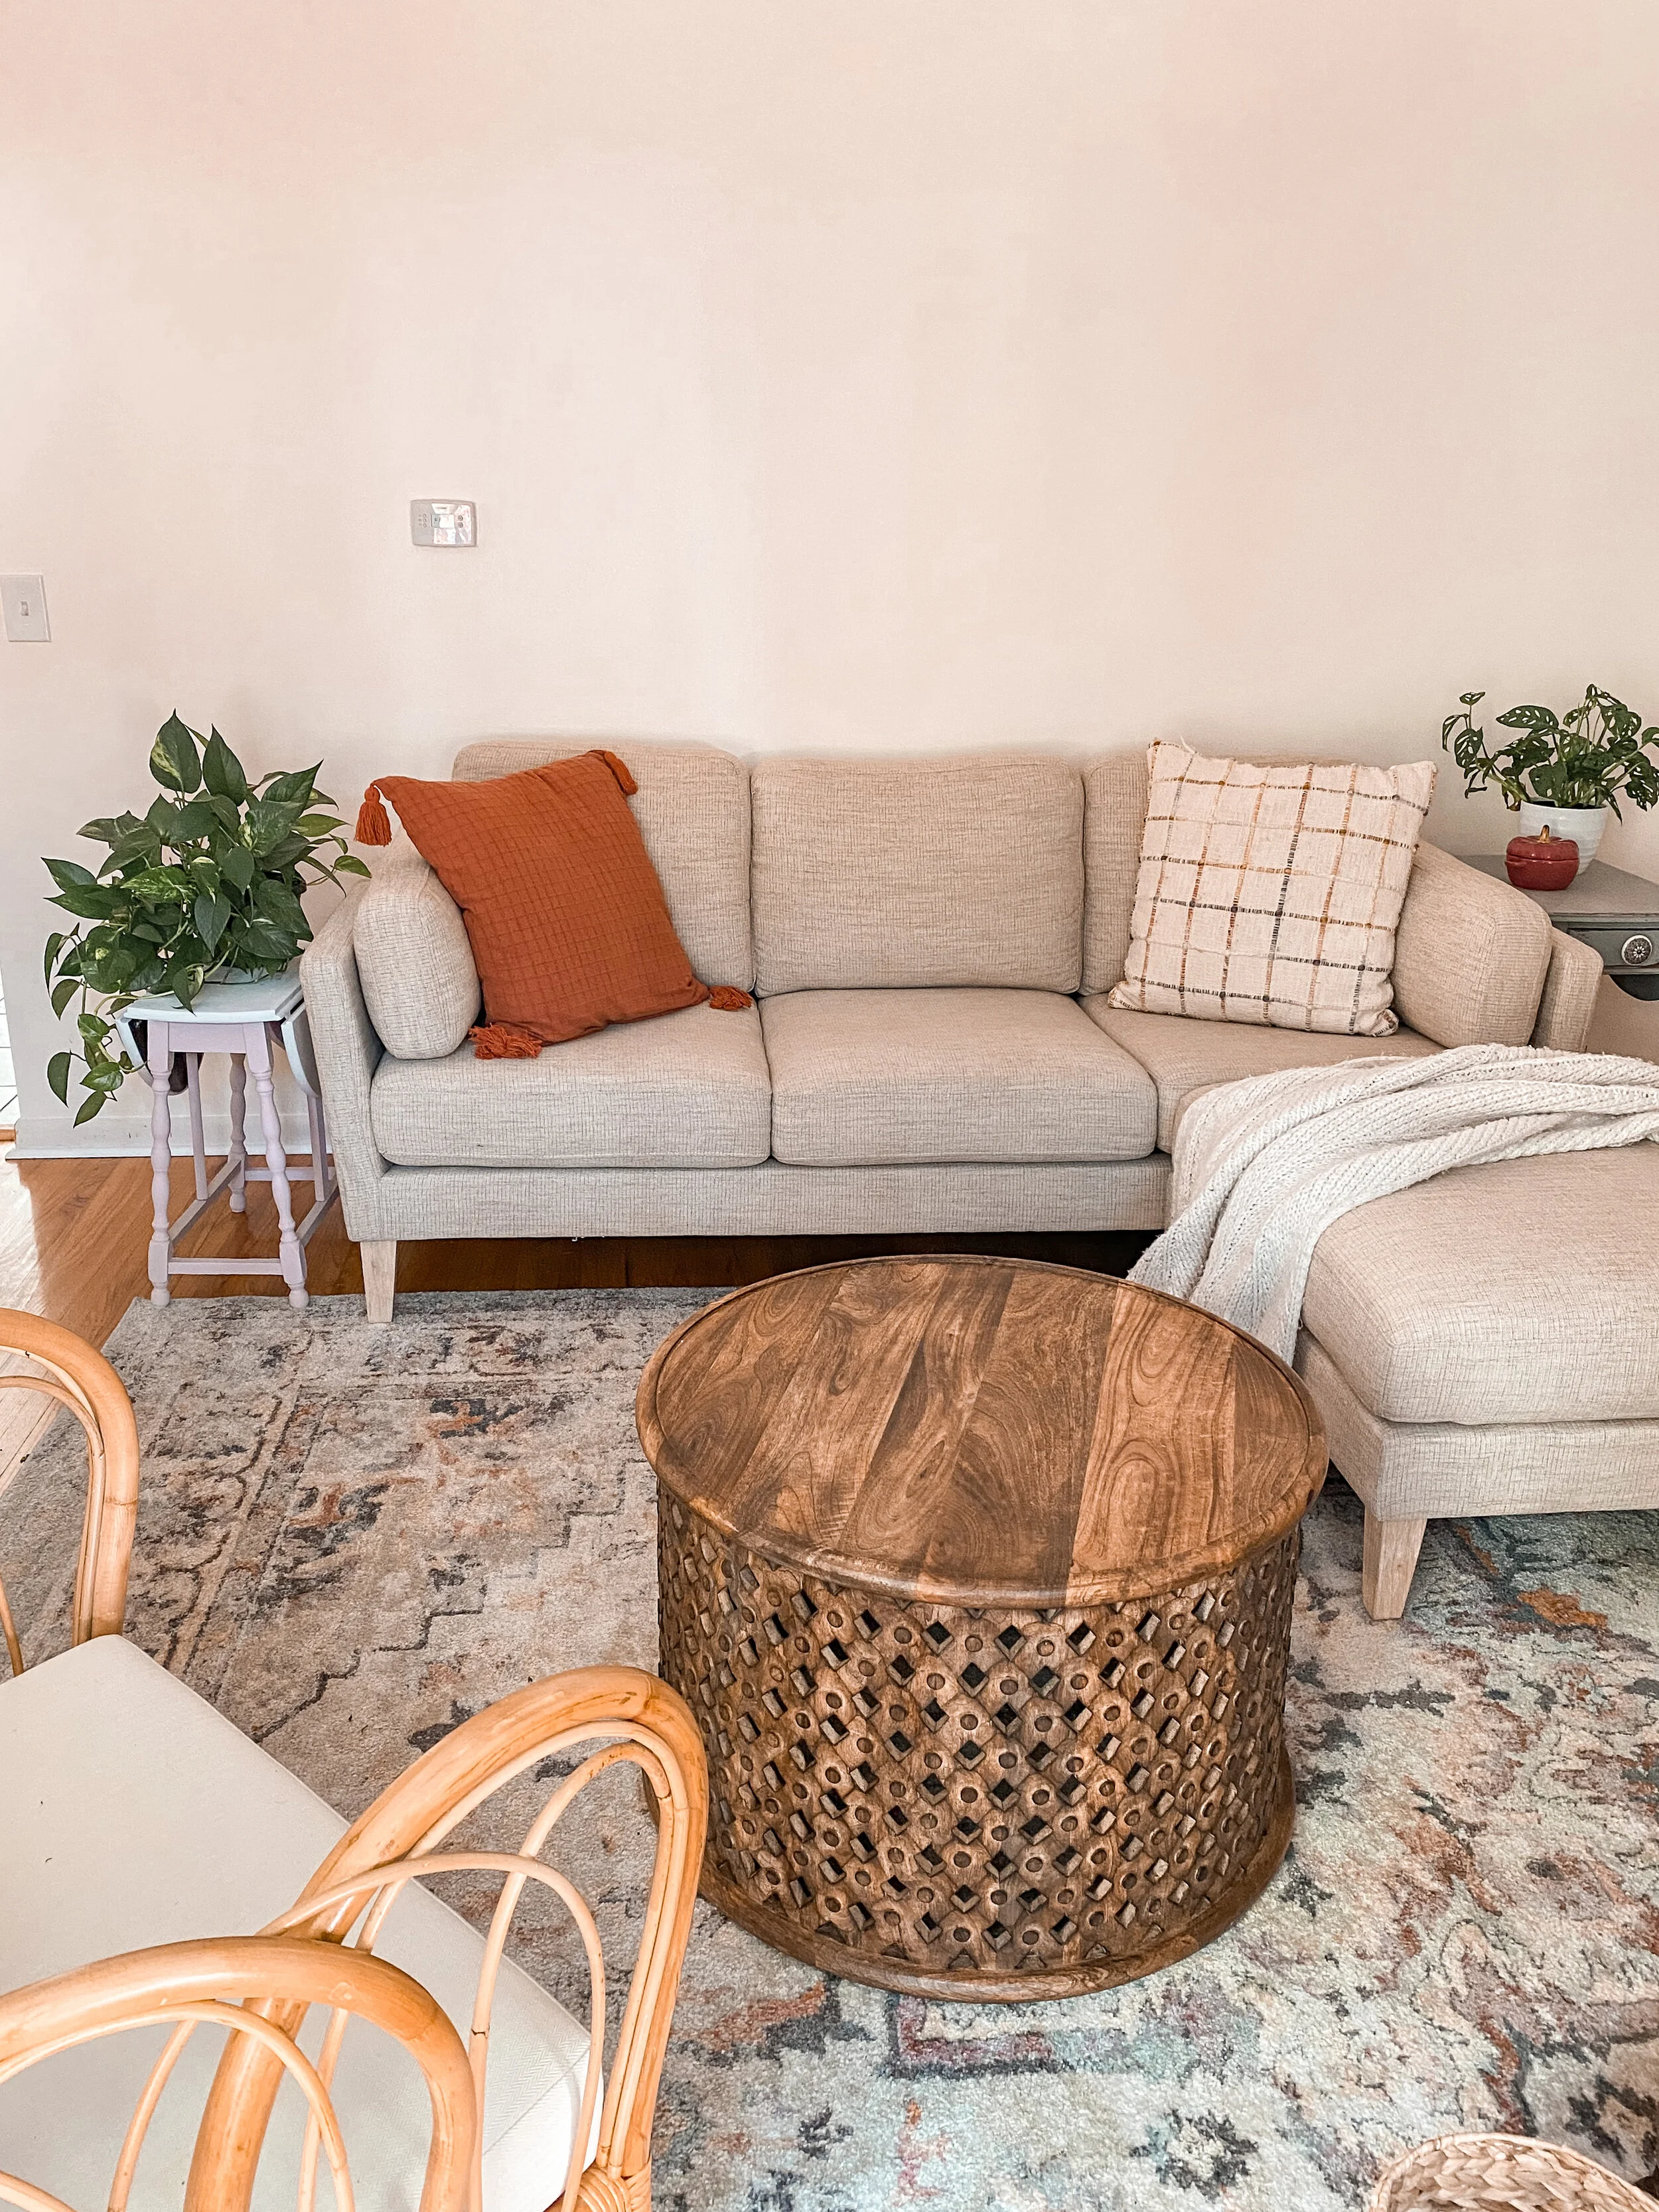
Our kitchen looks SO different from when we bought our house. The power of paint is amazing and I will constantly be in awe of it!
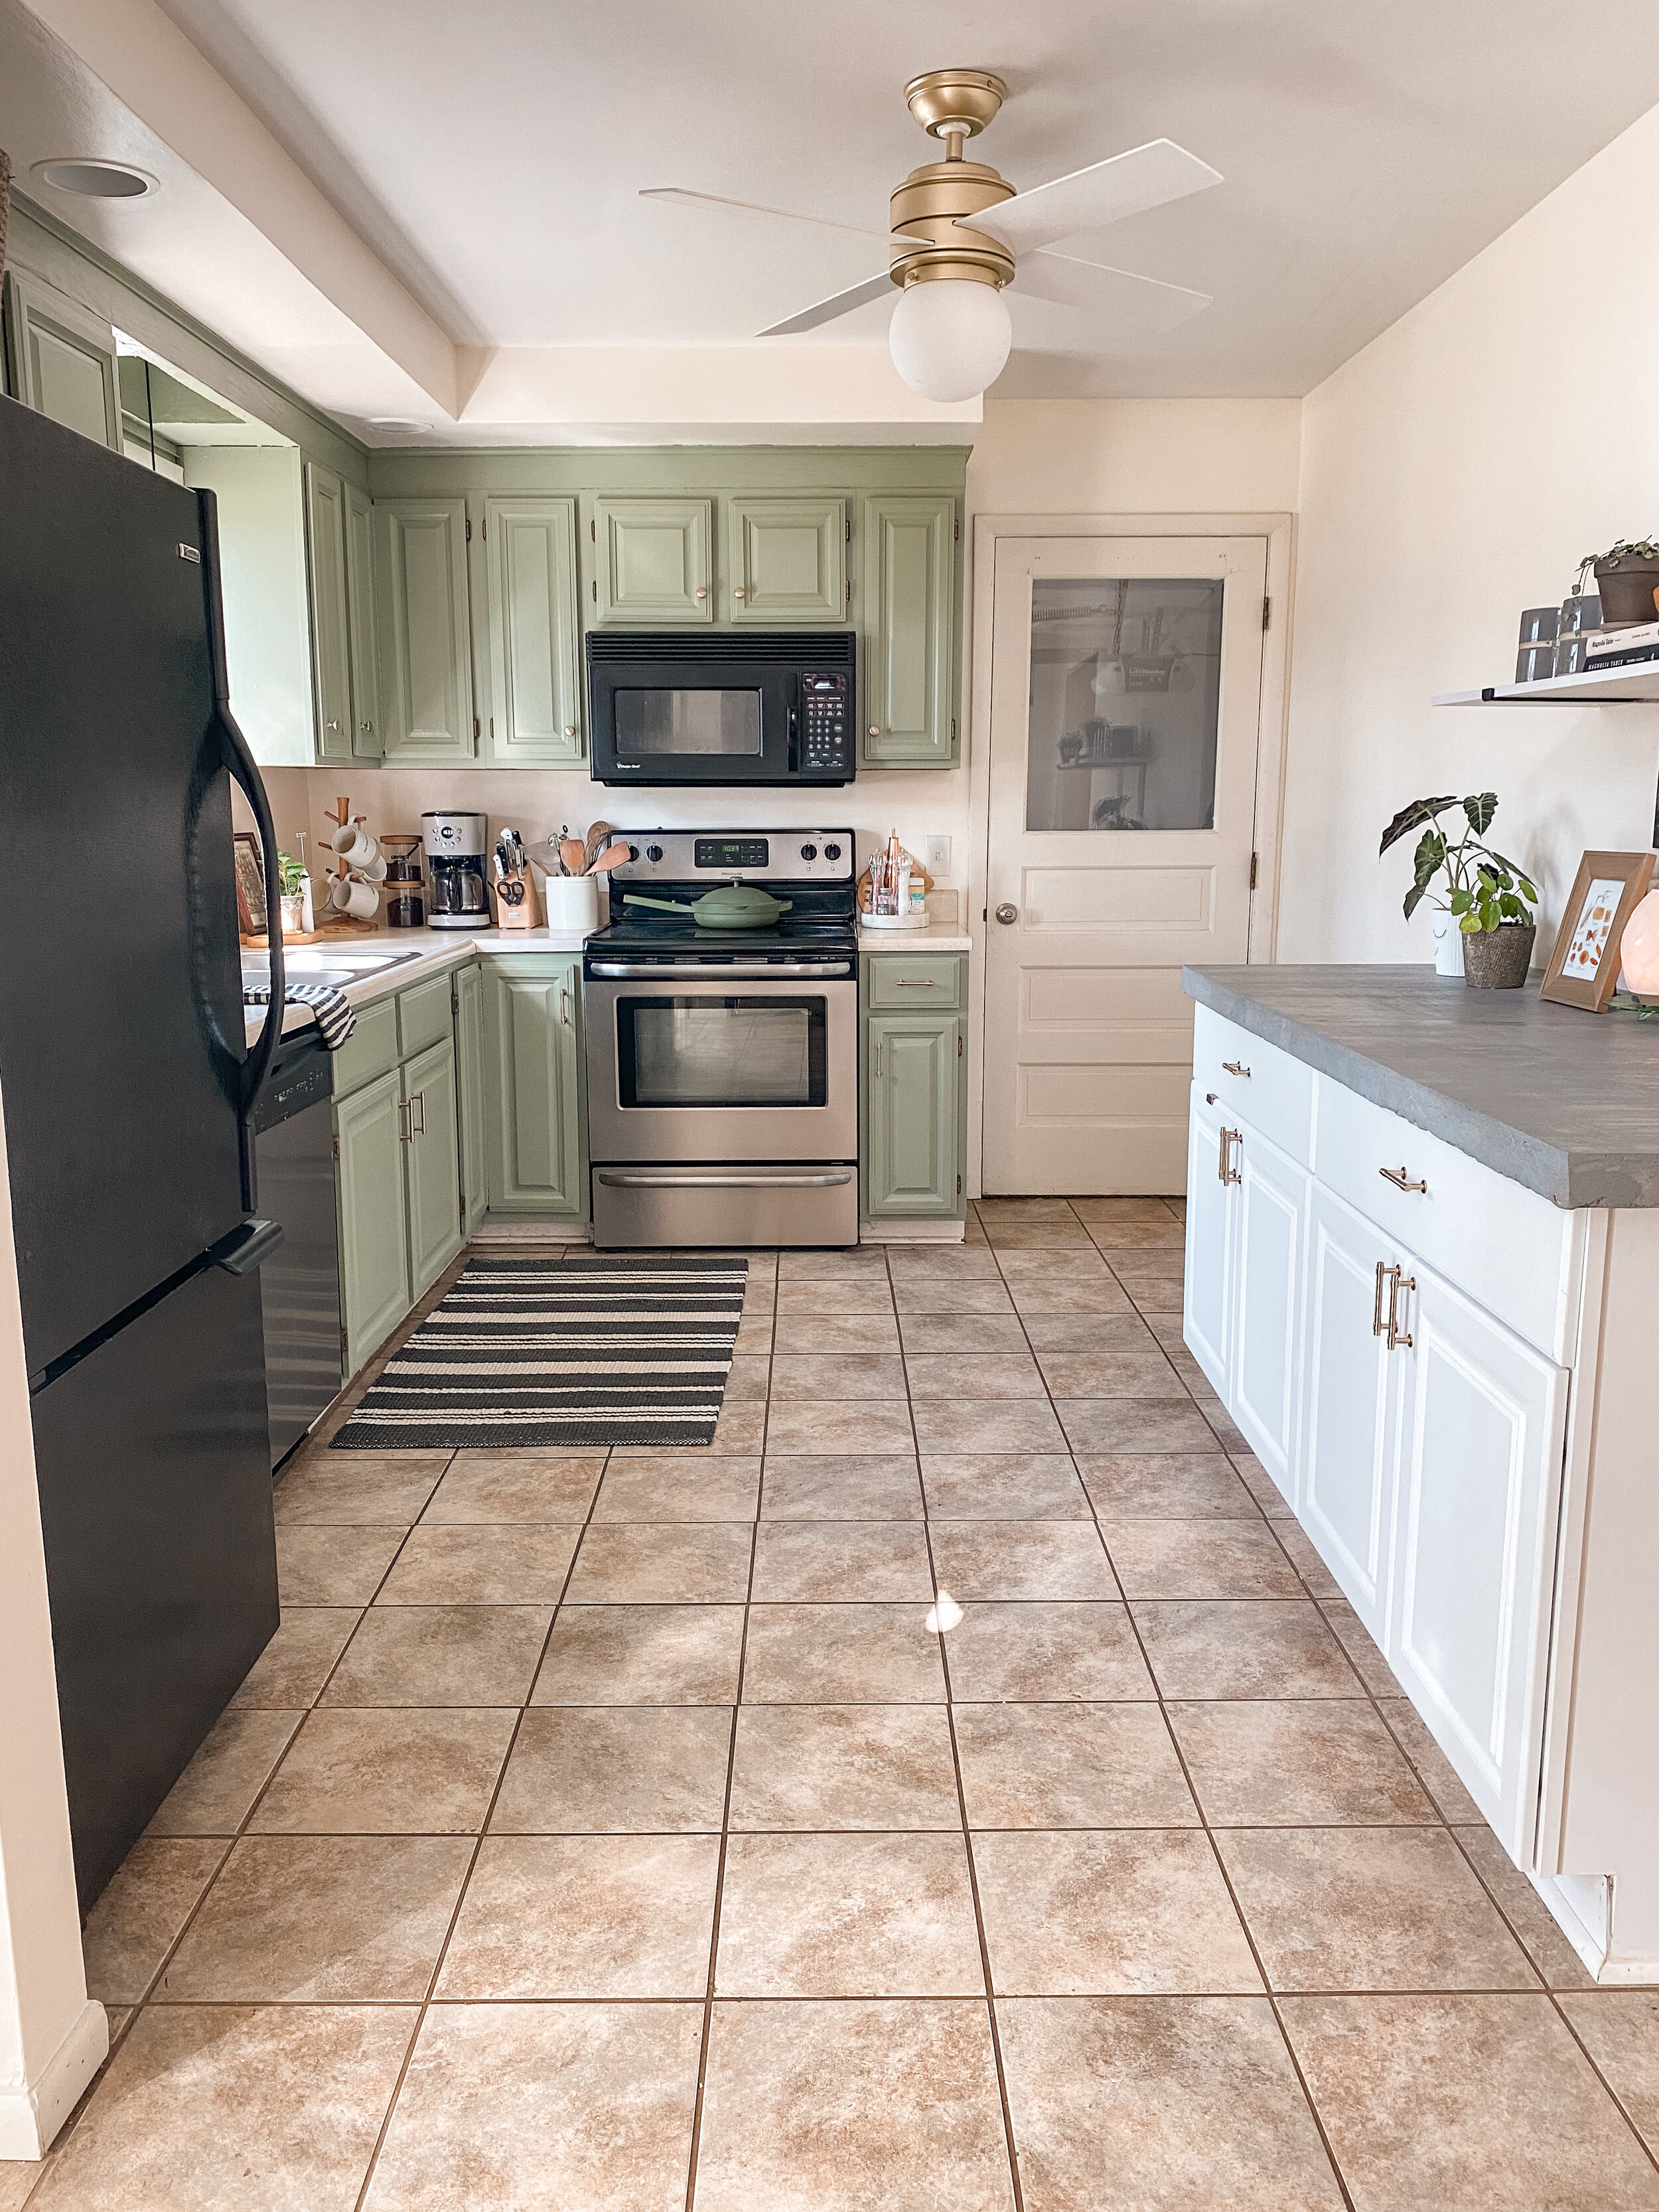
I had the idea to paint our kitchen cabinets since we decided we wanted to update our kitchen. I would rather put our money towards other things than replacing the cabinets. The cabinets were in good shape, but needed a little updating.
After we added the extra cabinets with the concrete counters, I knew I had to update the other side of the kitchen. It was kind of the push I needed! See the concrete counters HERE.
To be very honest, I was VERY intimidated by this project for a really long time. We decided to start updating our kitchen in January and I only started and finished painting the cabinets a week ago! I was so hesitant even though I have done so many paint projects before. This just felt very daunting and a huge undertaking.
I’m here to tell you to NOT BE SCARED!!!! Maybe I’m just telling myself this, but if you are considering painting your cabinets and you are a bit intimidated like I was, just start doing it! It is SO much easier when you just begin. The more I thought about it, the longer I pushed this project off. Also, give yourself time because this project can be tedious, but it’s certainly not hard!

If you follow these steps, you will have a beautifully painted kitchen!!!
SUPPLIES:
Good cleaner (we used this one!)
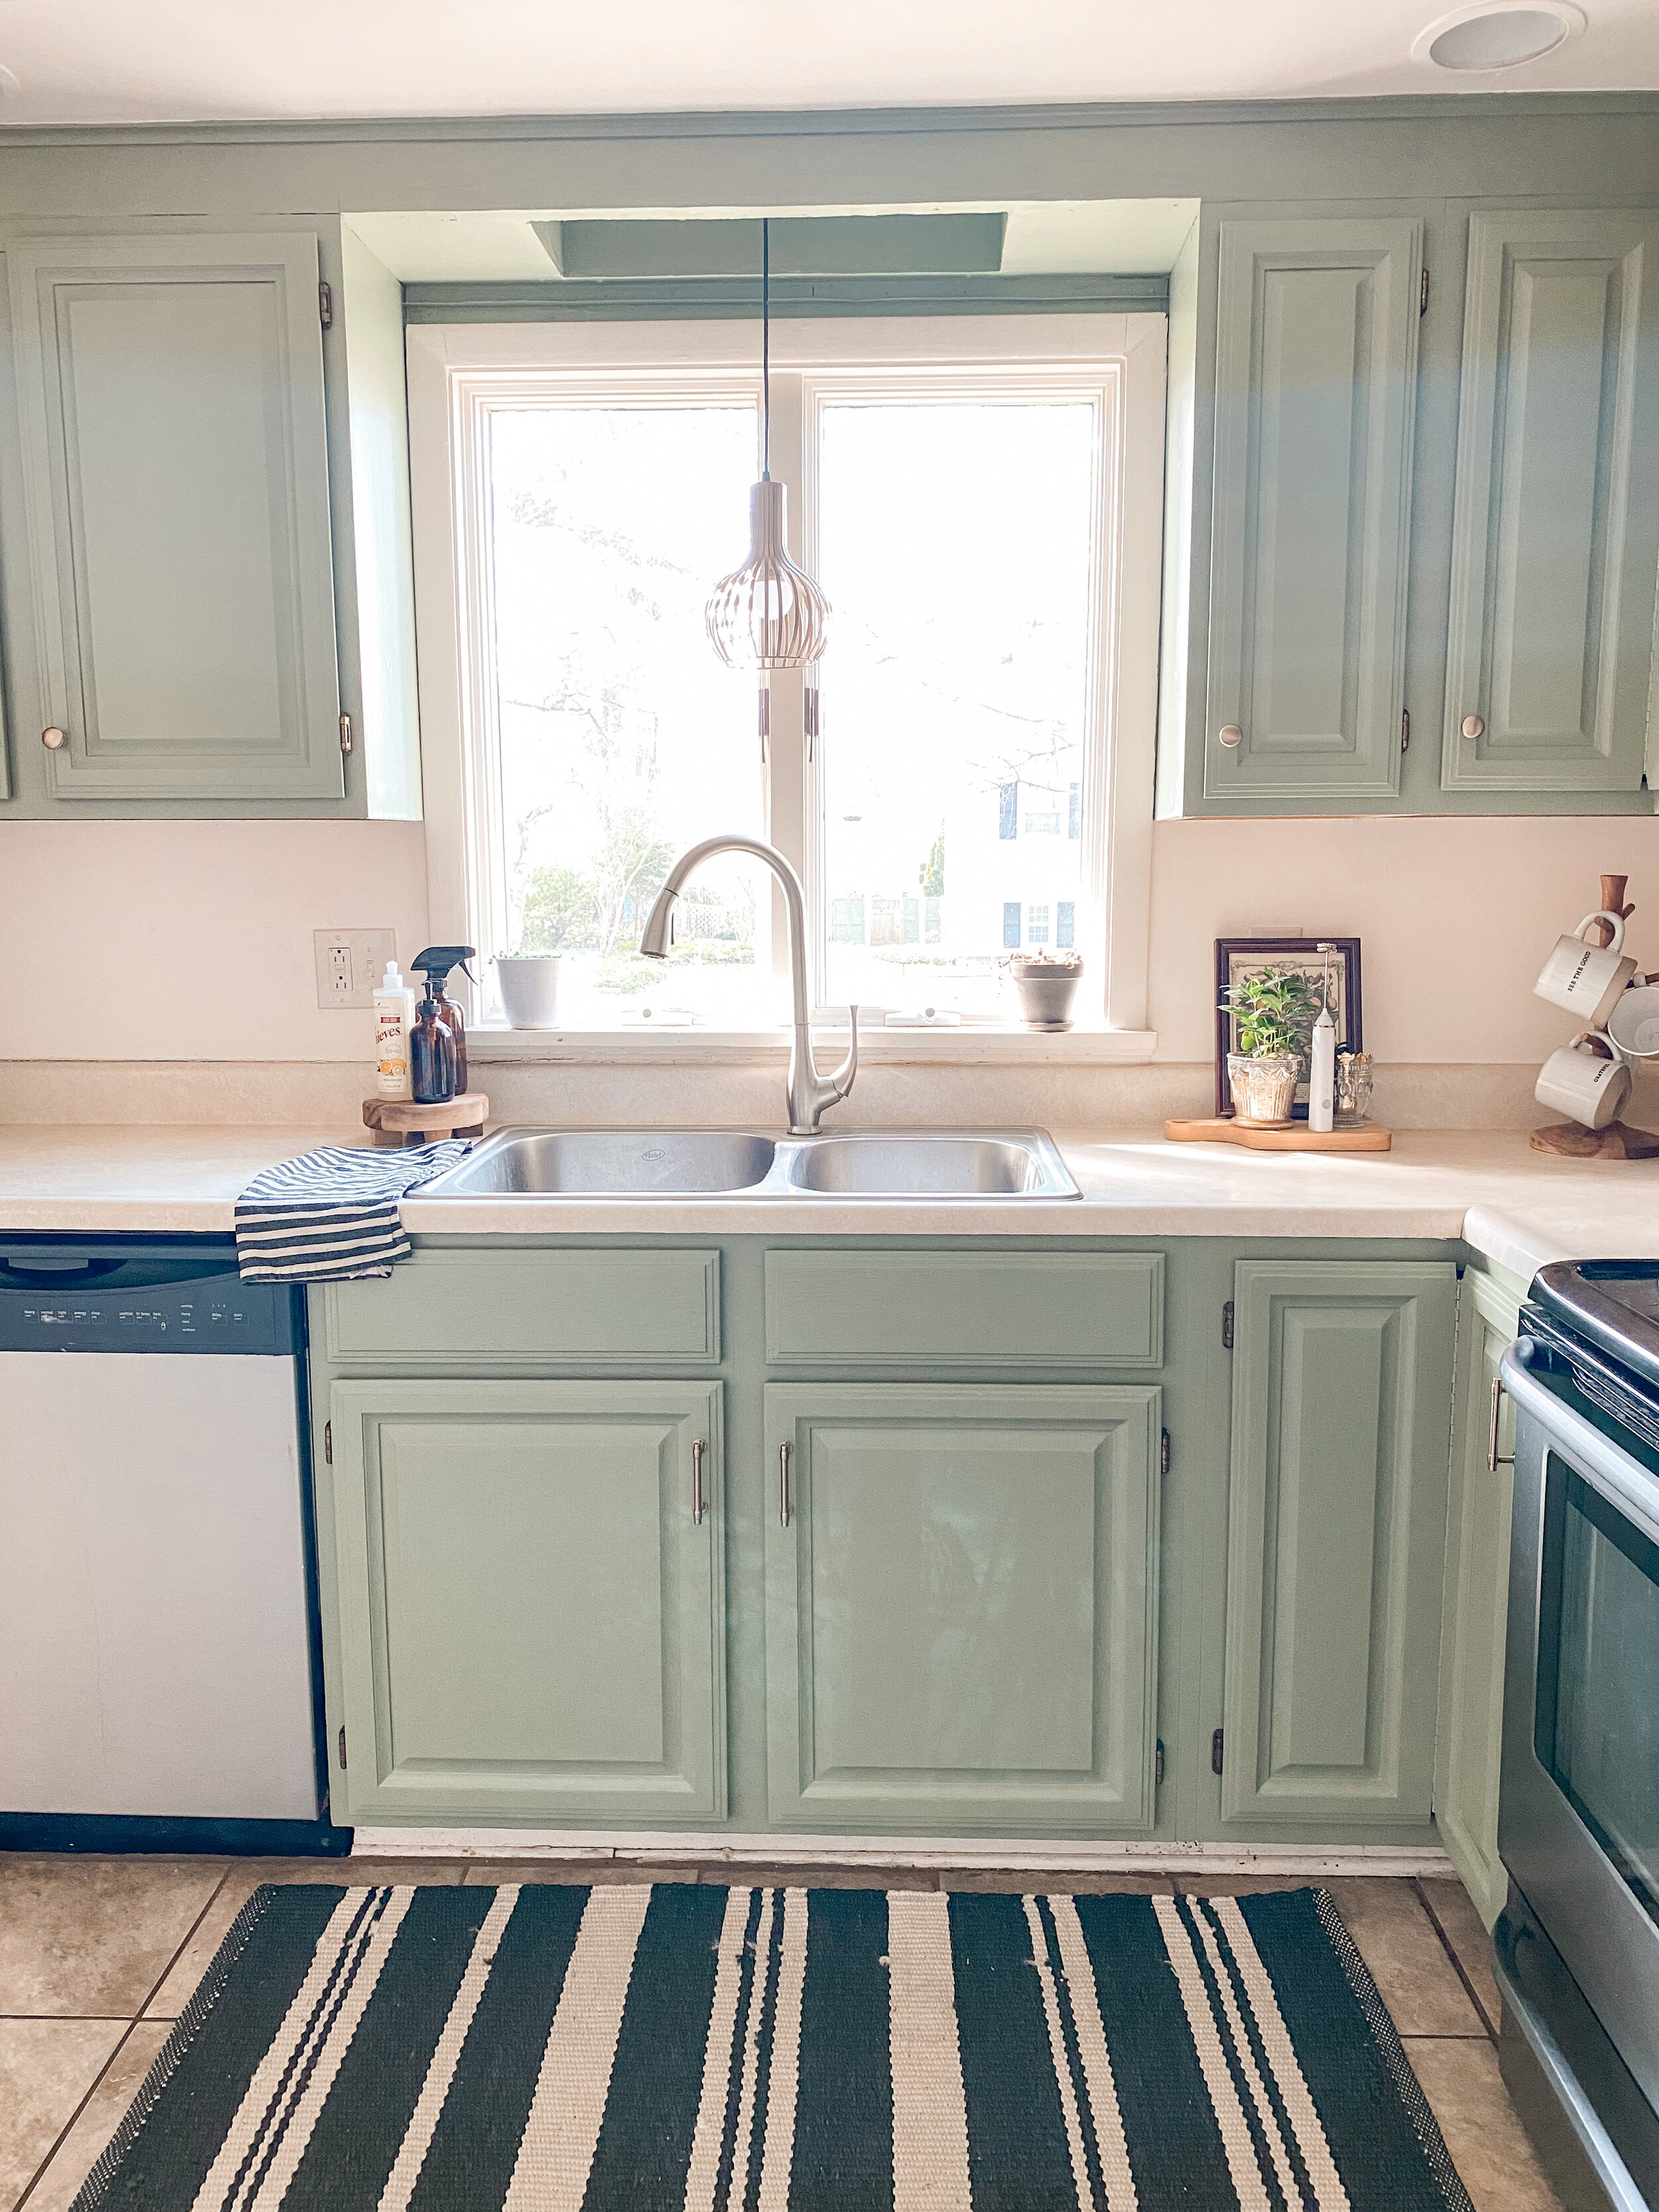
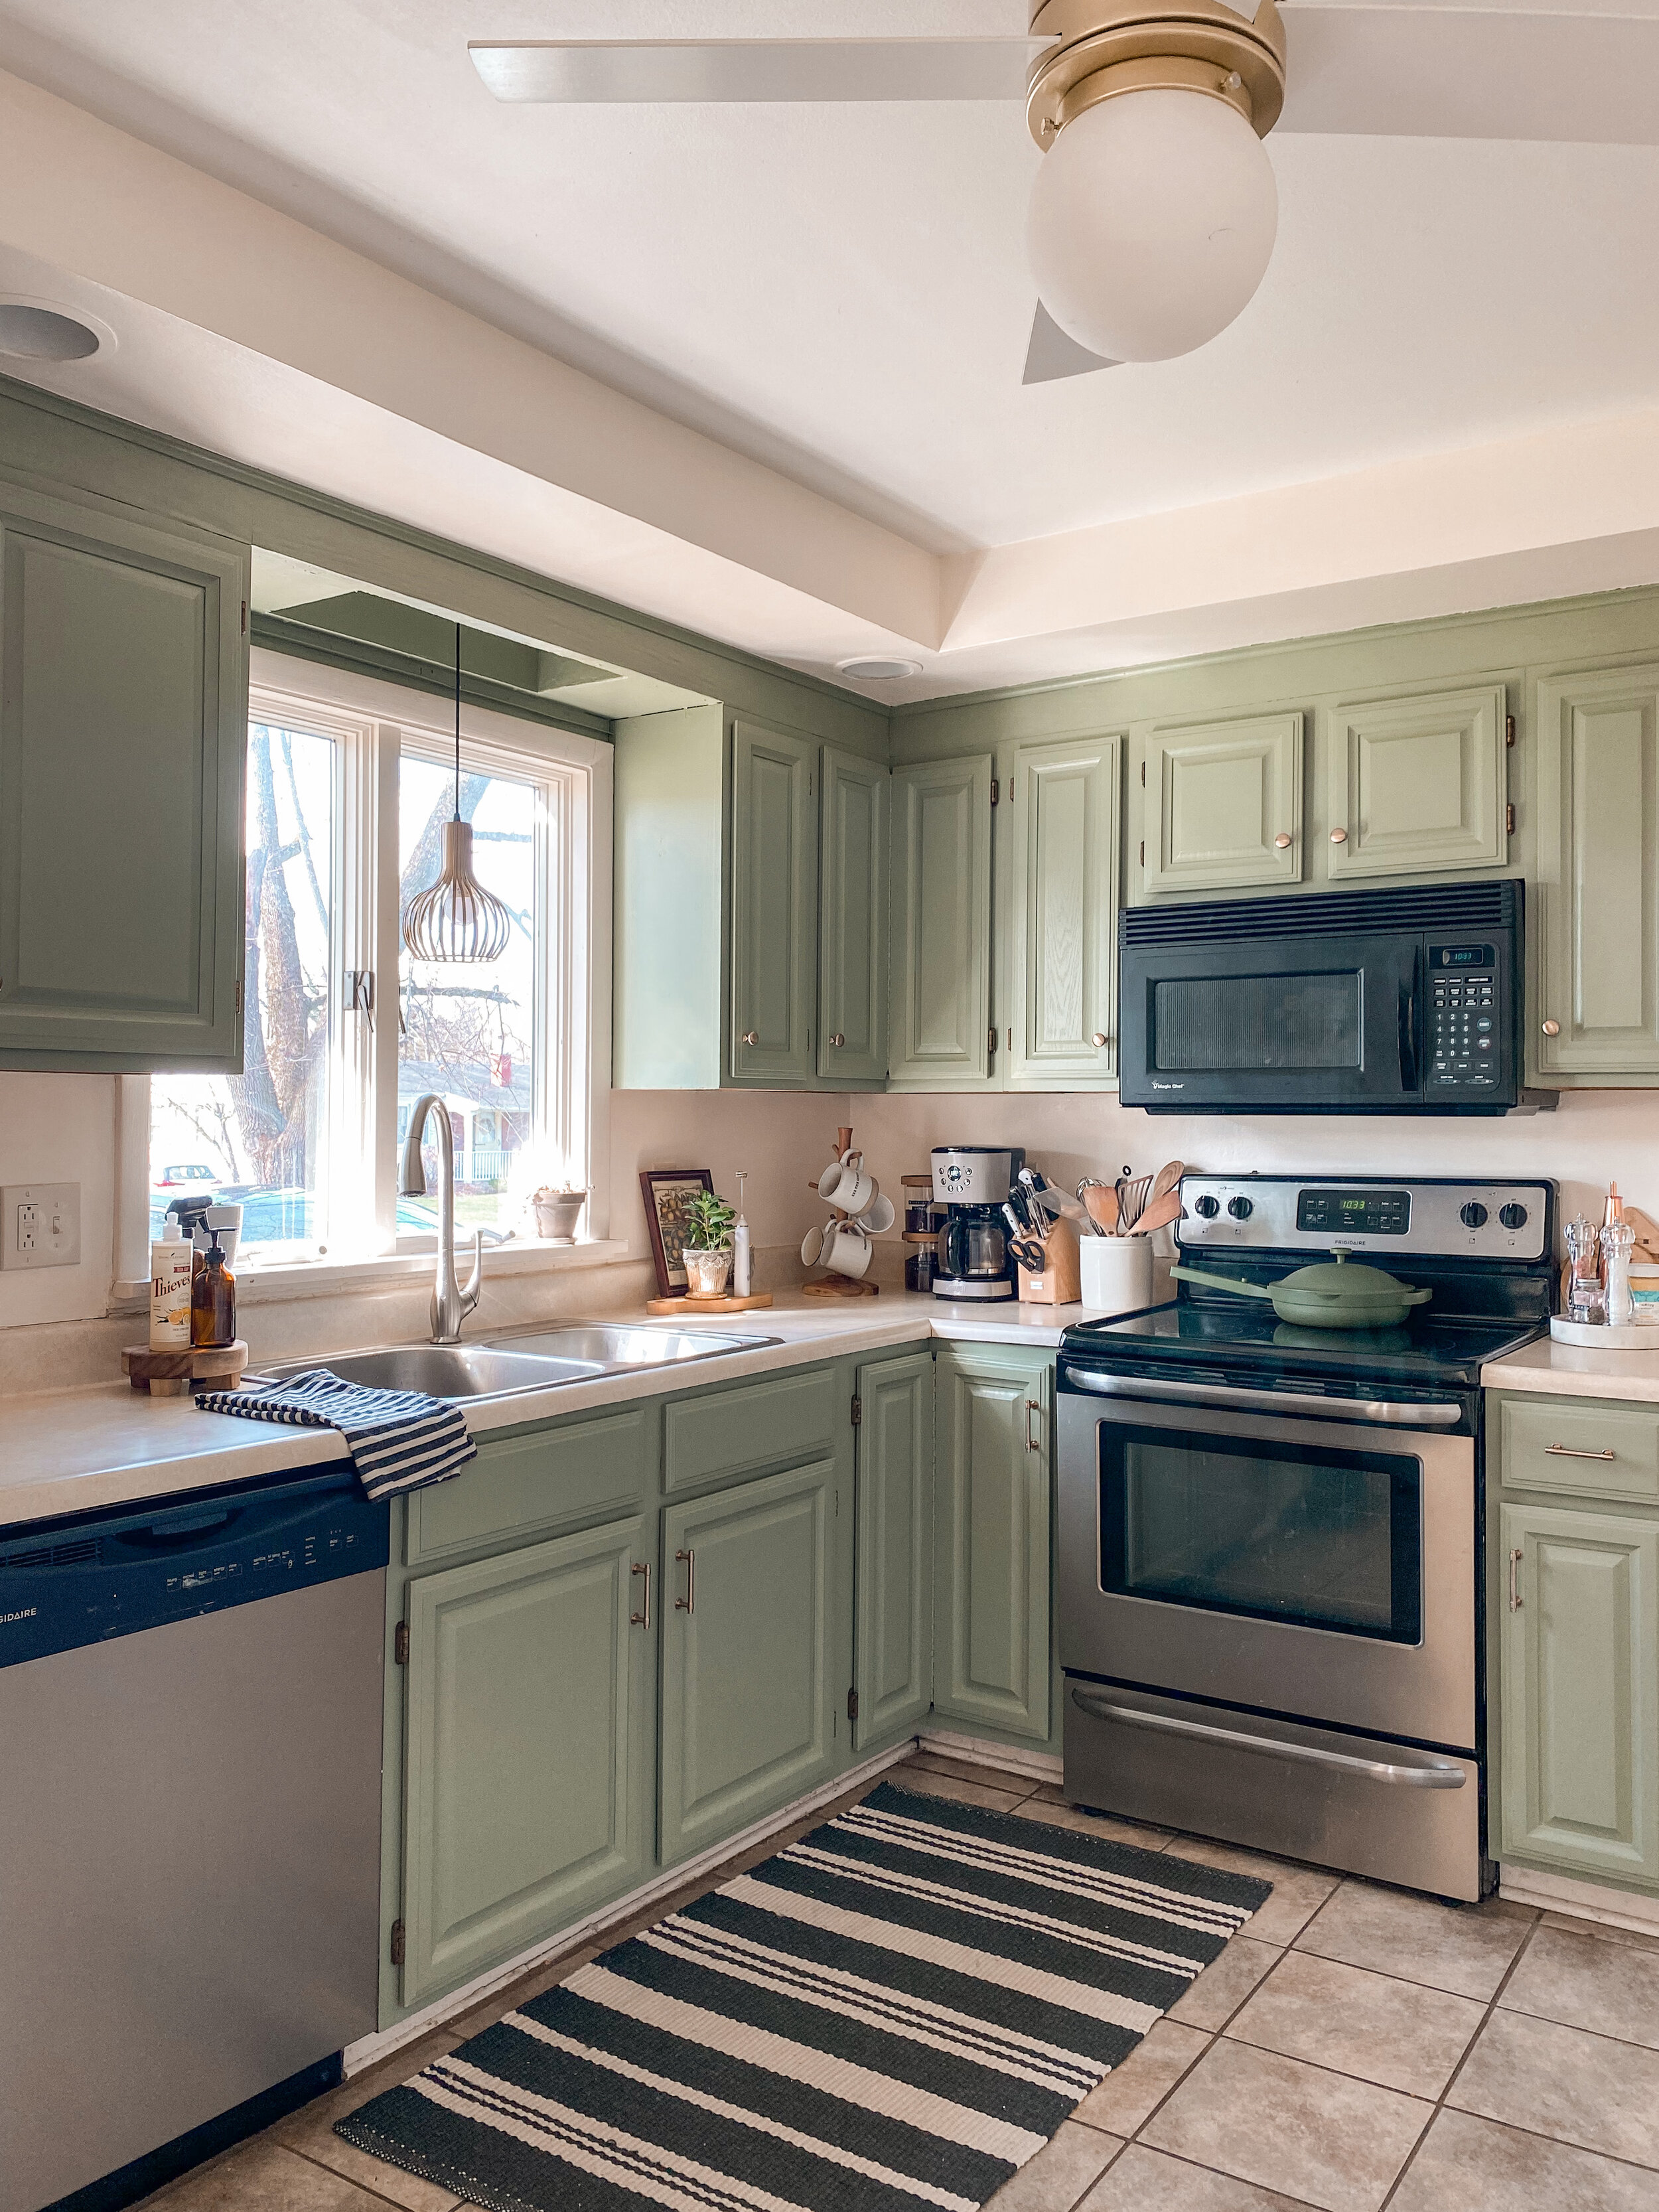
Paint (We used an exterior paint in a satin finish and I highly recommend this. It went on so easily and quickly!). We went with the color Milkweed Pod by Behr and it is the dreamiest earthy warm green color. It’s natural and organic and feels so cozy!
Paint tray
- Wood Filler (if you need to fill in any holes from old hardware)


DIRECTIONS
Take a deep breath, YOU HAVE GOT THIS!!!!!!! The outcome is SO worth it!
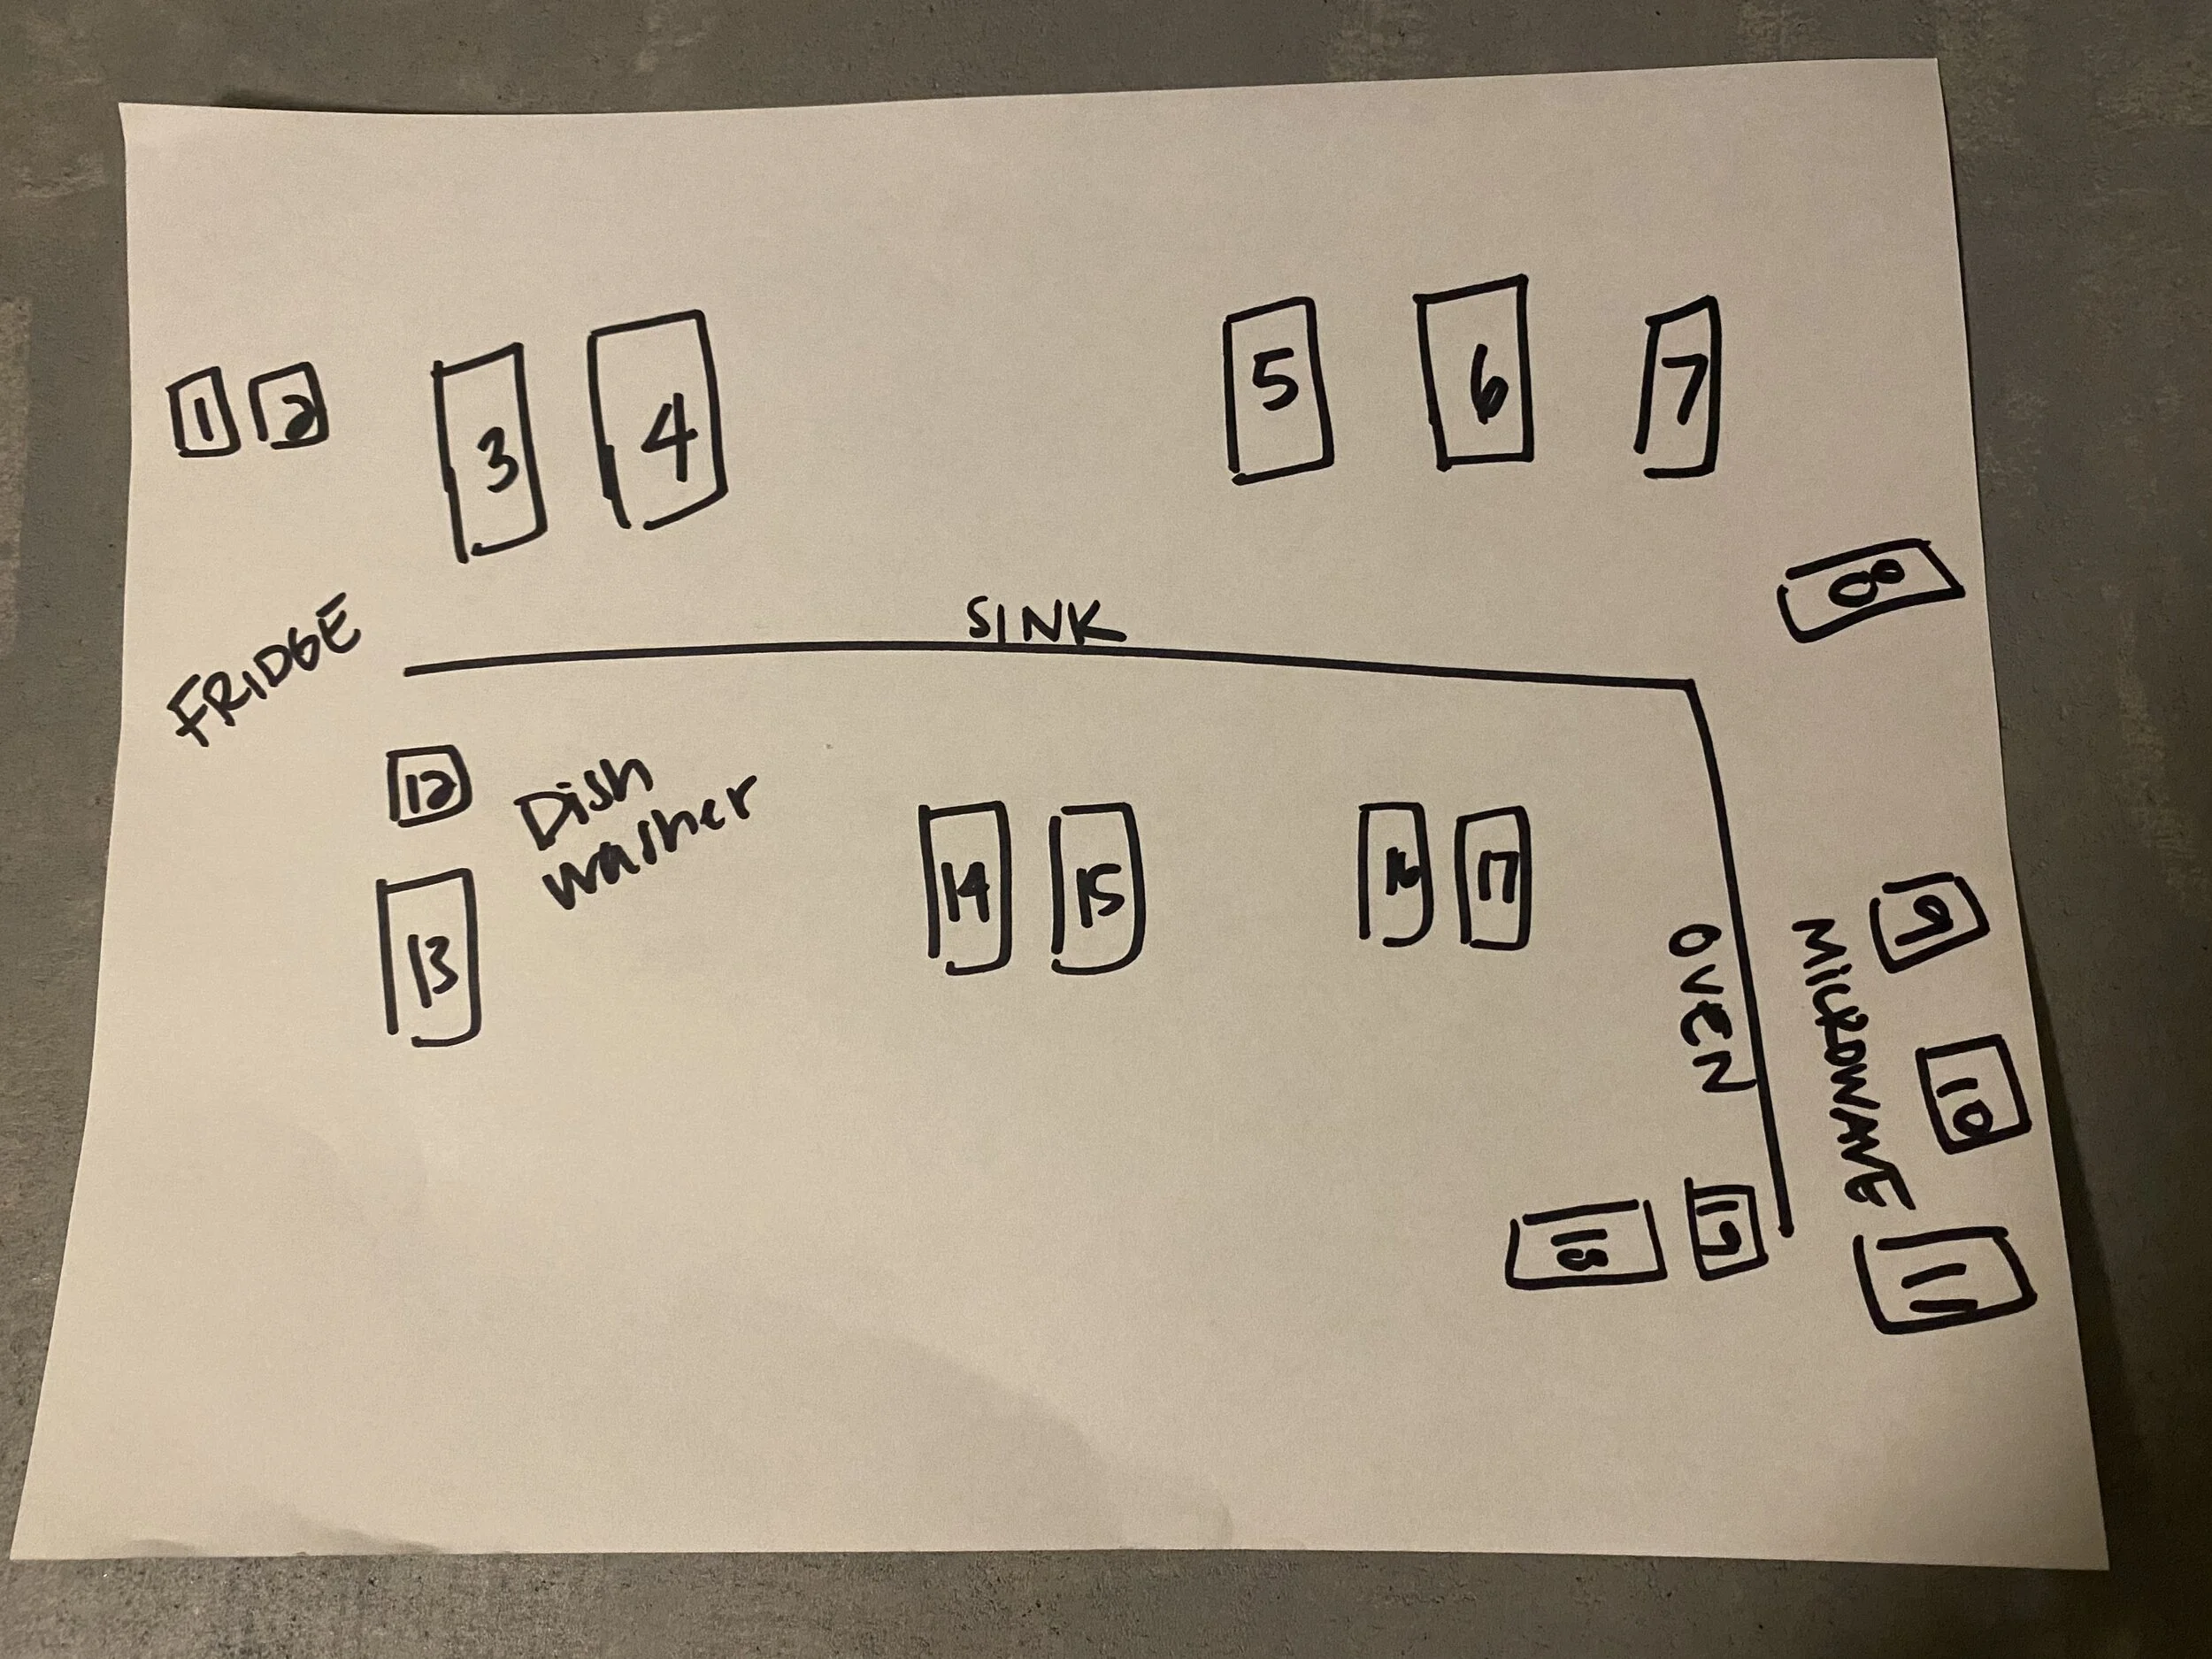
Start by drawing out your kitchen and labeling the doors/drawers
Put a post it or tape on the doors to label each one
Start to remove the old hardware and hinges (toss if you are replacing or keep it in labeled bags with corresponding numbers to the doors—another reason the kitchen map is helpful)
Clean each door front and back and the cabinet bases and wipe completely dry
Fill in any holes with wood filler. We did this on the upper cabinets because we were going from a pull to a knob. Allow the wood filler to completely dry
Lightly sand the doors with the 200 grit sandpaper to get off any residue and to lightly buff the doors. Brush off the saw dust before priming!
Tape off any areas that you don’t want to get paint on. I only taped along the ceiling, but this could also be a good time to tape along any countertops, appliances, woodwork, etc.
Prime the doors (front and back) and the cabinet bases with 1 coat. You don’t have to worry too much about the direction of brush strokes as it will be covered up with the paint. Allow this primer to dry for 2 full days before painting
Start painting the doors and cabinet bases. If using the exterior paint like I used, it is thin and goes on super easily. It has a mild odor, but it goes away. Use the brush first and get in all the crevices/details of the cabinets. Go the same direction to avoid seeing brush strokes. Use the foam roller to completely cover the bases and the doors. Go in the same direction again. The foam roller makes it go pretty quickly which is nice.
After 1 coat of paint has dried after 24 hours, repeat with a second coat and allow to dry another 24 hours. The dry time is important so that the cabinets have time to cure properly.
After fully dry, hang back up with the hinges and add the hardware back on


When broken down like this, it seems so easy and it really is, it’s just time consuming. Give yourself plenty of time so that you aren’t rushed. This took me about a week and a half to finish because I was only working on it at night or on the weekends. I probably could have done it faster had I had more time during the day.
PAINTING CABINET TIPS
Clean the cabinet doors really well. Do it twice, if you have to
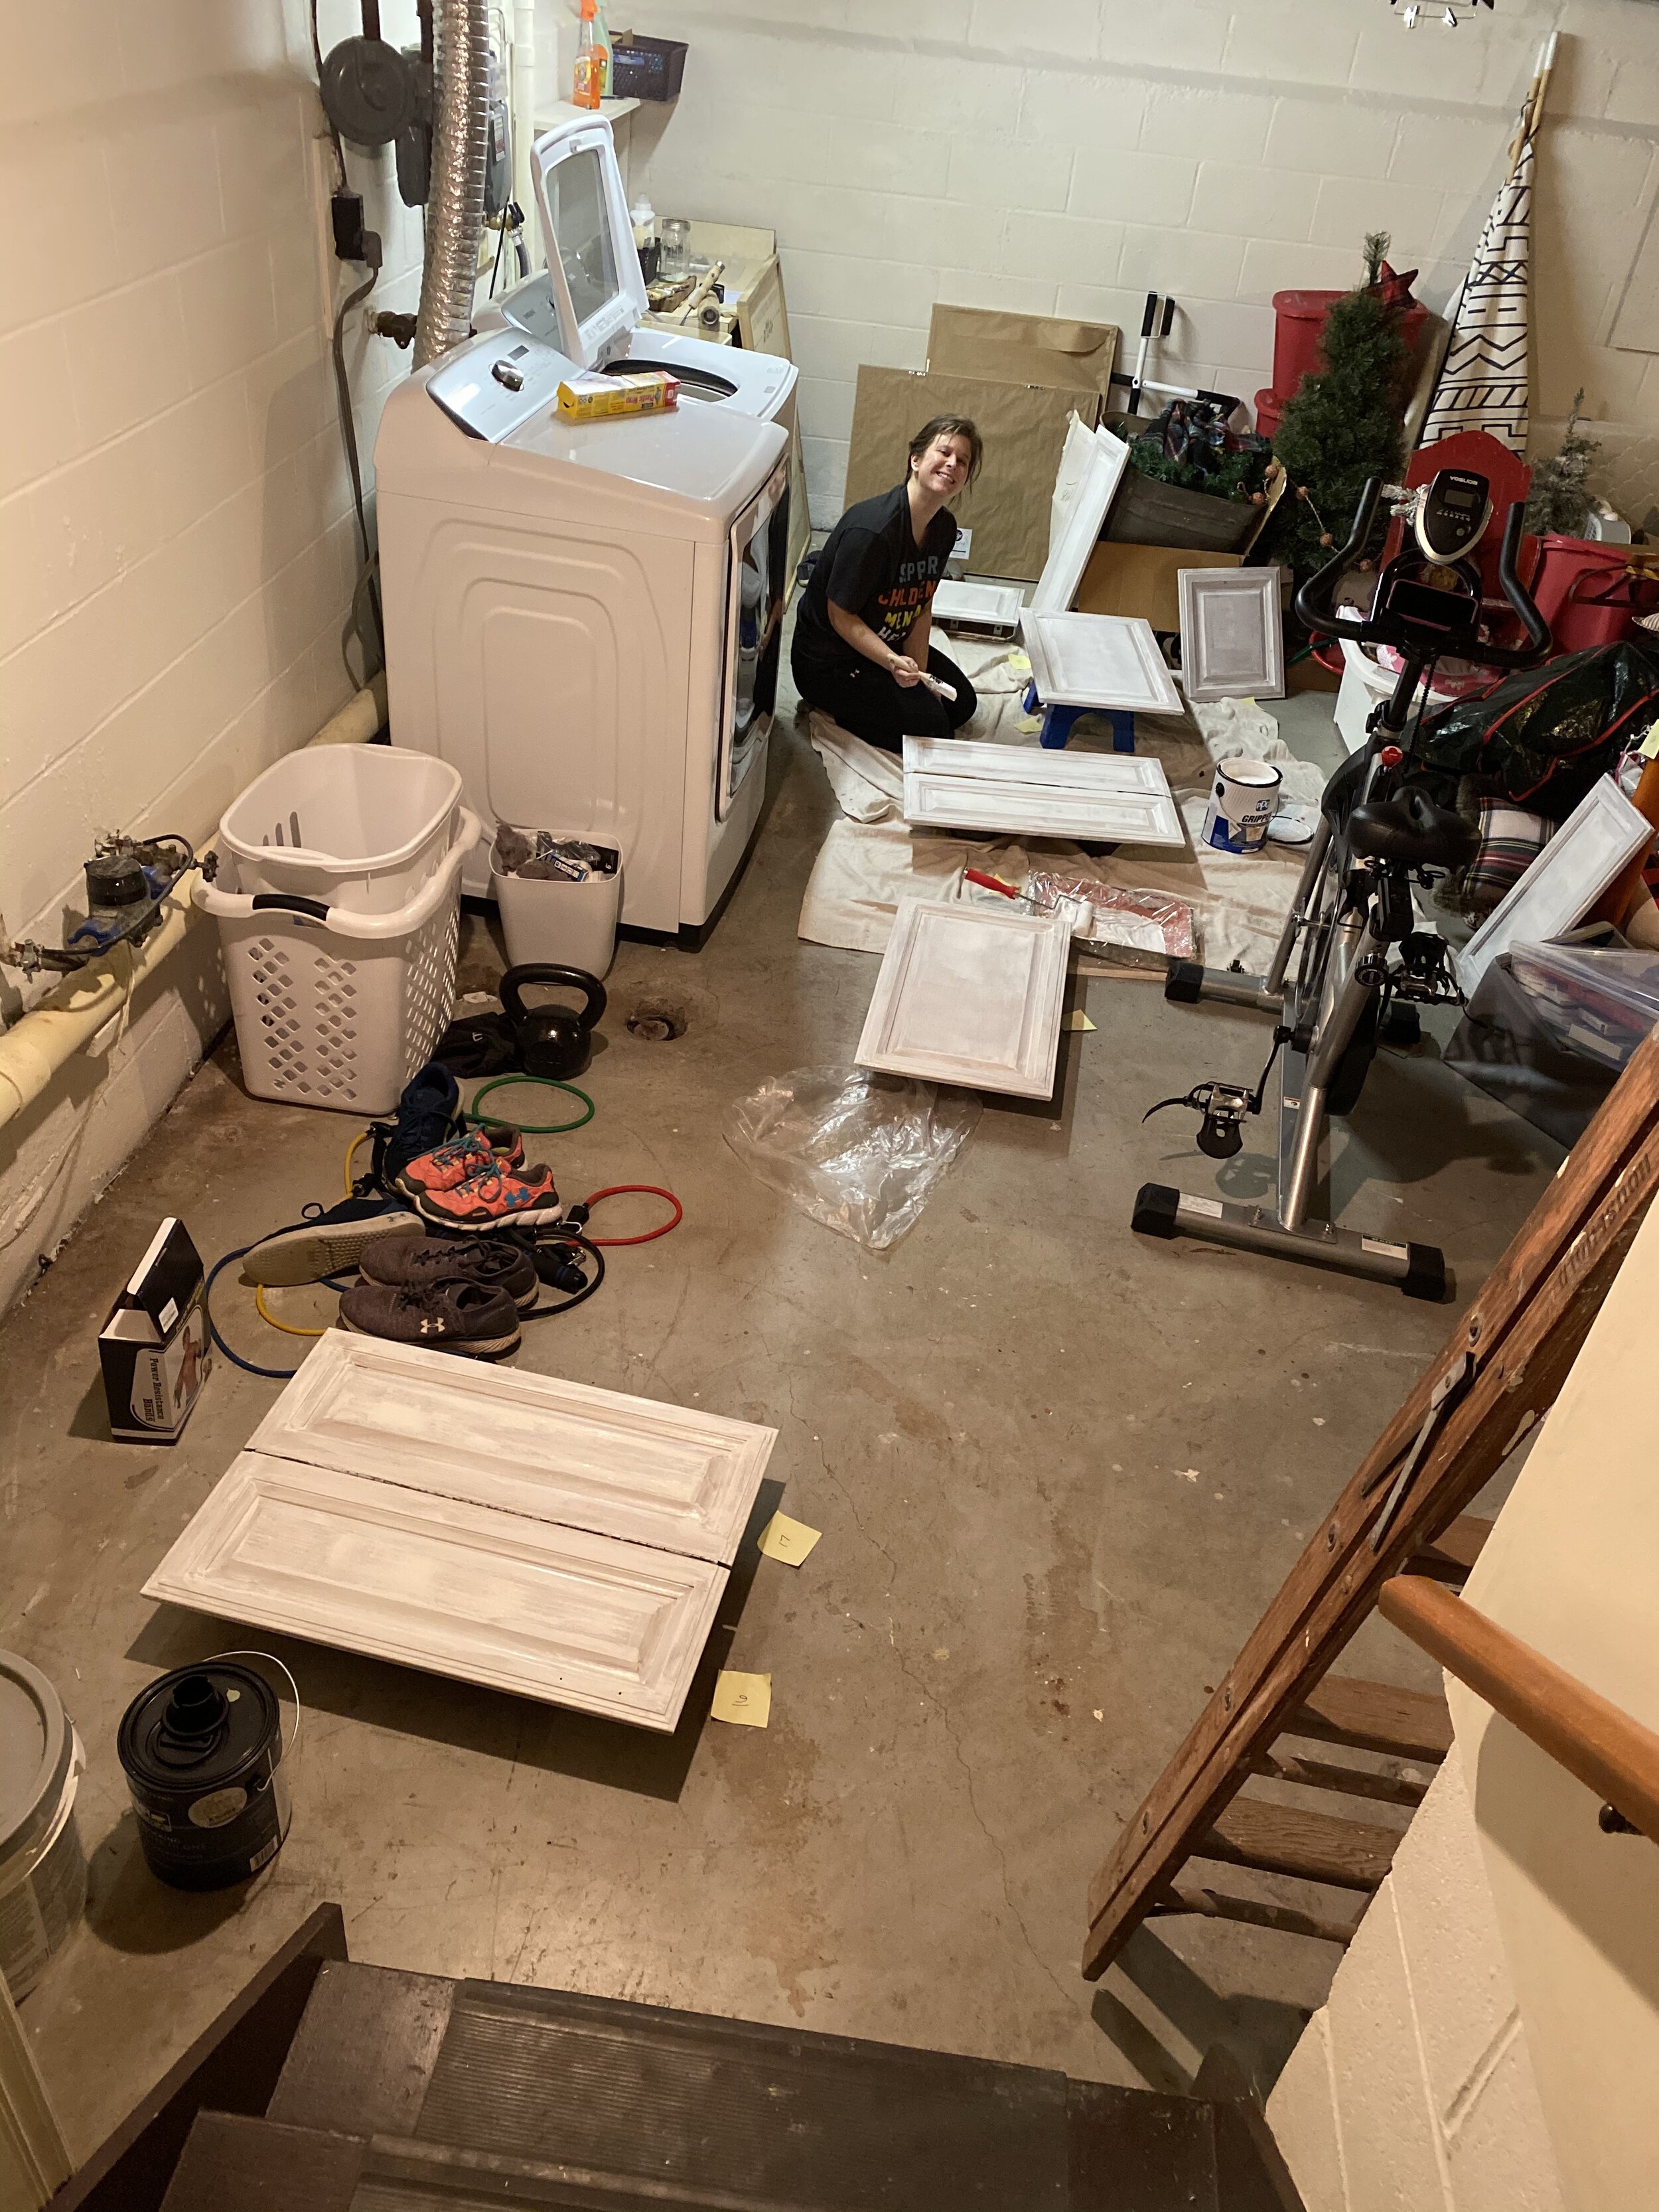
Have a designated space to work so that they don’t get ruined while working on them. I used our basement and put down drop cloths.
Do the back of the doors first when painting. This way when you flip them over to do the other side, the front side will be perfect and you won’t risk any nicks.
Always start with the brush before the roller. It’s so much faster to cut in with the brush and then quickly roll. If you do it the other way around, the brush will create brush strokes on the part you just rolled.
This paint goes a long way! I was convinced we would need 2 gallons and we used only 1/2 a gallon. I’m glad I only bought 1 gallon of paint to start
If your hinges are still in good shape, you can give them a little bath like I did! I had 1 bowl of soapy water, 1 bowl of clean water, and a towel. I put the hinges in the soapy water, rinsed them in the clean water, then towel dried them. Some of the hinges were really dirty so I gave them a few cycles through. They look pretty good and saved us a little money from having to replace them. It also helps that I was using gold hardware and the hinges were gold too! Be sure to keep the hinges organized when doing this!
I didn’t have painter’s pyramids, but they would have been so helpful for the cabinet doors. If I had to do it again, I would 100% get them so that I could have the doors elevated to make it faster to paint. I was using random things all over the basement to elevate the doors, the pyramids would have been so much easier!
I probably should have sealed them and I would have used, this polycrylic in matte. I may go back and seal the doors, at least the ones we use the most such as the ones under the sink
Would I do this project again? Probably not tomorrow, BUT I am not afraid to take this on again, if we ever buy a new house and want to paint the cabinets. It’s really not that hard, the prep work takes longer than actually painting. Also, waiting in between each step takes a while. Take your time, enjoy the process, and I promise you it will be worth it! These photos prove it!!!
Look at the comparisons from the listing photo to now!


Next up, I will be sharing about our countertops, sink, and faucet so stay tuned!
SHOP THE KITCHEN CABINET PAINT PROJECT HERE:

Be sure to sign up for our free newsletter to stay up to date with what is going on over here :)
Upon signing up, you will receive 3 gallery wall printables, 5 on the go Mom hacks, and gain access to our FB group! Scroll to the bottom of the page to join! We’d love to have you as part of our community!
Thank you for stopping by the blog!
XO
-LA
SAVE THIS POST FOR LATER, PIN IT NOW: