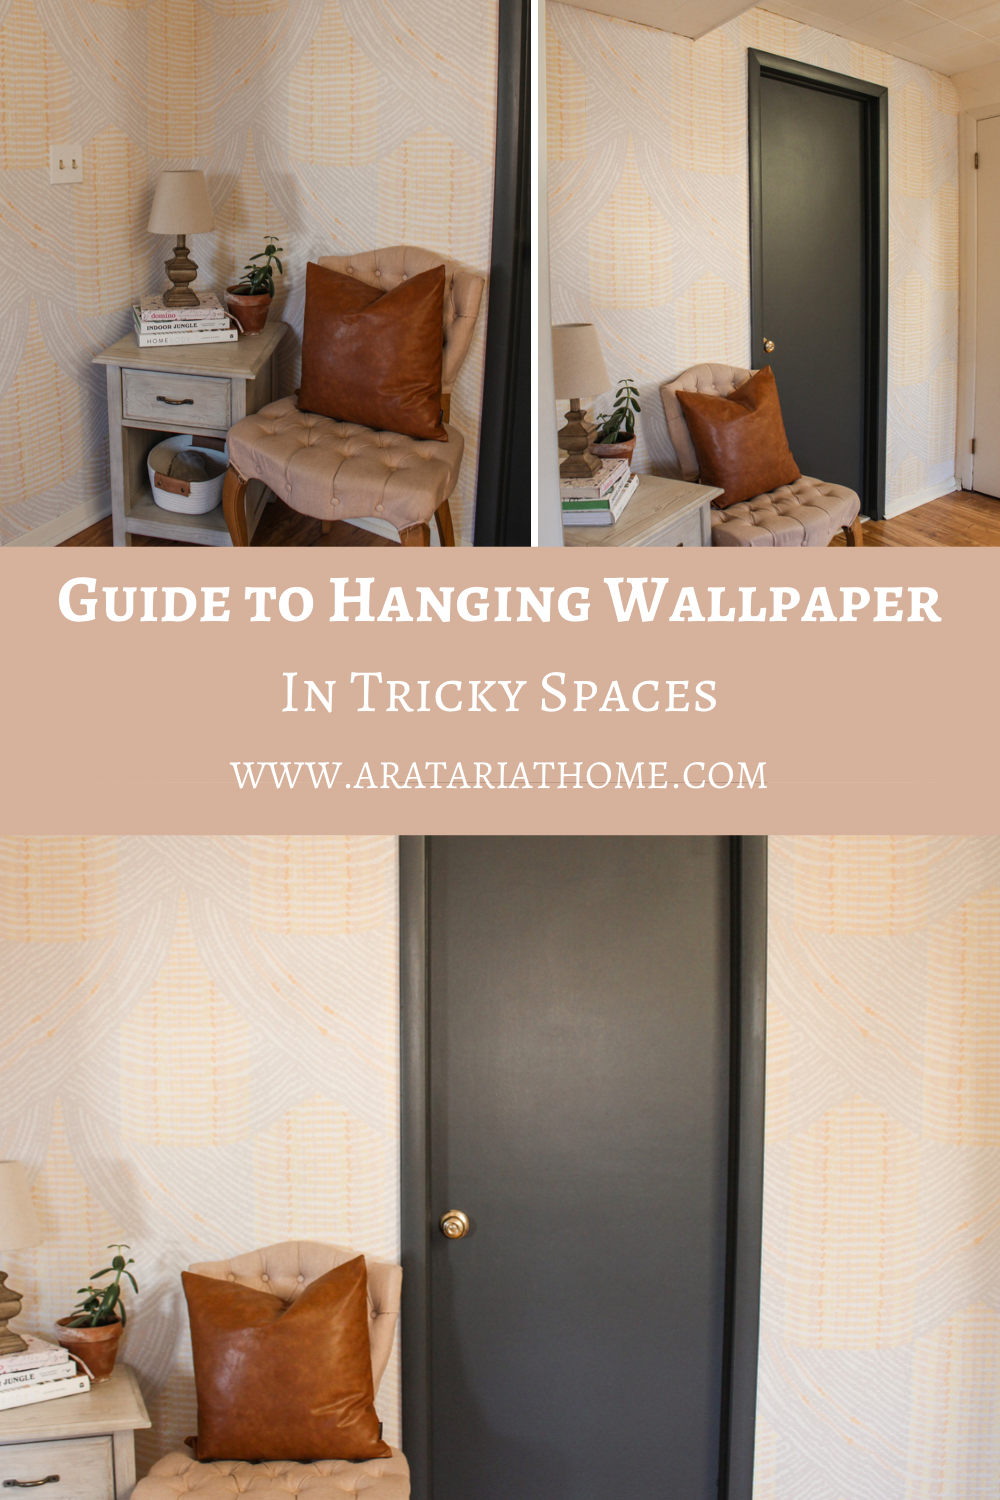
A Guide to Hanging Wallpaper in Tricky Spaces
We recently put up wallpaper in this very tricky space in our family room so I came up with this guide to help you out!
See the wallpaper we put up in Dominic’s old nursery HERE.
This guide should help you when you want to wallpaper a tricky space with corners and different ceiling heights.
This post contains affiliate links. If you click on these links and purchase something, I make a commission at no additional cost to you. This helps to support my blog, so thank you SO much!
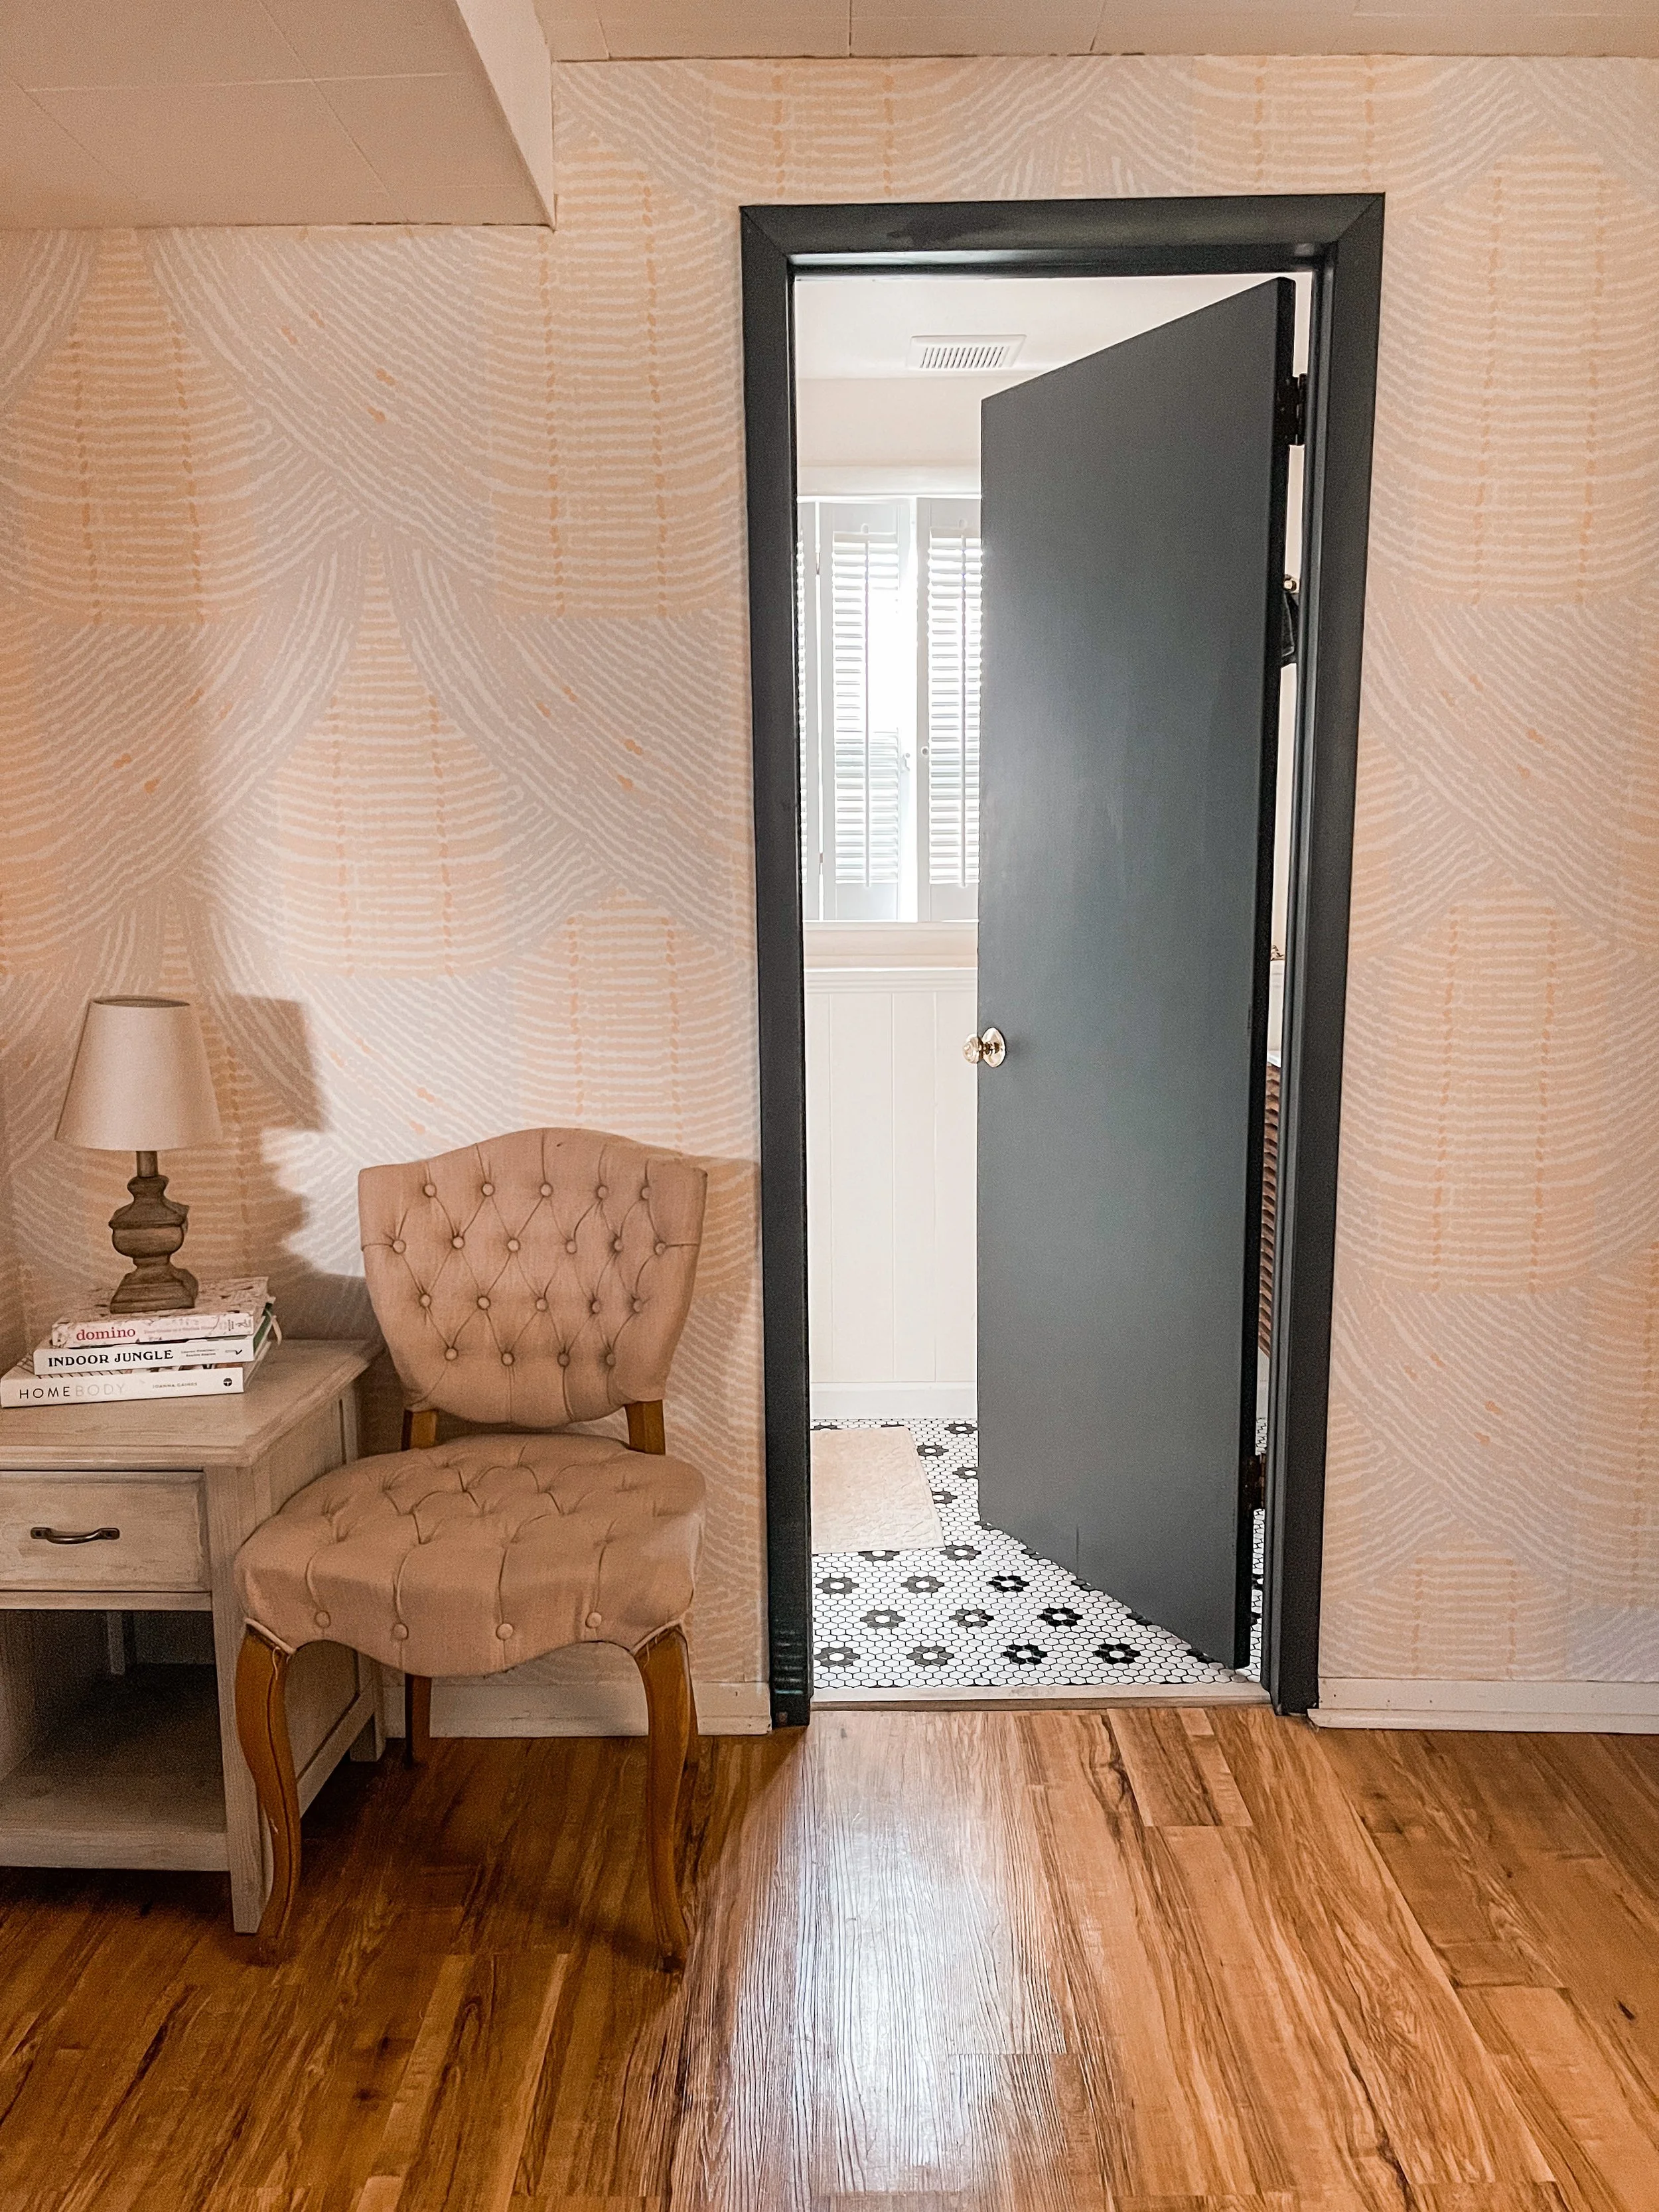
I decided I wanted to wallpaper this little random nook in our family room. It’s kind of a useless space because the door to the bathroom is here along with the door to the basement. You can see this nook from the kitchen and living room though, so I thought this would be the perfect space to add a little pizazz to!
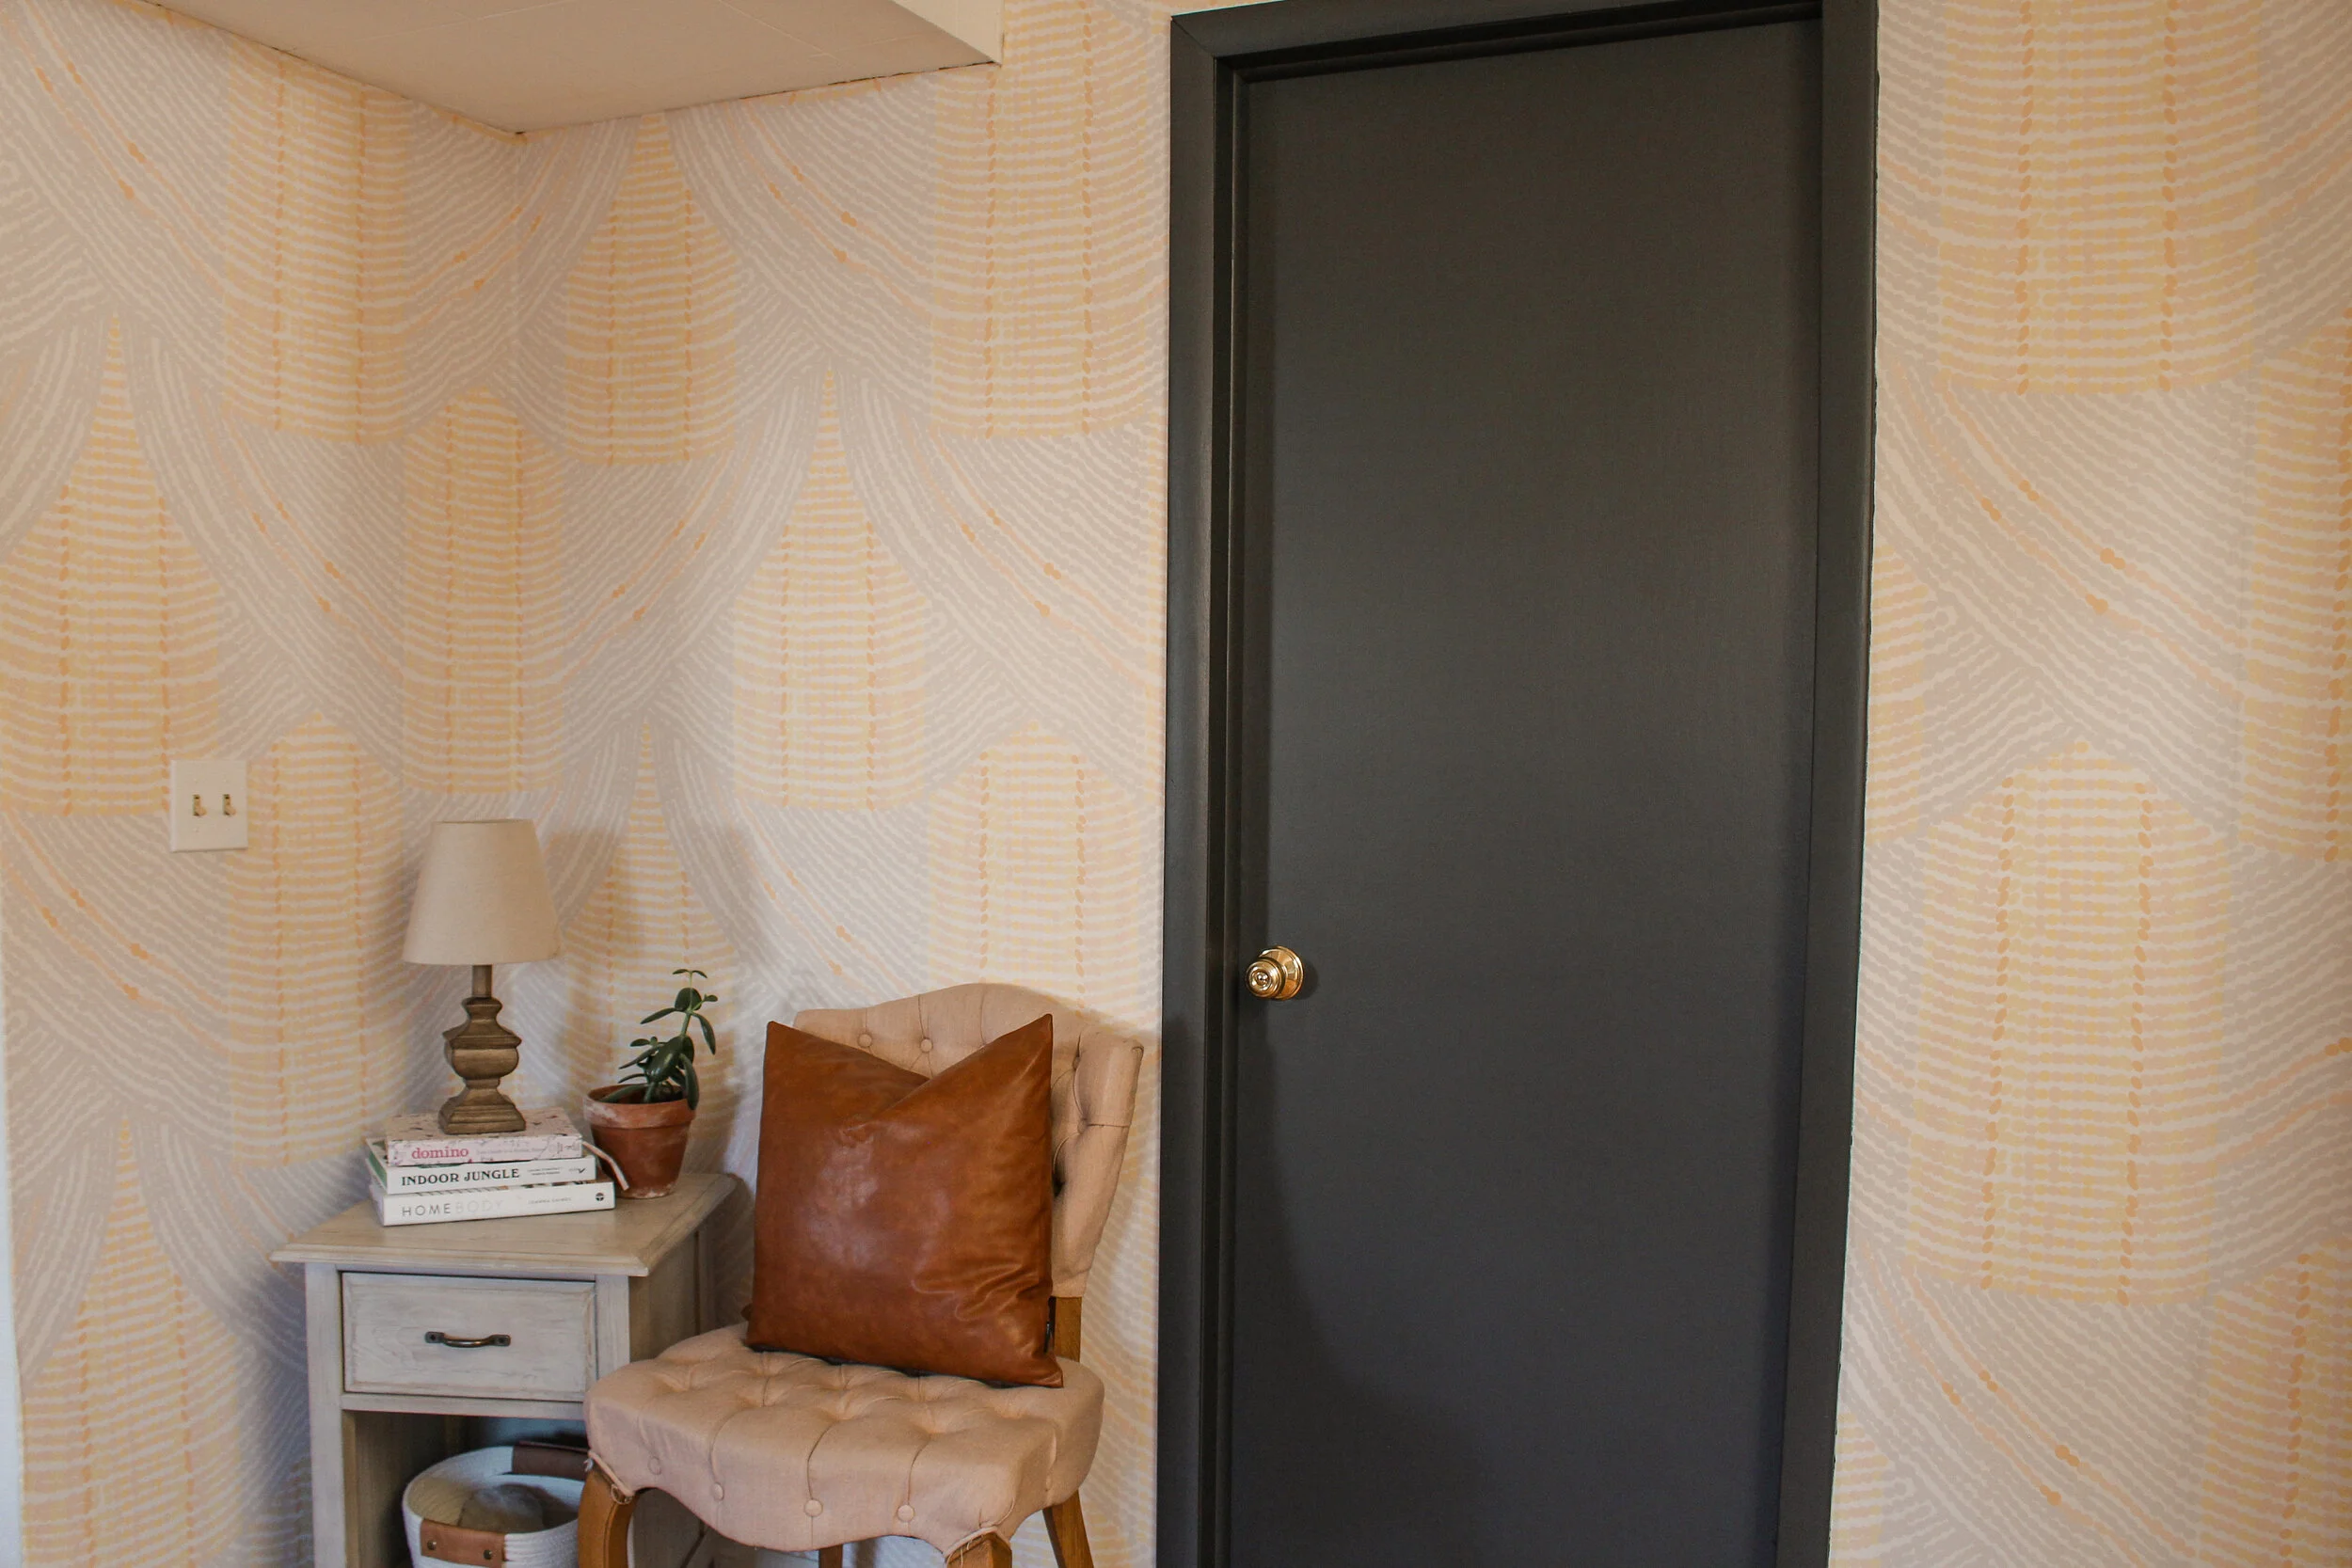
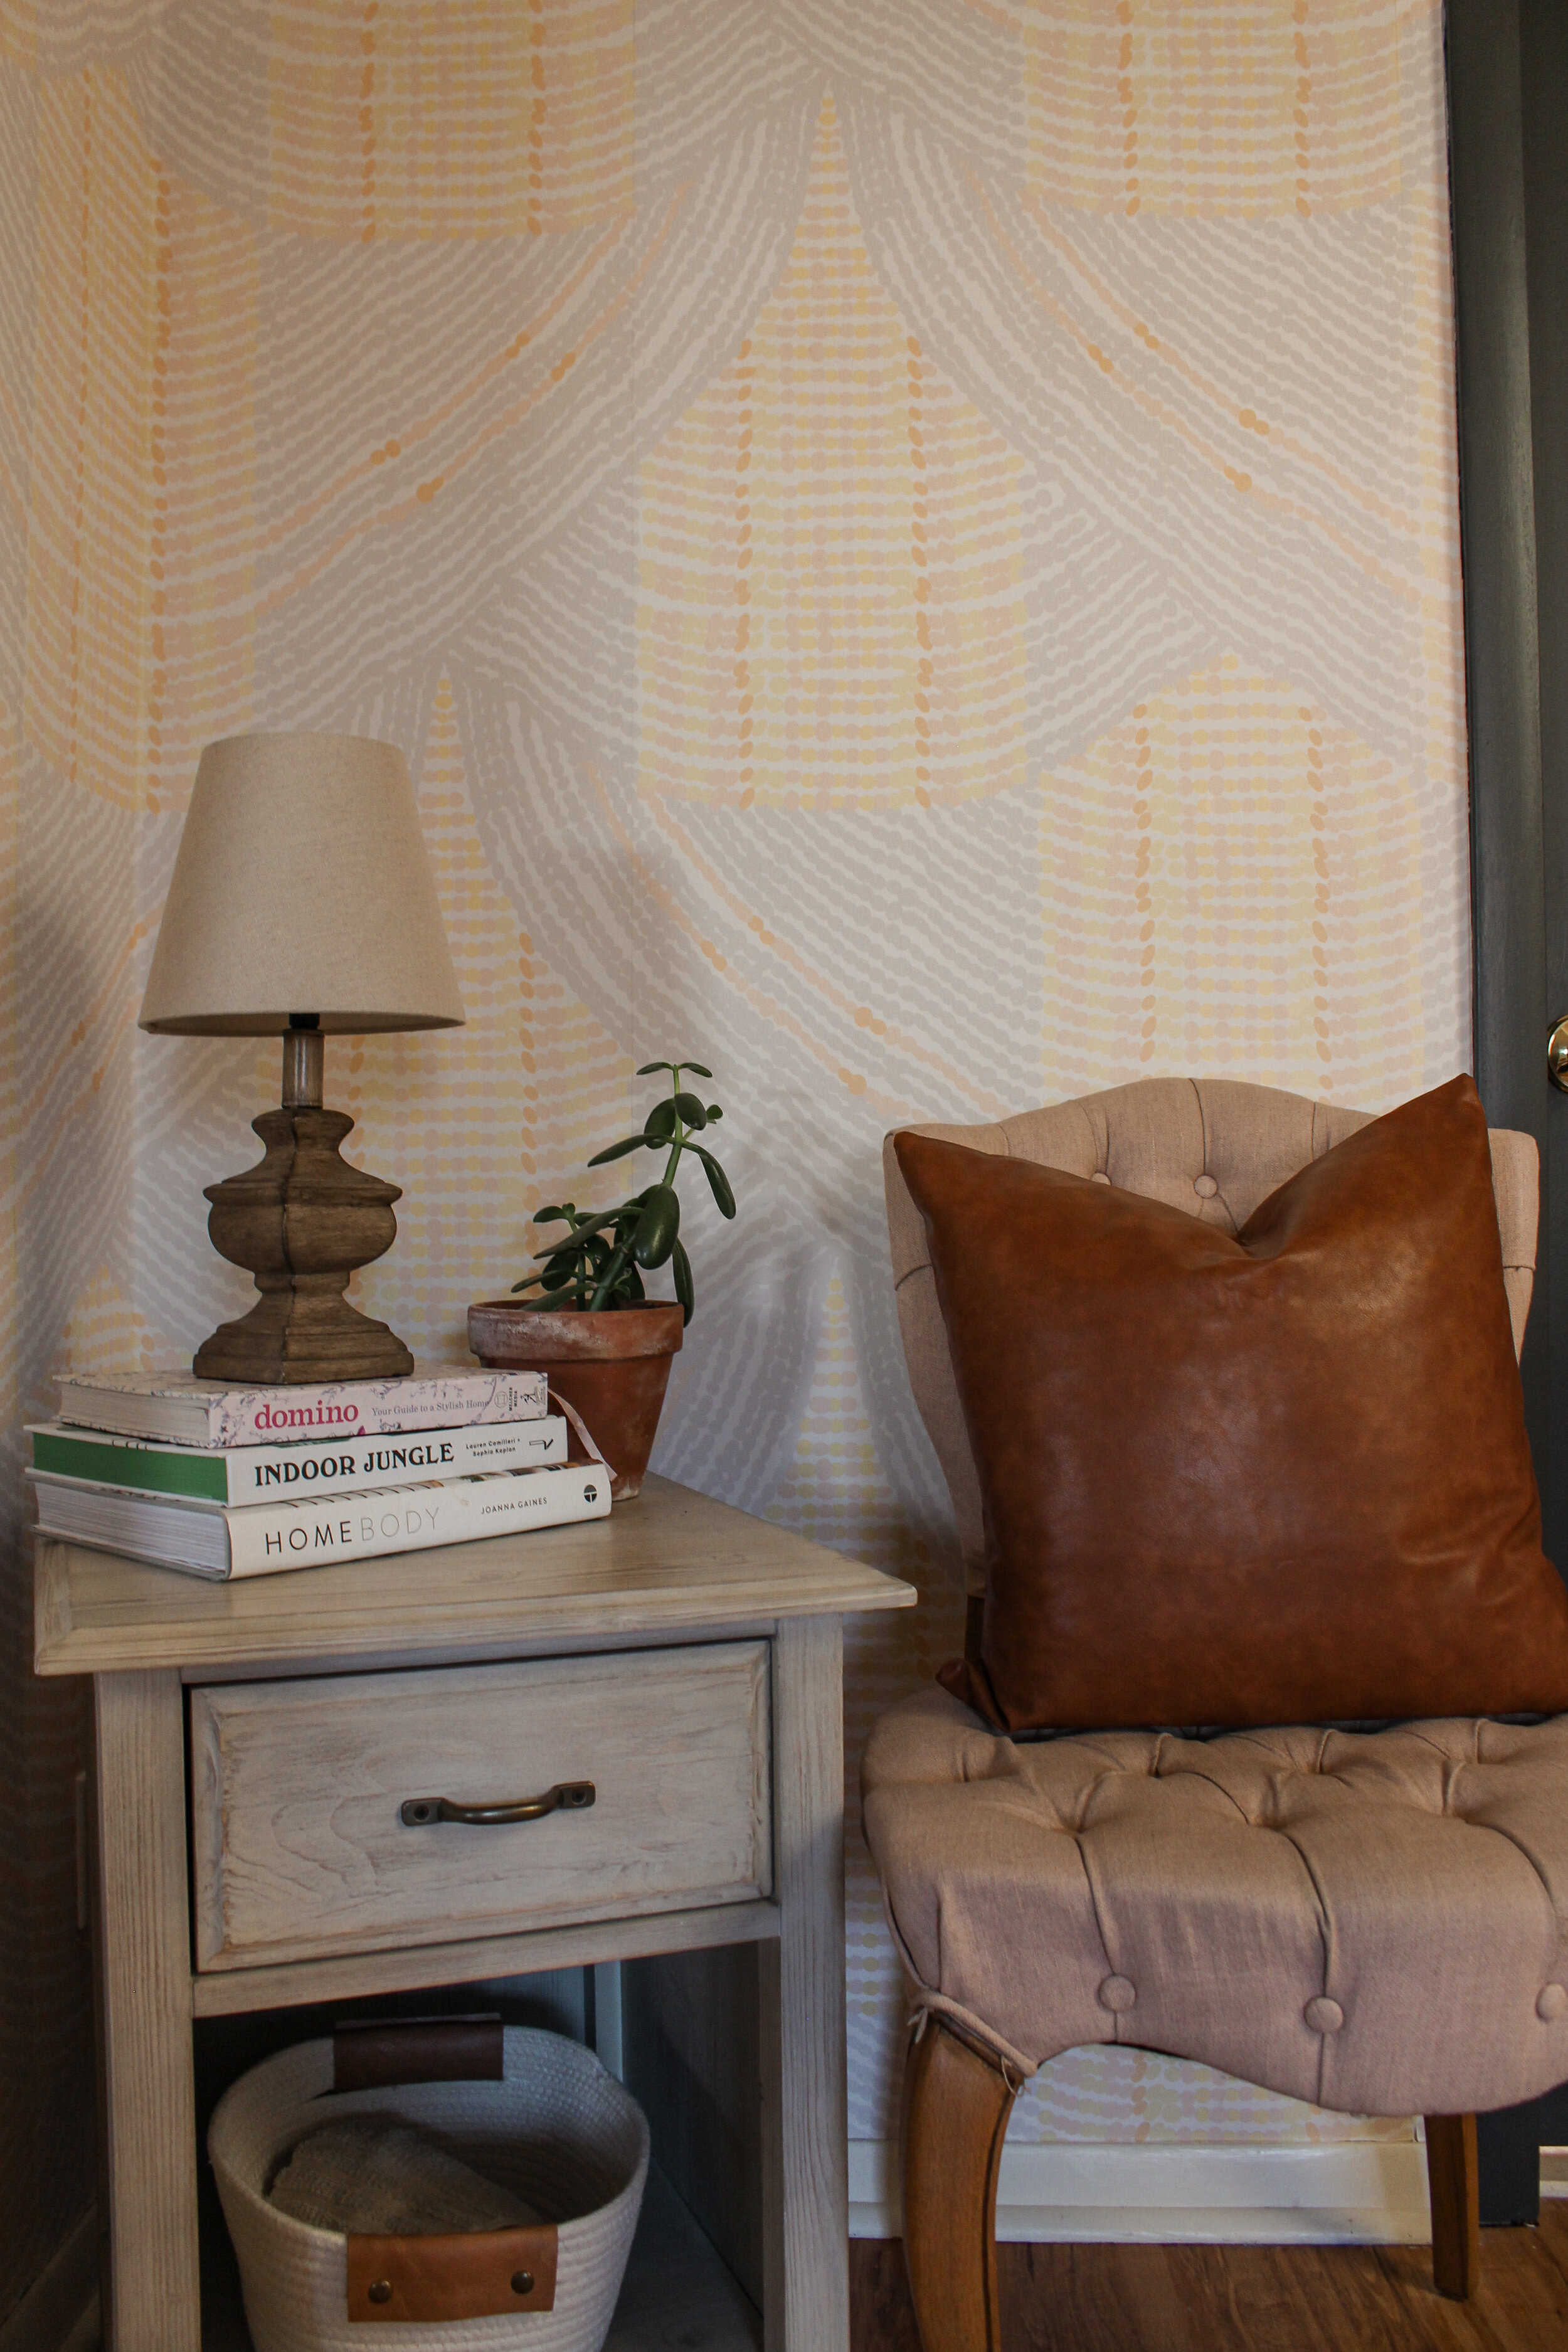
I found this wallpaper from Milton and King and instantly fell in love. This design is the Zulu Efuru in the color pina colada. The name means Zulu warrior daughter/Zulu Princess. It’s made to look like beads from the colors of South Africa like clay, sand, and grass. I love the connection to Earth and all the textural details. It is such good quality wallpaper. It’s durable and easy to clean. I love this wallpaper because you apply glue to the wall rather than adding water to the paper and then sticking it to the wall. It makes application a lot easier.

Now, silly me, I figured this space would be so simple to wallpaper! It’s so small so I assumed it would be a quick little DIY project. Thankfully, my Mom was visiting and was able to help because this required a lot of brains and hands on deck! Don’t let that intimidate you though, I am SO proud of us and how this turned out and you can DEFINITELY do this too!
So we have put up wallpaper before, in Dominic’s nursery and it was a breeze. The wall was perfectly straight with no break ups from a door or window. This space is much trickier as there is a door, a corner, some outlets, and different ceiling heights.

WHAT WE SHOULD HAVE DONE
We started from the left and we should have started from the right. Let me explain! We normally start everything from left to right so we just thought that’s what we should do. After we put up the first piece, we realized it would have been easier going from right to left. The right side has higher ceilings so it would be easier to go from a higher height to a lower height to make sure the pattern lines up.
The way we did it, we had a harder time lining up the two papers as we had to guess what was above the previous one. Rather than having it as high as possible and working down, we had to do it the opposite way. We did figure it out, but learn from us and start at your highest point!

TOOLS NEEDED
We used several tools that were very helpful in the application. One being a sponge to help push out any air bubbles. I found a sponge and my hands were the easiest way to hang the paper. I also used a plastic trowel to really push down the corners and edges. You have to be very careful when using this as to not rip the paper.
A measuring tape, ruler, scissors, a ladder, a sharp box cutter, and a pencil were also handy to help with the project. This wallpaper uses wallpaper glue too so you will need an angled brush and a roller.

APPLICATION PROCESS TIPS
We followed the instructions that were included with the wallpaper from Milton and King. They were very informative and it was exactly how we installed the paper. These are just a few extra tips, we learned!
Have patience when hanging wallpaper. It may take some time, but you will get it!
Measure the length of the wall and add a few extra inches before cutting anything. Measure twice, if you want to
Grab a buddy, if you can. Having 2 people is great for lining up the pattern. One person can start at the top while the other person guides it down the wall ensuring that it is all lined up properly
Start at the highest point and work down from there
The glue doesn’t dry instantly so you have some time before you have to put up the wallpaper. You can also remove the wallpaper if it isn’t lining up properly. Carefully peel it back to rearrange it on the wall. Really ensure you get into the corners, the ceiling, the baseboards, the edges, etc. You can also go back with a small paint brush if an area is not sticking well. Paint a larger section than you think you need with the glue so that you don’t miss any spots when going to hang up the paper
When going around doors/windows, cut off excess as soon as possible so that the extra weight doesn’t pull down the wall paper
When going around a corner, press into the corner before moving onto the next side. Work down then over. At the bottom, the wallpaper may be bulky, so carefully cut a slit into the corner so that you have some more give, ensuring that you don’t cut into the wallpaper that will actually be on the wall.
Use your hands and a clean sponge to smooth out the air bubbles. Use the plastic trowel to guide the wallpaper into the hard to reach spaces such as the corners, top, bottom, and edges. These are the hardest places to reach, but the most important to ensure the wallpaper is secure
Make a template for tricky areas. The right corner is kind of curved on my wall so we made a template out of paper that I traced onto the wallpaper. I cut it about 1/2” bigger than needed to give me a little wiggle room
Use a box cutter to trim the edges when it is completely dry


THE RESULTS
I love, love, love how this space turned out! It’s such a nice pop for a kind of forgotten little area in the family room. I love the movement and texture of the design. It’s exactly what I was looking for to tie in the upstairs and downstairs. It’s subtle, but makes a statement at the same time. I love the painted door for the bathroom too! It’s a nice contrast with the wallpaper.
I think it’s fun to make the little spaces in your home unique, even if they are not the main spaces. This gives your home character and makes it feel like your own. If we can tackle this tricky little nook, you can definitely wallpaper in your home too! I hope this inspires you to try hanging up some wallpaper. It will make such an impact in your home! Check out the whole Milton and King website for all their gorgeous designs!
SHOP THE POST:


Be sure to sign up for our free newsletter to stay up to date with what is going on over here :)
Upon signing up, you will receive 3 gallery wall printables, 5 on the go Mom hacks, and gain access to our FB group! Scroll to the bottom of the page to join! We’d love to have you as part of our community!
Thank you for stopping by the blog!
XO
-LA
SAVE THIS POST FOR LATER, PIN IT NOW: