How to Update Concrete Steps
I am so excited to share how we updated our concrete steps!
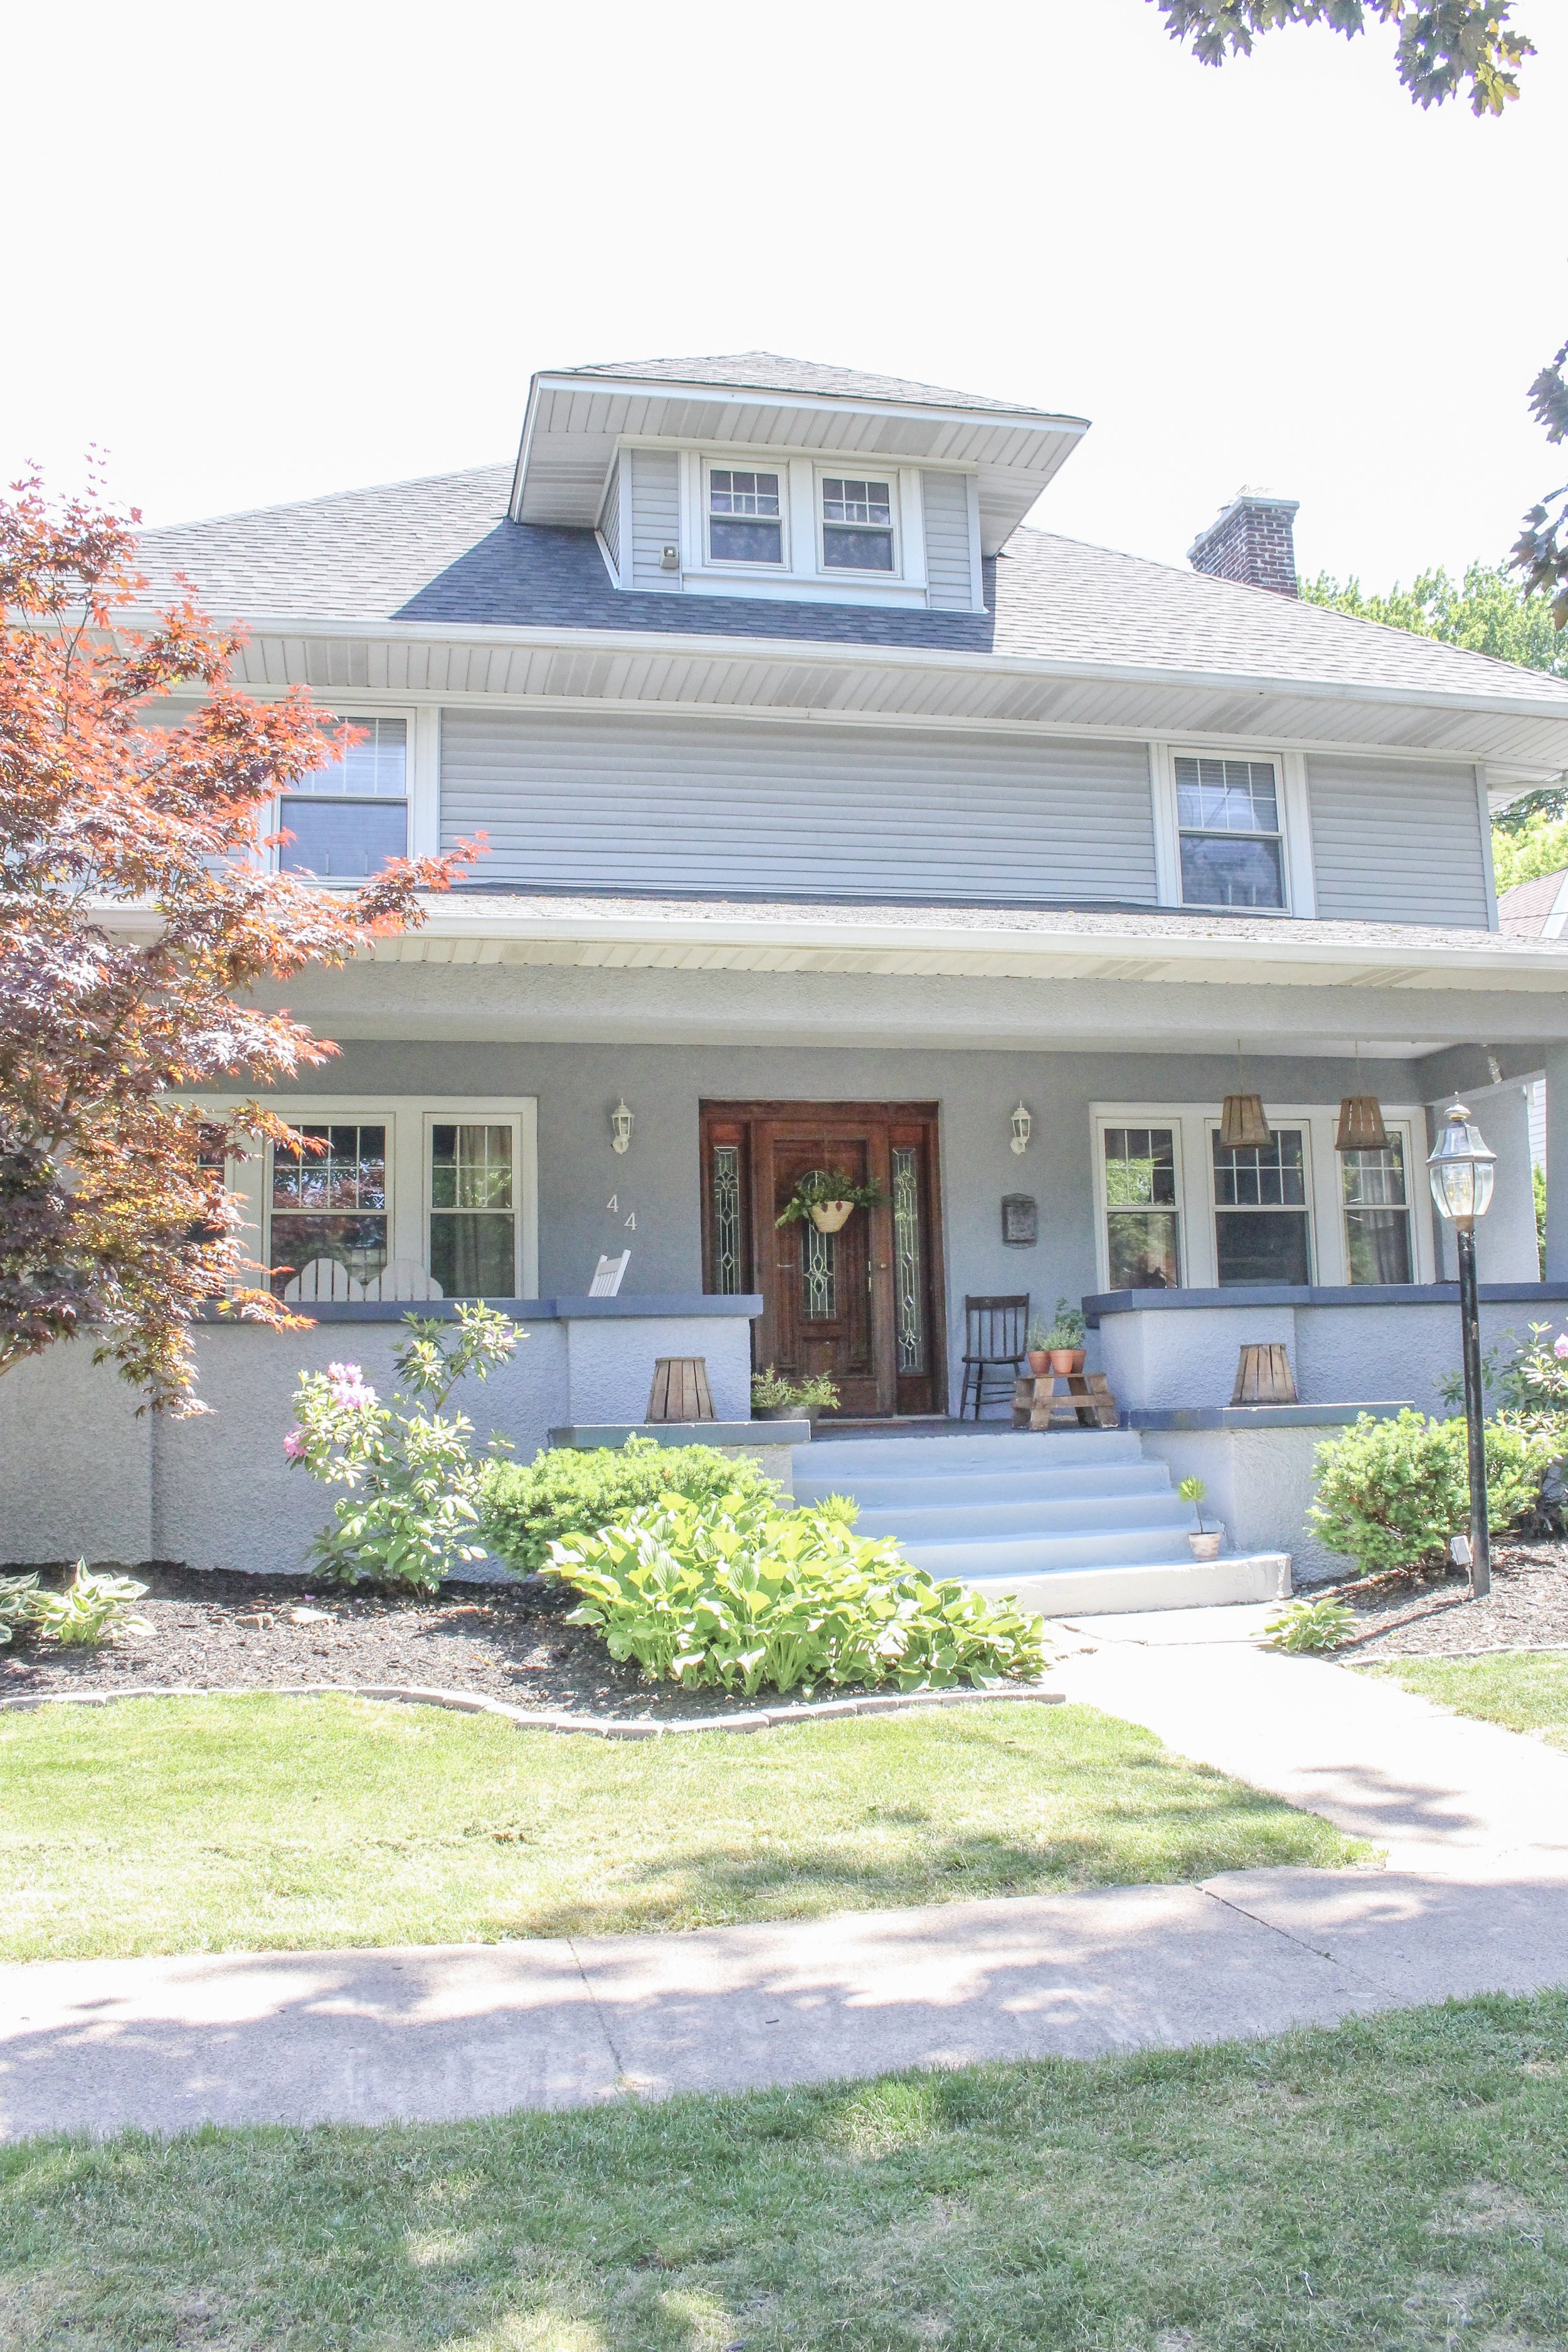
Our porch is kind of what sold us on the house and I love decorating it each season, see what I did last Fall, HERE.
Below are my easy techniques on how to update concrete steps.
This project took a bit longer than expected, but we got busy so this sat on the back burner for a few weeks...eye sore and all! It was worth the wait because I think they turned out beautiful!
The process was honestly a lot easier than we ever anticipated! We kind of made it up as we went, but it worked. Anyone can do this project!
BEFORE:
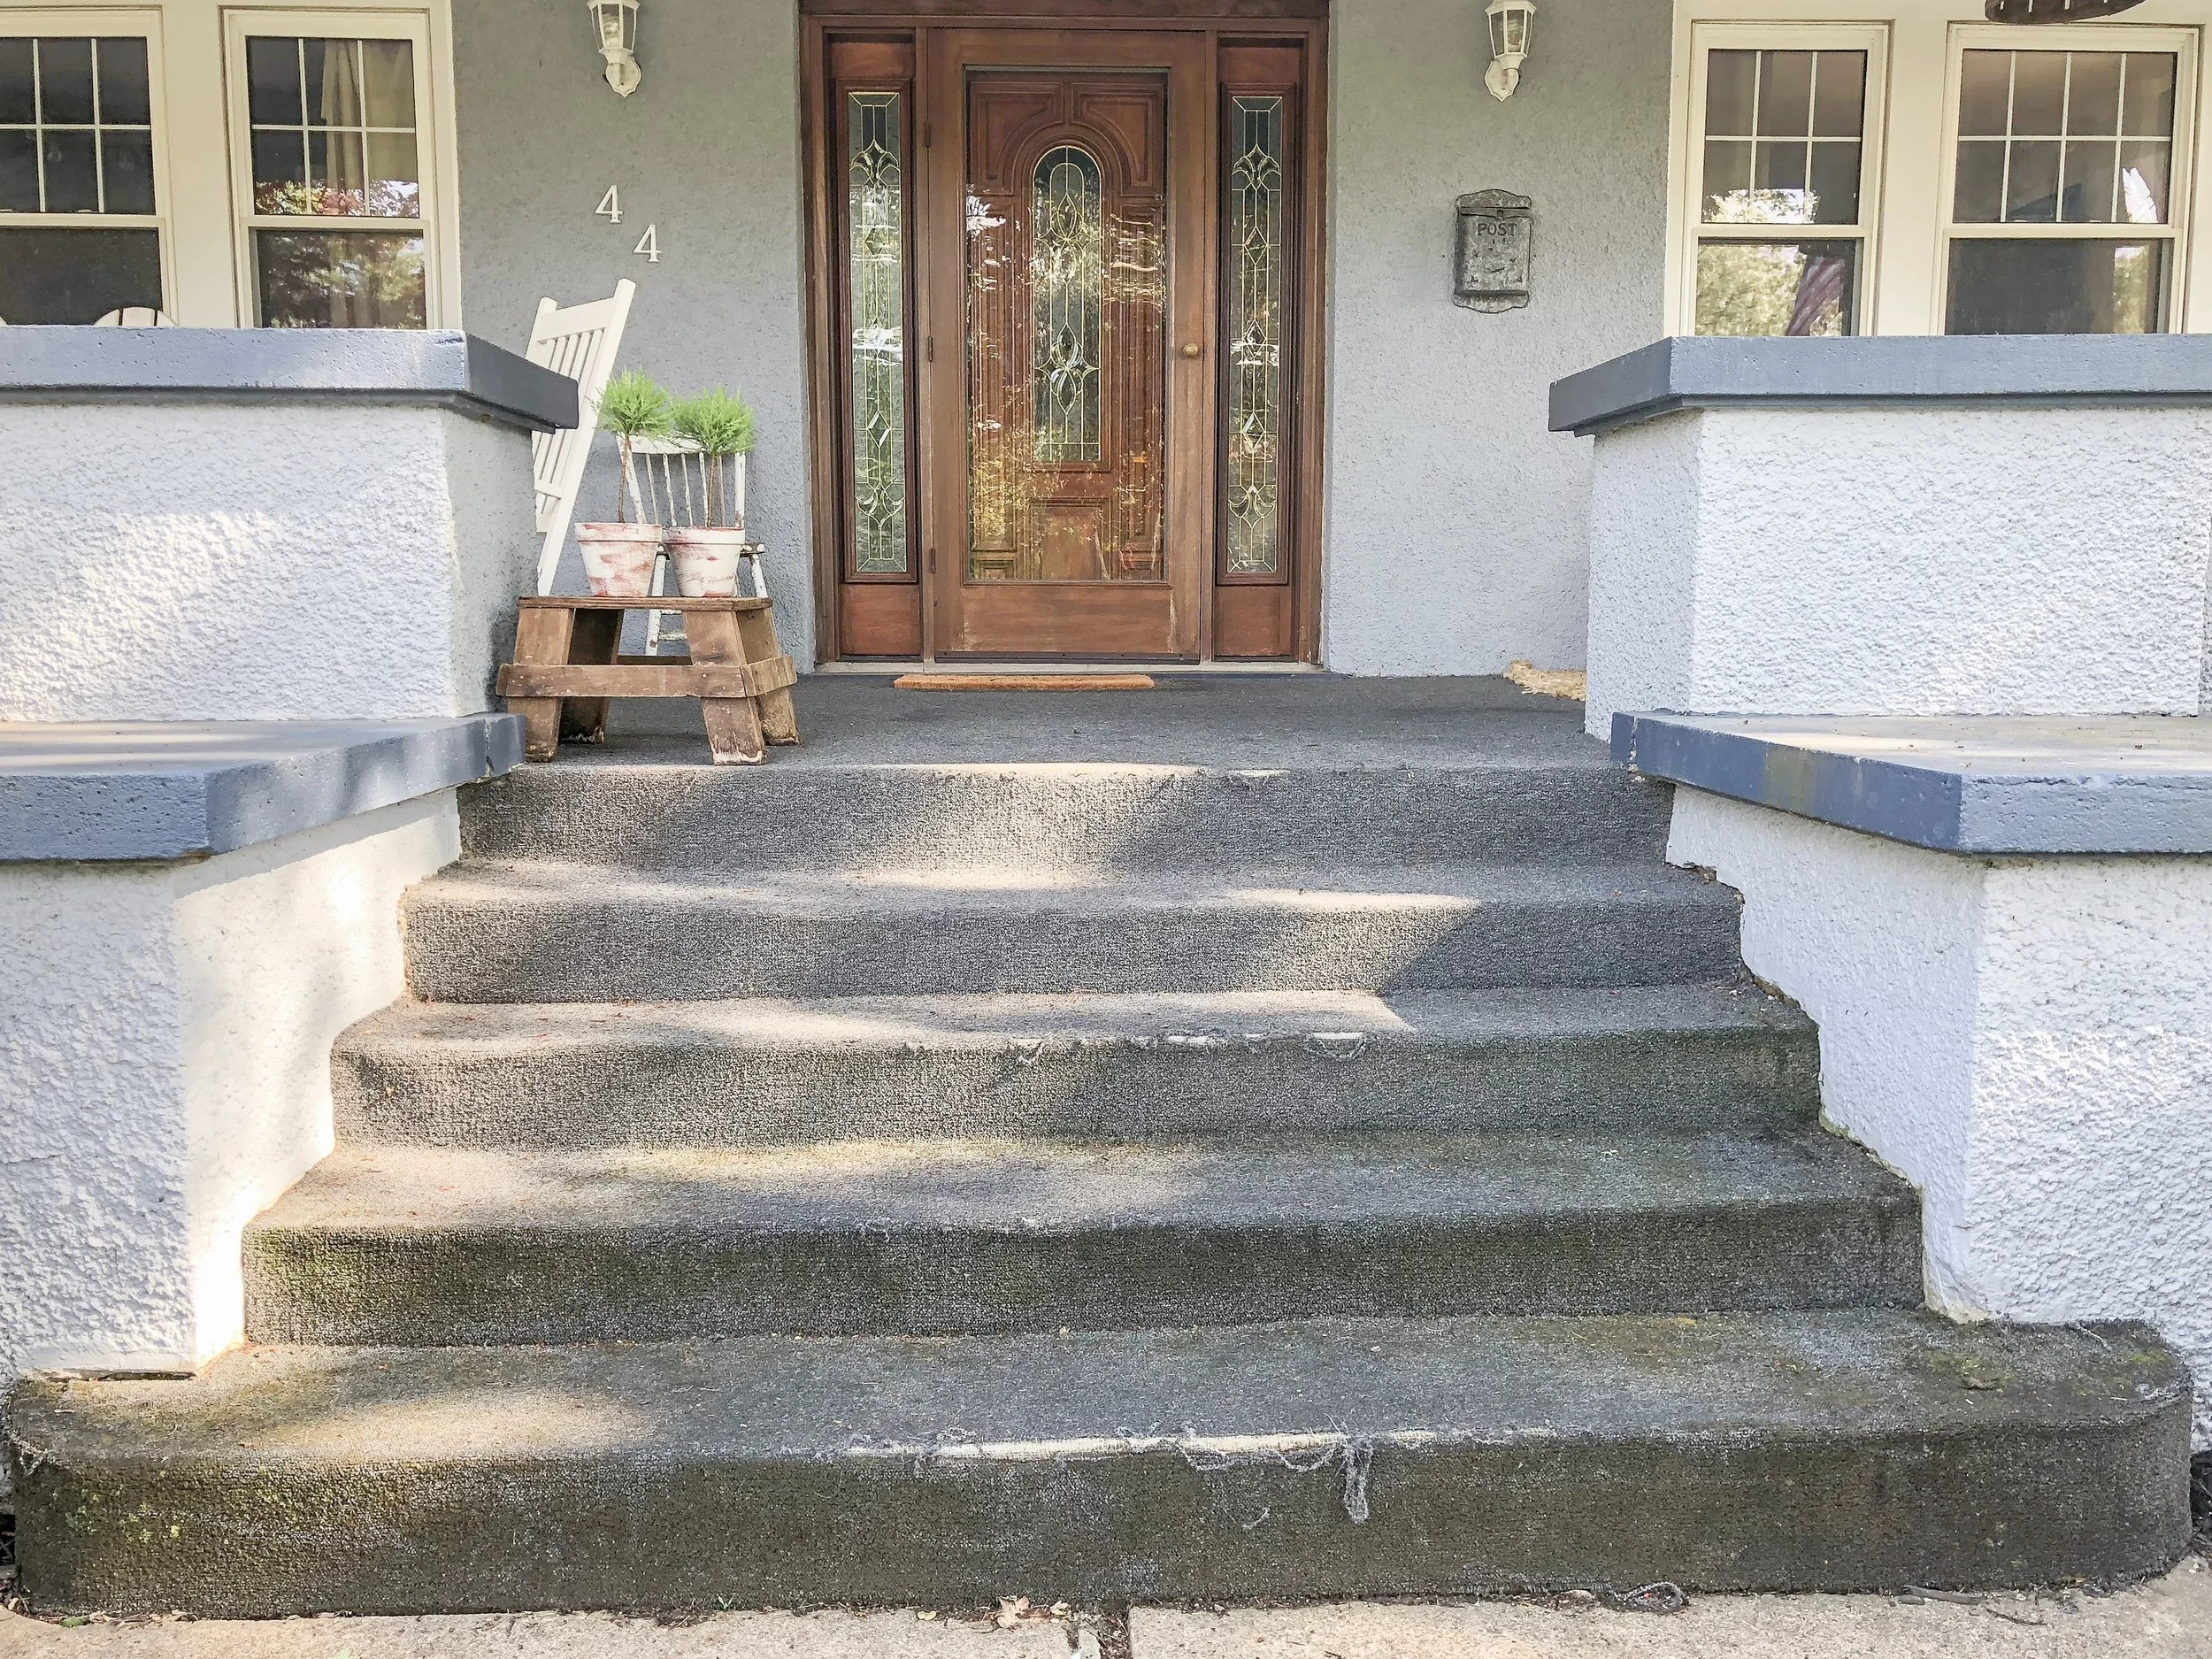
AFTER RIPPING UP THE CARPET: (Hi Dominic and Freddy!) You can see the bottom right step needed a lot of help and reconstruction

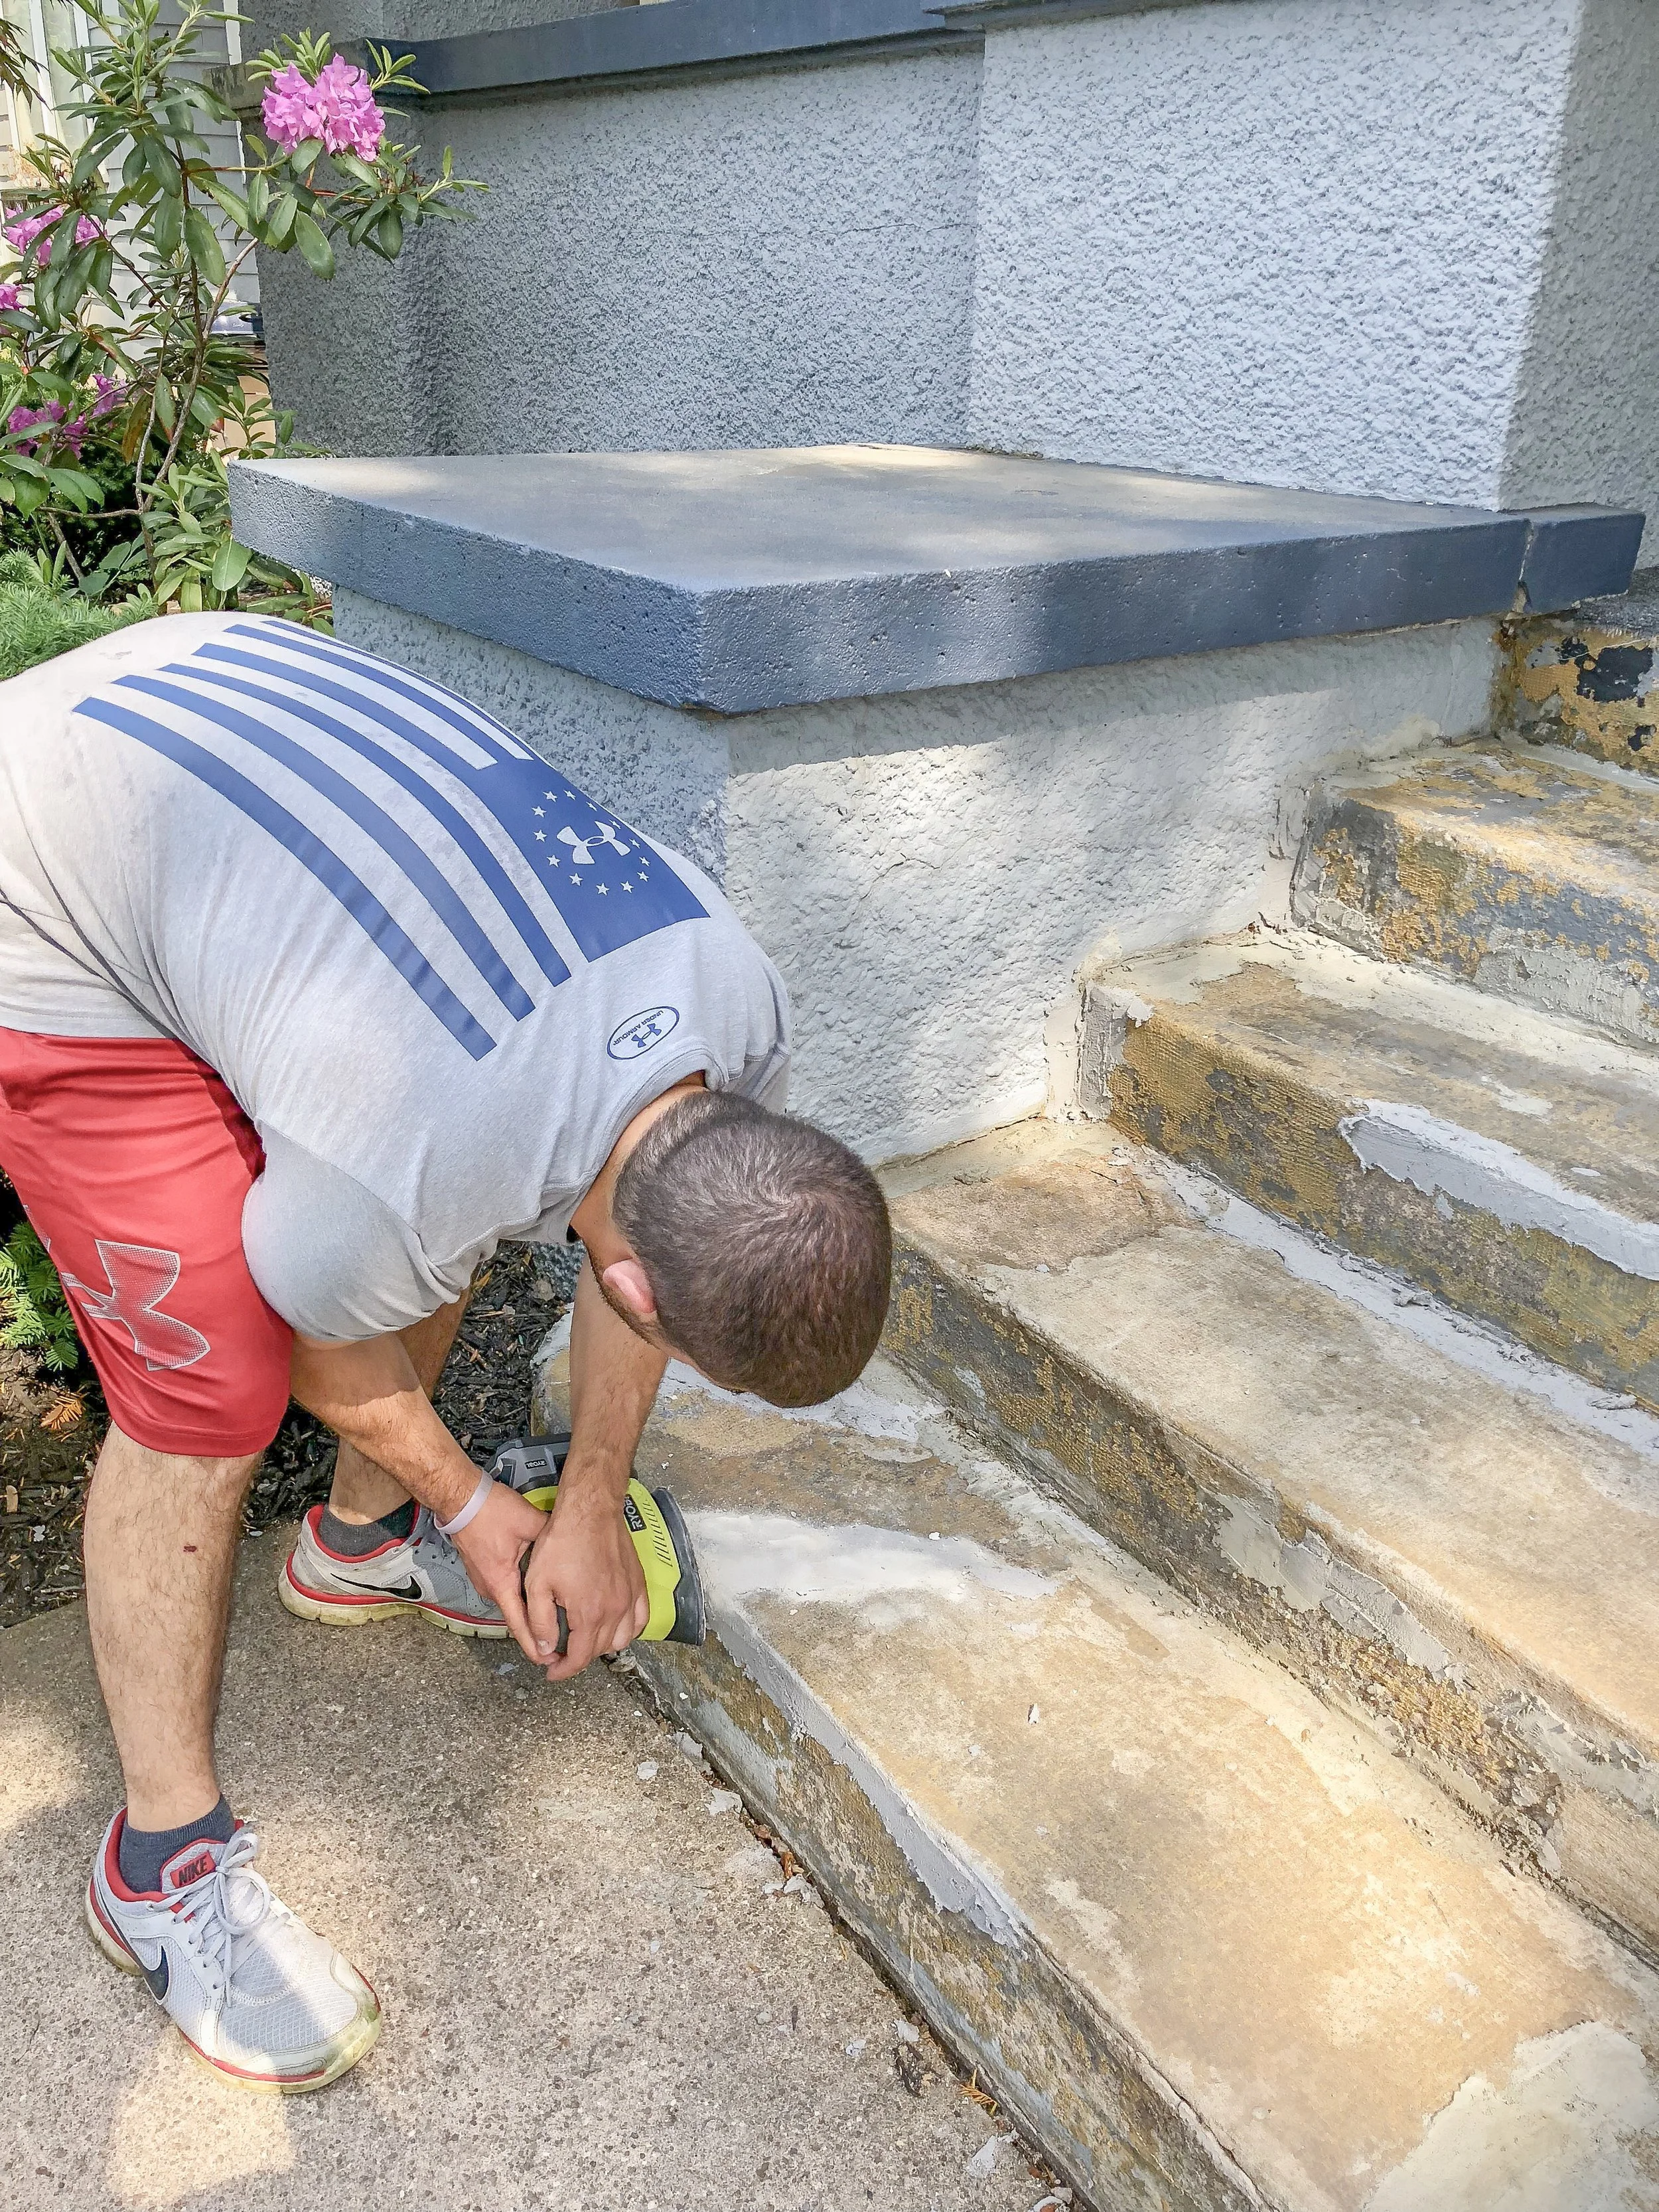
John Paul sanding down the concrete patches:
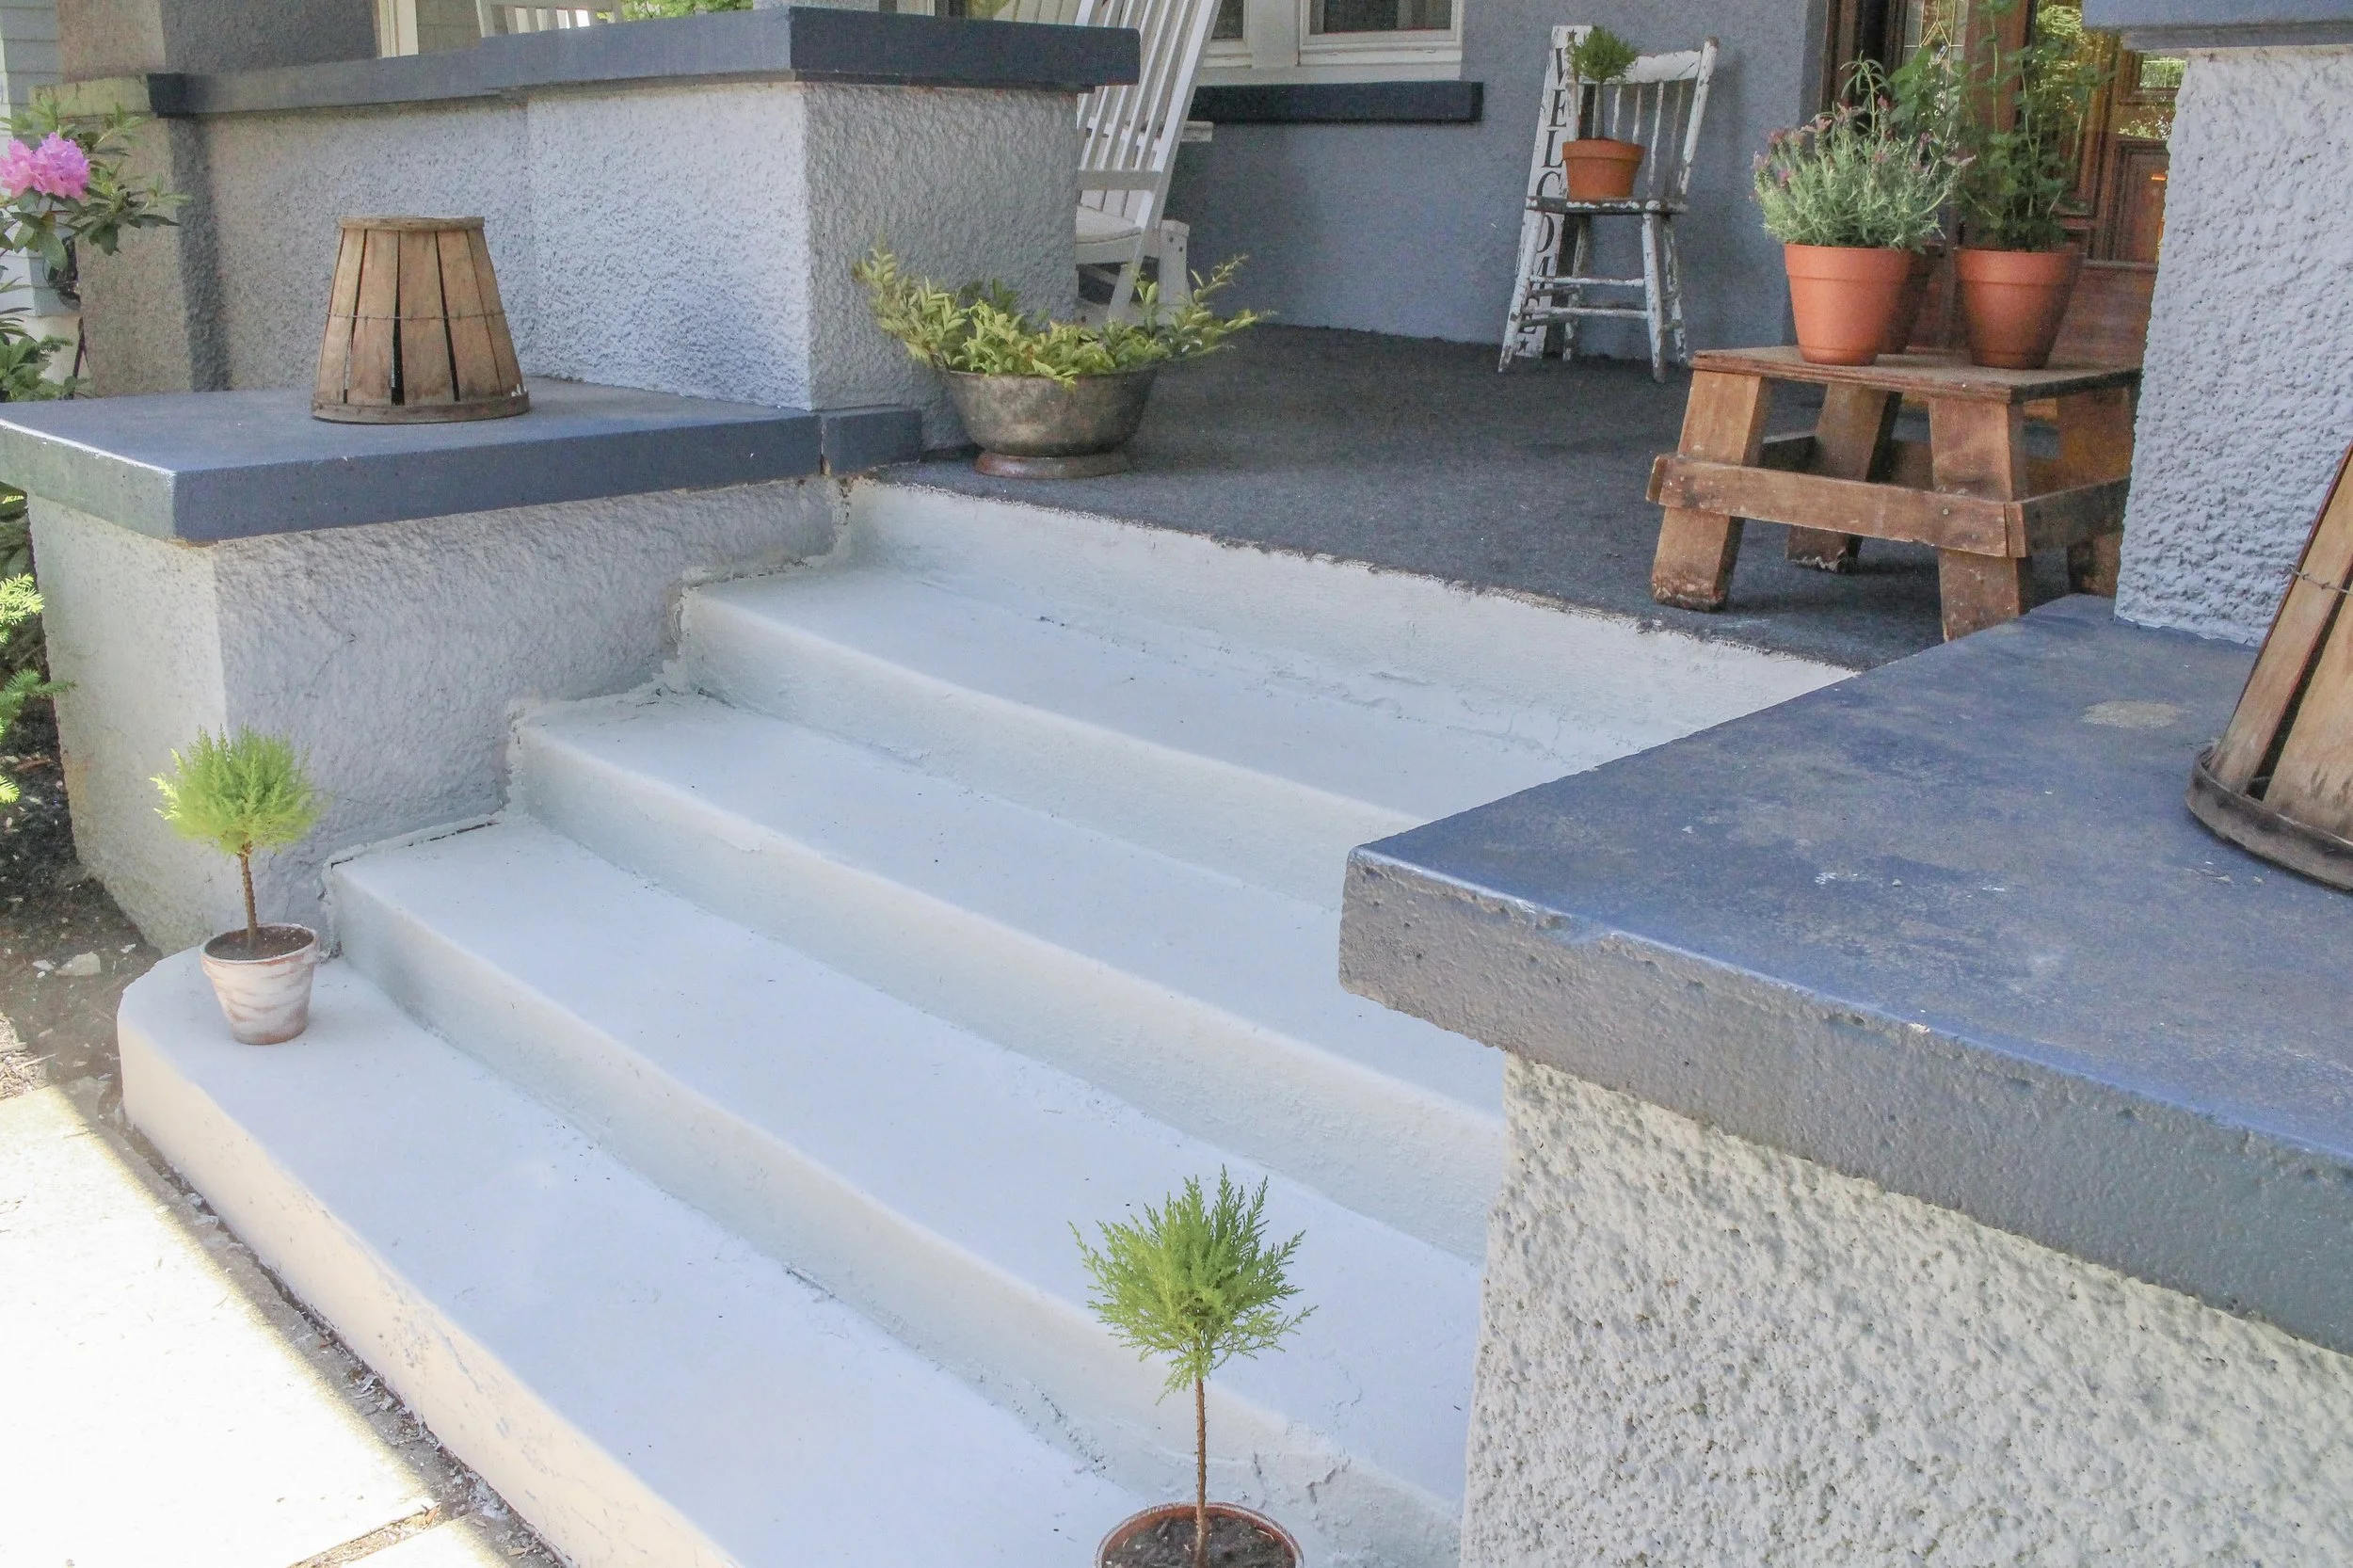
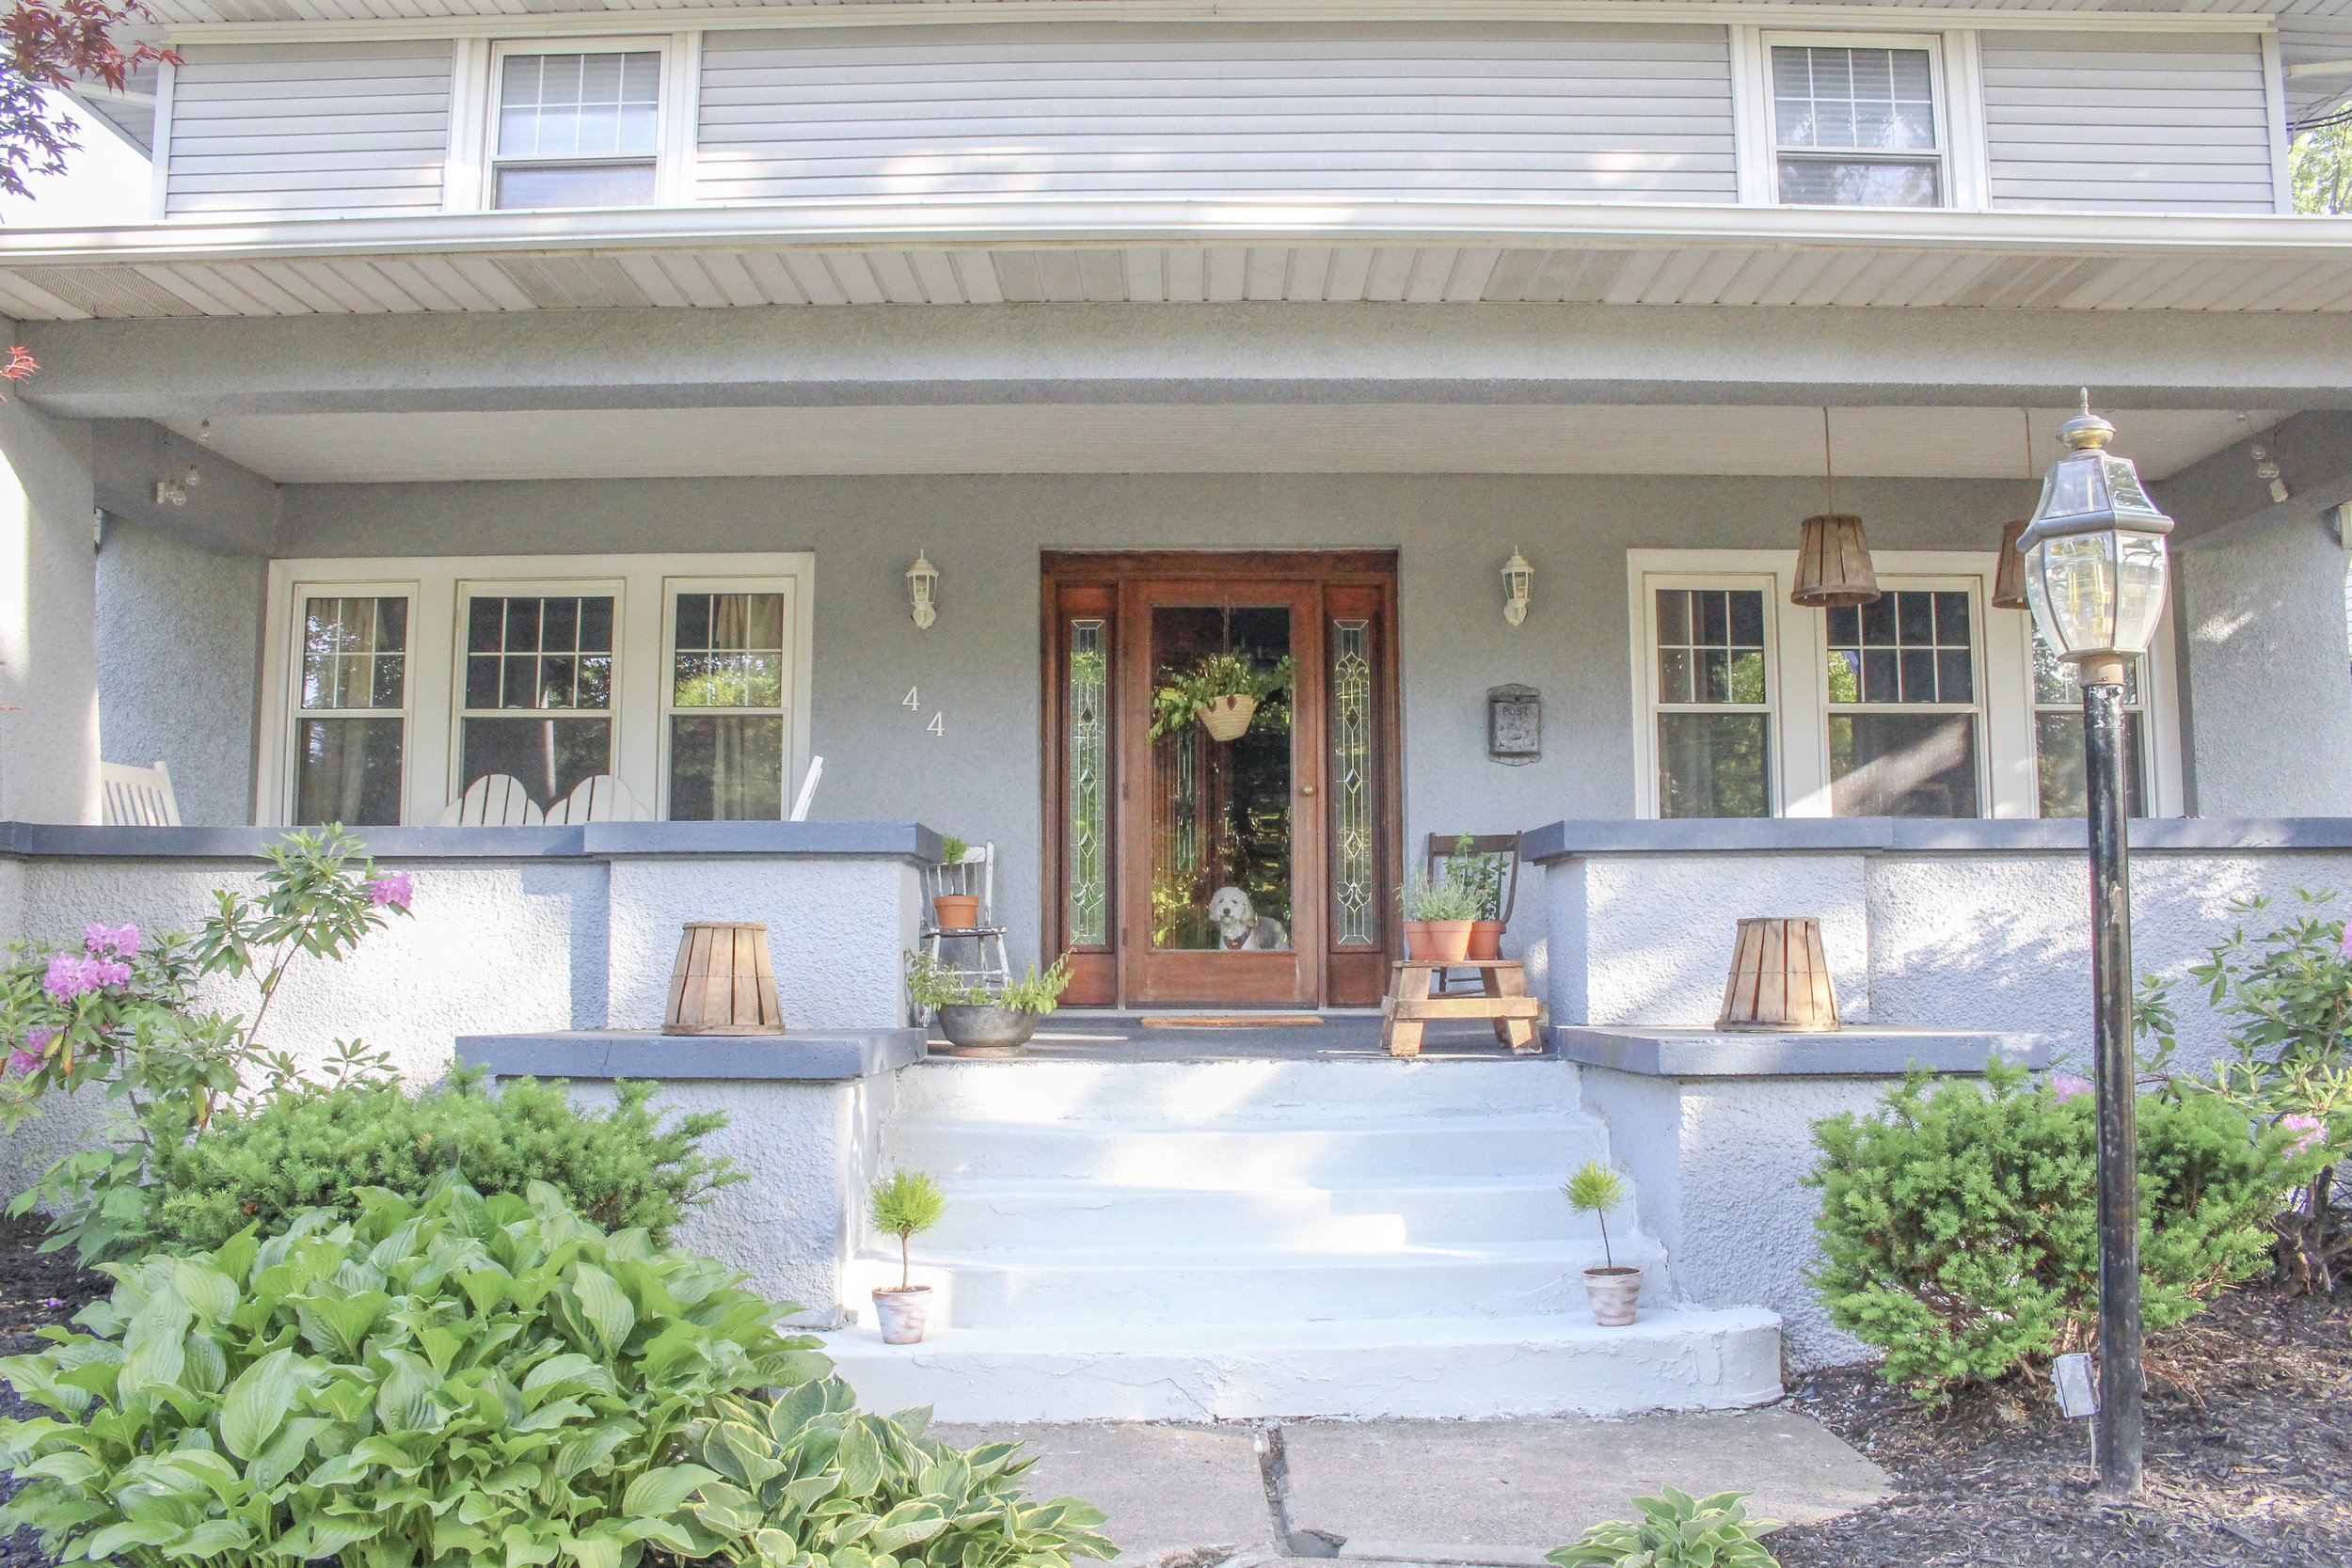
AFTER:

So here is my step by step tutorial on how to update concrete steps.
MATERIALS:
Quikrete Quick Setting Cement (if you have large areas to patch, like our first step on the right was broken off from the rest of the step)
Behr Deck Over Paint (we used the smooth finish in Cape Cod Gray)
Sander
Angled Paint Brush
1/2" nap roller
DIRECTIONS:
1. We had to rip off all the old carpet that was on our steps (if you don't have carpet, you obviously would not have to do this)
2. Vacuum the steps to see what we were working with and what needed patching/fixing
3. Mix the Quikrete with water (followed the instructions on the back of the container)
4. Take both trowels and spread the Quikrete cement into the step/area that was the most damaged to rebuild it so that it wasn't falling apart. We used both trowels to help get into all the nooks and crannies depending on where we were putting the concrete, we would switch the trowels to make it easier to apply.
5. Use the Sika Ready-mix Concrete Patch to patch up the rest of the tiny crack, holes, edges, etc that were small enough to not need heavy duty cement. If the holes were deeper/wider, we would build up the concrete a bit so that it would all stick to each other to fill in the crack.
6. Allow the concrete to dry at least over night (we waited a few days because we got busy in between)
7. Sand off any large pieces of cement to level everything out as best as you can (this is where we did not do it perfectly). We mainly focused on the middle parts where we would be walking so that we wouldn't trip on any big chunks of left over cement
8. Vacuum steps again to get rid of debris, left over cement pieces, leaves, grass clippings, etc
9. Mix the Behr Deck Over paint with a paint stick
10. Using an angled brush, cut in along the edges and in between each step because the roller won't be able to reach those areas very well
11. Using a 1/2" nap roller go over each step with a thick coat of the paint. You may have to go over some spots with the brush if the area is very textured/uneven. I rolled the steps as best as I could, then took the brush and filled in any holes that the roller couldn't get to
12. Allow to dry overnight without stepping on it or getting it wet
13. ENJOY YOUR NEW STEPS!
NOTE: The cement dries super quick so you have to work fast when you mix it or open the container. It can be helpful when you are trying to fill in deep holes/cracks so that you can layer up the cement.
It's really easy, guys!! I promise you can do it! We were a little intimated to do this project at first, but once we got going, it was super easy! It's just like regular painting/patching, but just a different surface.
We opted not to do a second coat because the first coat we painted on really heavy so we didn't need a second coat. The Behr Deck Over paint is super thick so we only needed a gallon of paint to do all the steps and we have some left over for touch ups if it chips/scratches.
I asked the people at Home Depot if we needed to prime and they said no with the paint we got, you don't need to prime it so we shall see if this holds up! They also told me I didn't have to seal it, so again we shall see. I will probably do a follow up post letting you know how this holds up.
The cool thing about this paint is that it comes in a smooth finish, textured finish, and extra textured finish depending on what look you want. You can also have them mix it in any paint color you like! We chose Cape Cod Gray which really kind of matches the house and I love it. This color is one of the options that the Behr Deck Over paint comes in.
I think we may do this to our back deck, but use a cedar color instead...I will keep you updated, if we do this!
We did have to leave our mark on these steps by imprinting Dominic's hand and foot print..how adorable!?

We love the transformation this made to the front porch. The carpet was old, ripping and had moss on it so it had to go! Now I want to rip up the rest of the carpet on the porch, but that may be a project for another year LOL

The concrete steps are completely updated and we love them!
Have you ever used Behr Deck Over paint? If so, let me know how it held up. If you have any other questions that I did not answer, please feel free to leave a comment too!
Thank you for stopping by the blog!
XO
-LA
*This post contains affiliate links. If you click on these links and purchase something, I make a commission at no additional cost to you. This helps to support my blog, so thank you SO much!*