DIY Cinnamon Ornaments
I wanted to create a fun DIY project to do with the kiddos so we made these cinnamon ornaments!
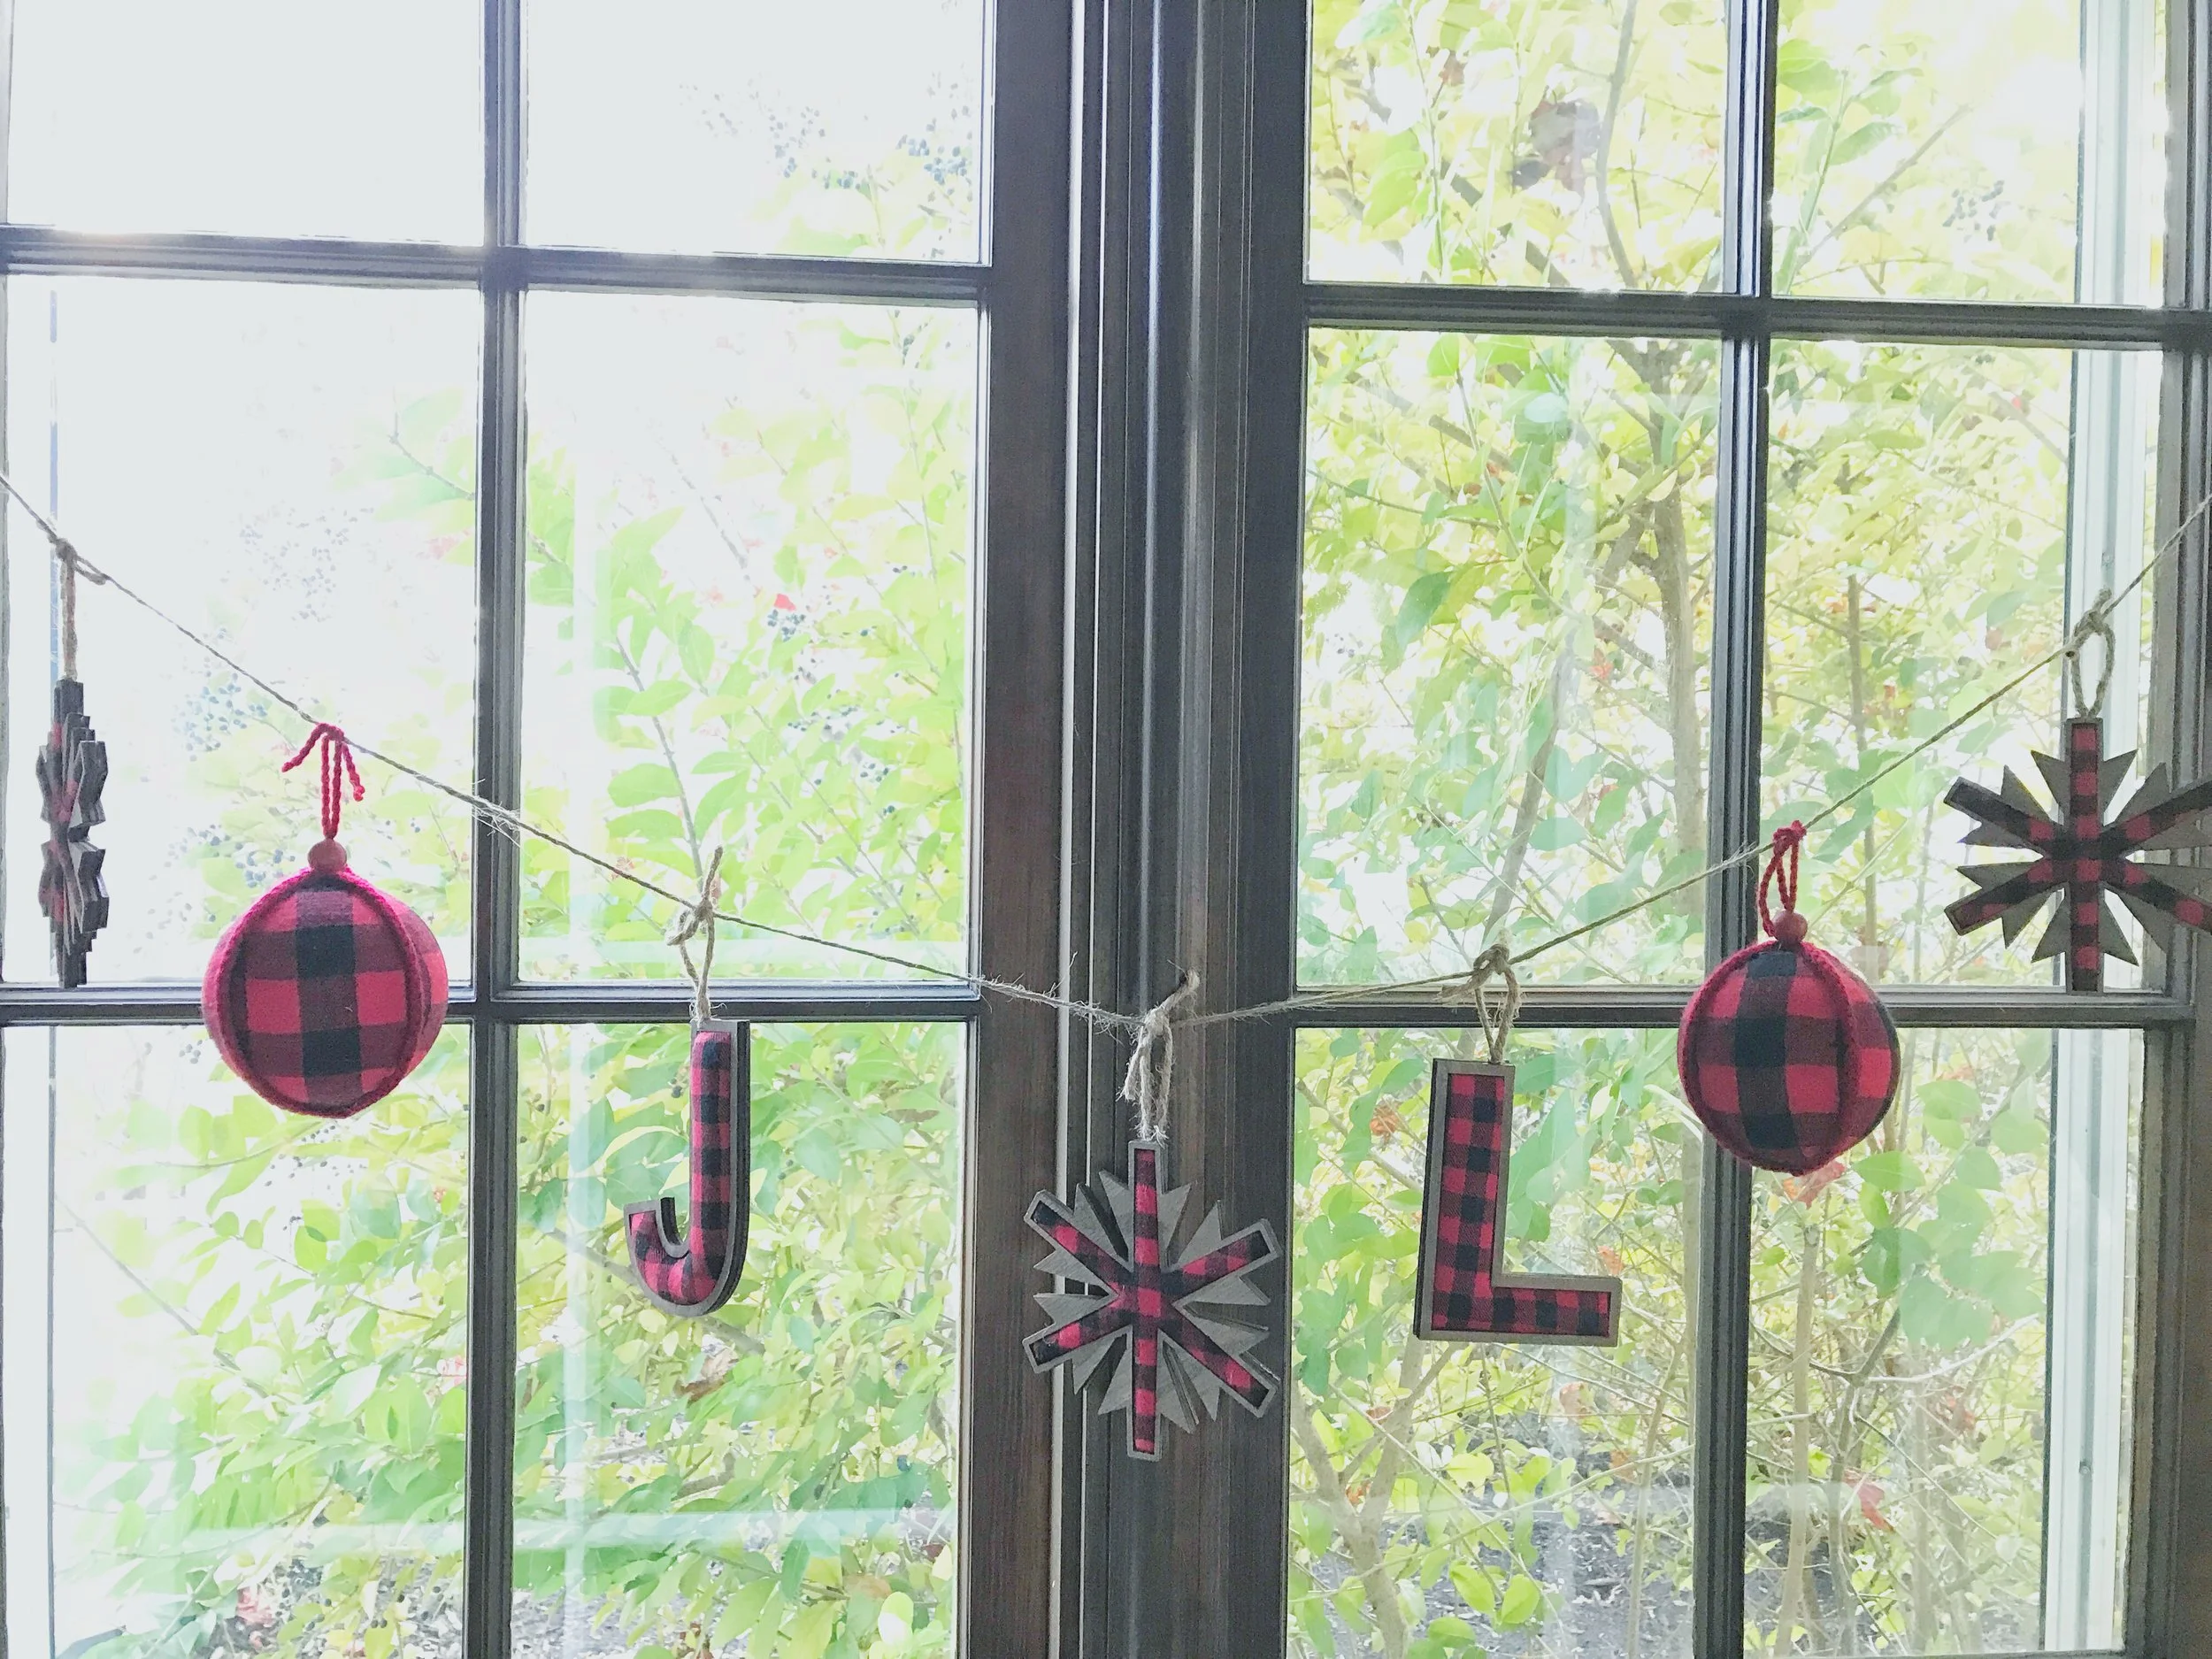
See my DIY garland HERE.
These DIY cinnamon ornaments are perfect to give as gifts or to use as a keepsake for years to come!

*This post contains affiliate links. If you click on these links and purchase something, I make a commission at no additional cost to you. This helps to support my blog, so thank you SO much!*
We made these ornaments while at my parents’ house for Thanksgiving and they were so fun and easy to DIY with the kiddos.
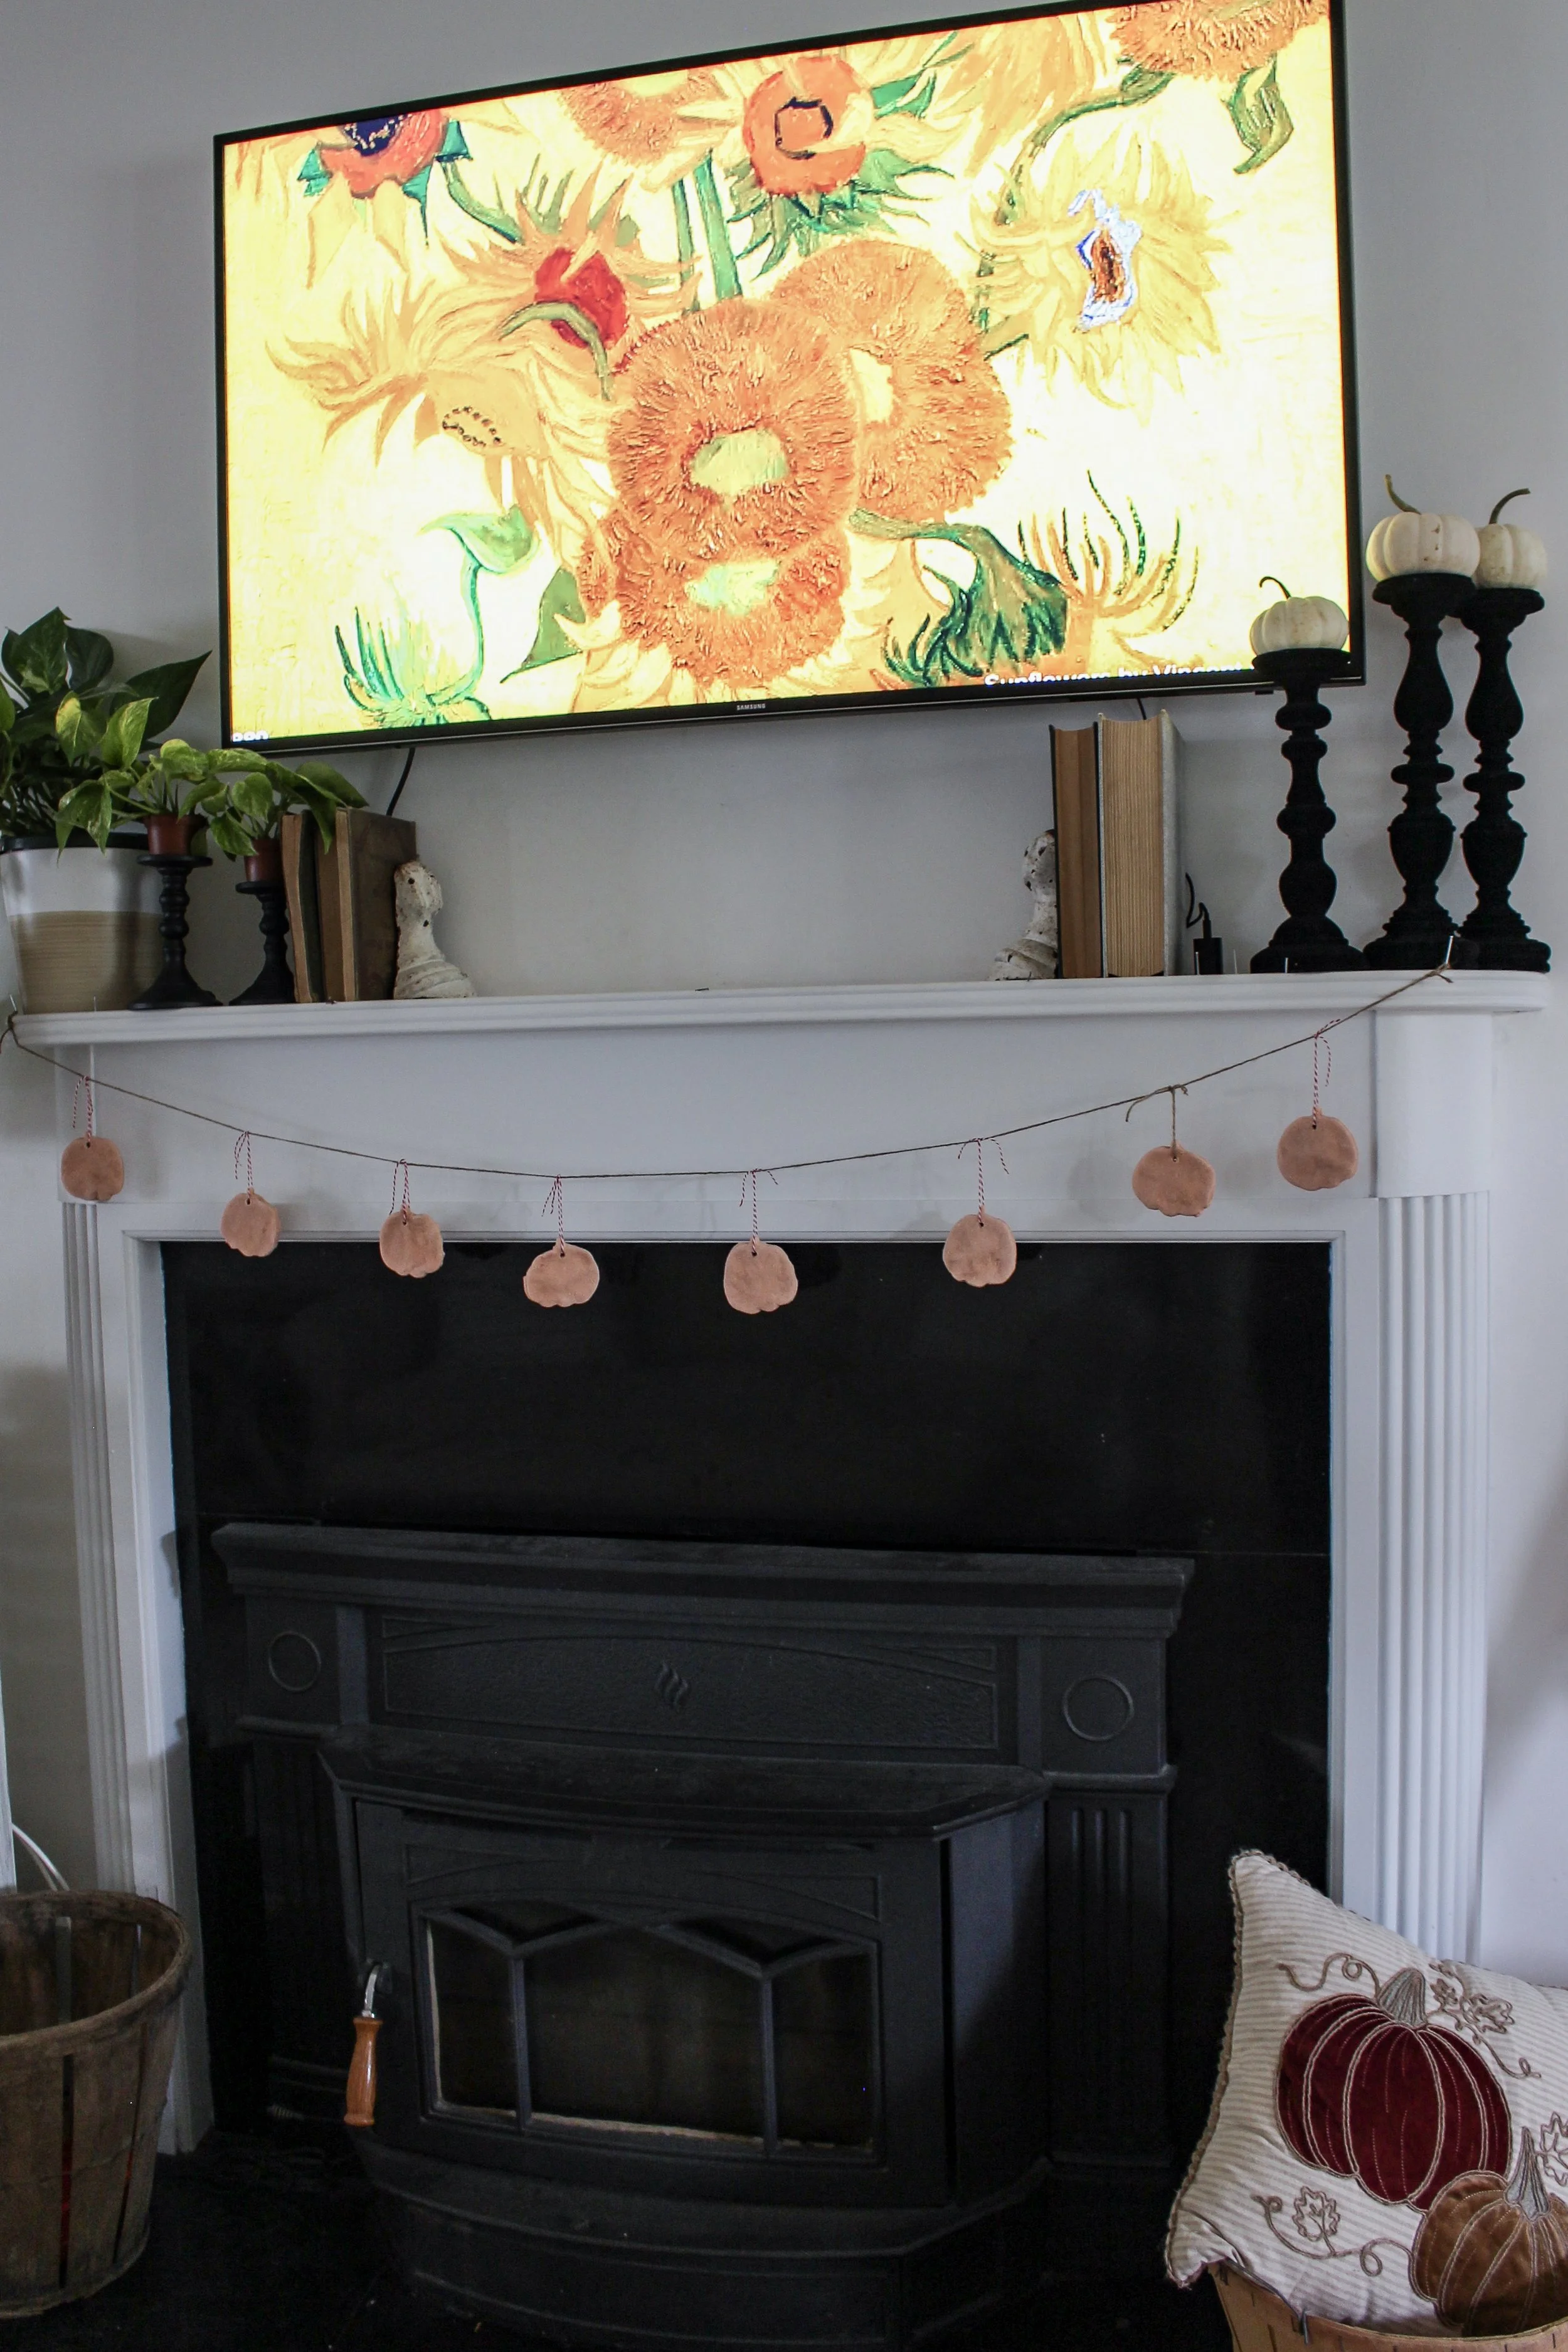
I wanted to make something festive for our Christmas tree that we could remember this Christmas by. For Halloween, we made the salt dough pumpkin garland so I thought it would be perfect to make them again, but Christmas themed!
I used the same recipe as the pumpkin garland, however, I added cinnamon to this dough so that they would smell nice and would tint the dough a bit. You can adjust the cinnamon to more or less depending on your preference.

SALT DOUGH RECIPE
2 cups of all purpose flour (have more on hand in case the dough is really sticky so you can add more)
1 cup of salt
1 cup of water
2 tbsp cinnamon (more or less depending on how you would like them to look/smell)
Markers/paint/crayons/decorations (whatever you want to use to decorate the ornaments with

DIRECTIONS
Preheat the oven to 300 degrees
In a large bowl, combine the flour, salt, and cinnamon
Slowly add the water and mix until a dough forms
Start to knead the dough
We used probably another 1/4-1/3 cup of flour because the dough was kind of sticky
Roll out the dough to about 1/4 inch thick
Cut out the shapes you want
We did some circles to make the Merry Christmas garland and some large rounds for the hands
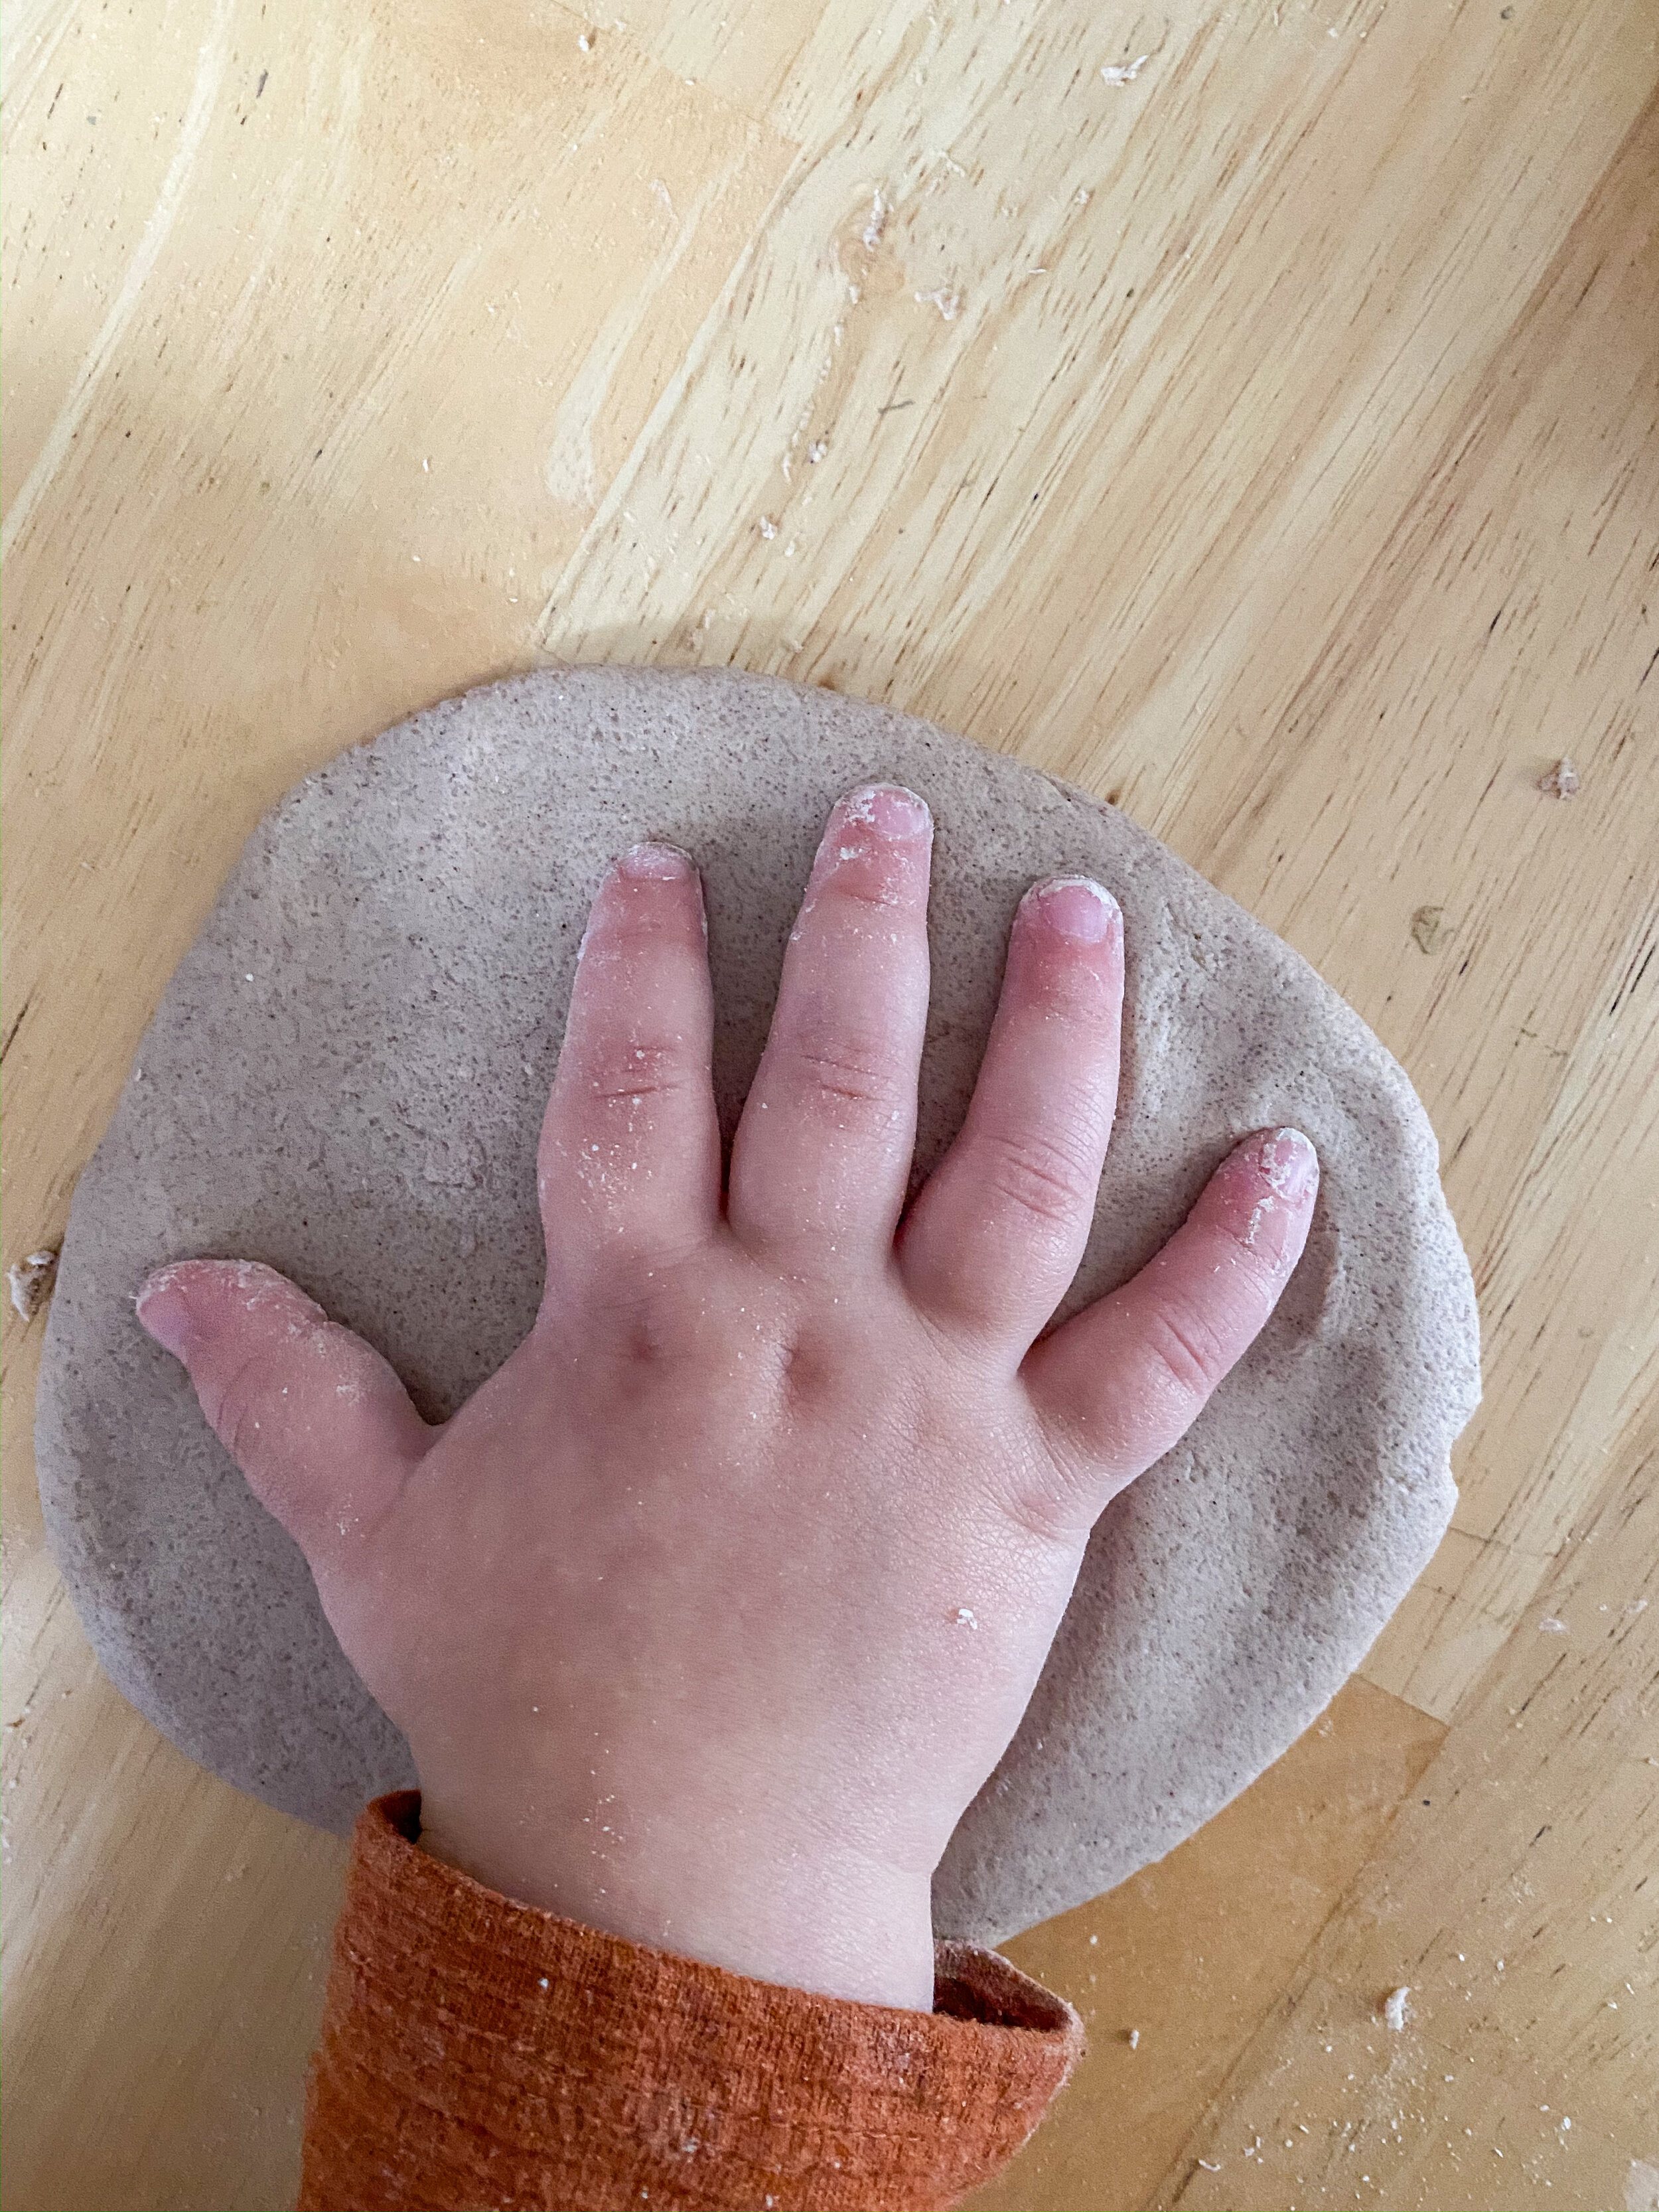
Press your kiddos hand or foot lightly into the dough
Be sure that they don’t press all the way through the dough—you don’t want any holes
Using a straw, poke a hole into the top of the ornaments
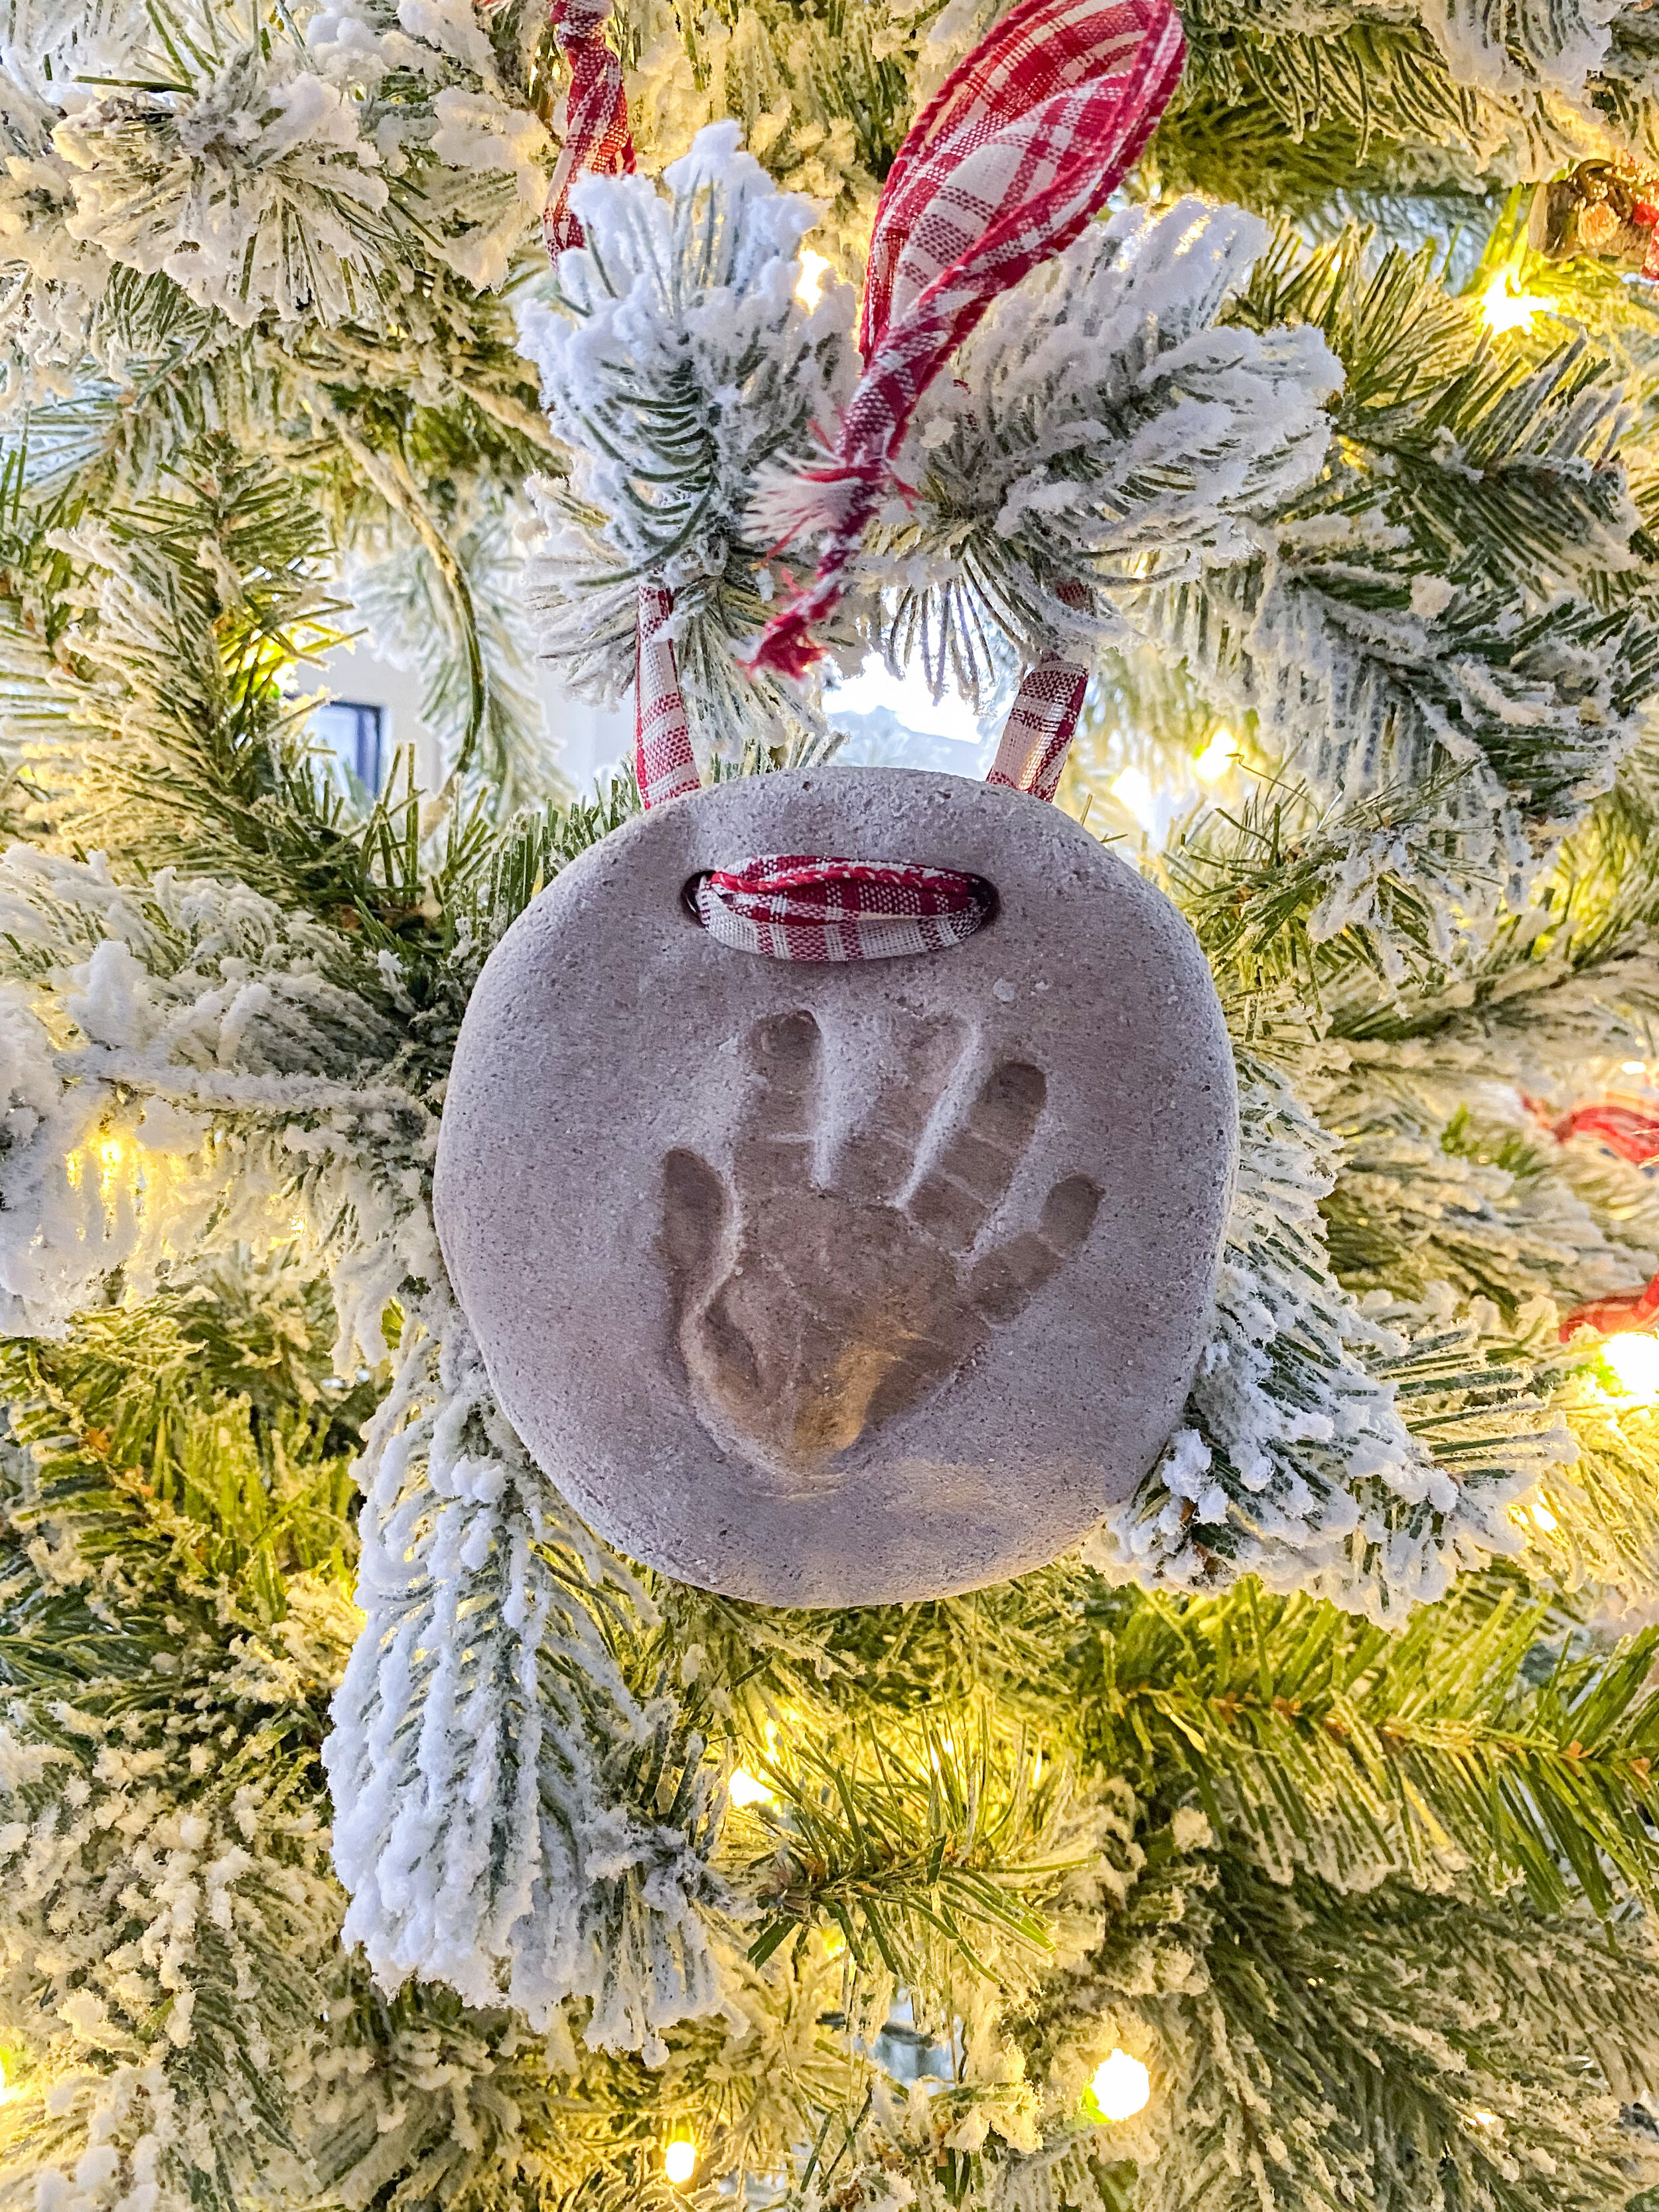
We poked 2 holes intoeco the handprint ones since they were larger
Place the ornaments onto a baking sheet
We actually pressed the hands while on the baking sheet so we didn’t destroy the designs
Bake for 1 hour or until they are completely hardened—your house will smell SO nice
The small circles took exactly 1 hour
The handprint ornaments took about 1.5 hours as they were a bit thicker in some places
Be sure to watch them as they can burn easily
Allow them to all cool before decorating
Decorate as you would like
For the small circles, I wrote letters on them to form ‘Merry Christmas’
For the handprint ones, I wrote the year and name on the back
String the ornaments with twine or ribbon

They turned out so cute! Dominic had so much fun helping me make them. Even Giulietta liked touching the dough!
The ornaments would make a great gift for Grandparents! I would like to keep doing these each year and watch how their little hands grow :)
SHOP THE POST:

Be sure to sign up for our free newsletter to stay up to date with what is going on over here :)
Upon signing up, you will receive 3 gallery wall printables, 5 on the go Mom hacks, and gain access to our FB group! Scroll to the bottom of the page to join! We’d love to have you as part of our community!
Thank you for stopping by the blog!
XO
-LA
PIN THIS IMAGE: