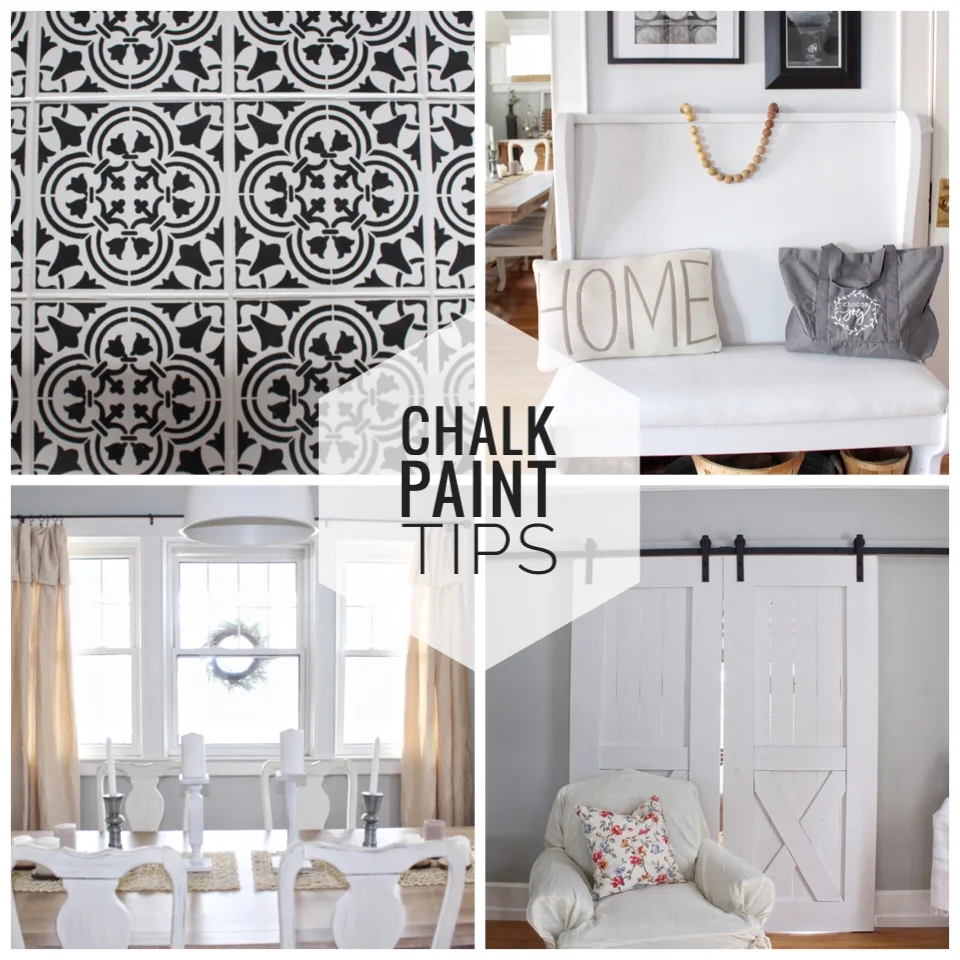
How to Chalk Paint a Table
I love using chalk paint so I thought I would share how to easily chalk paint a table!
See my last chalk paint makeover HERE.
Using these simple tips, you can easily learn how to chalk paint a table.
This post contains affiliate links. If you click on these links and purchase something, I make a commission at no additional cost to you. This helps to support my blog, so thank you SO much!
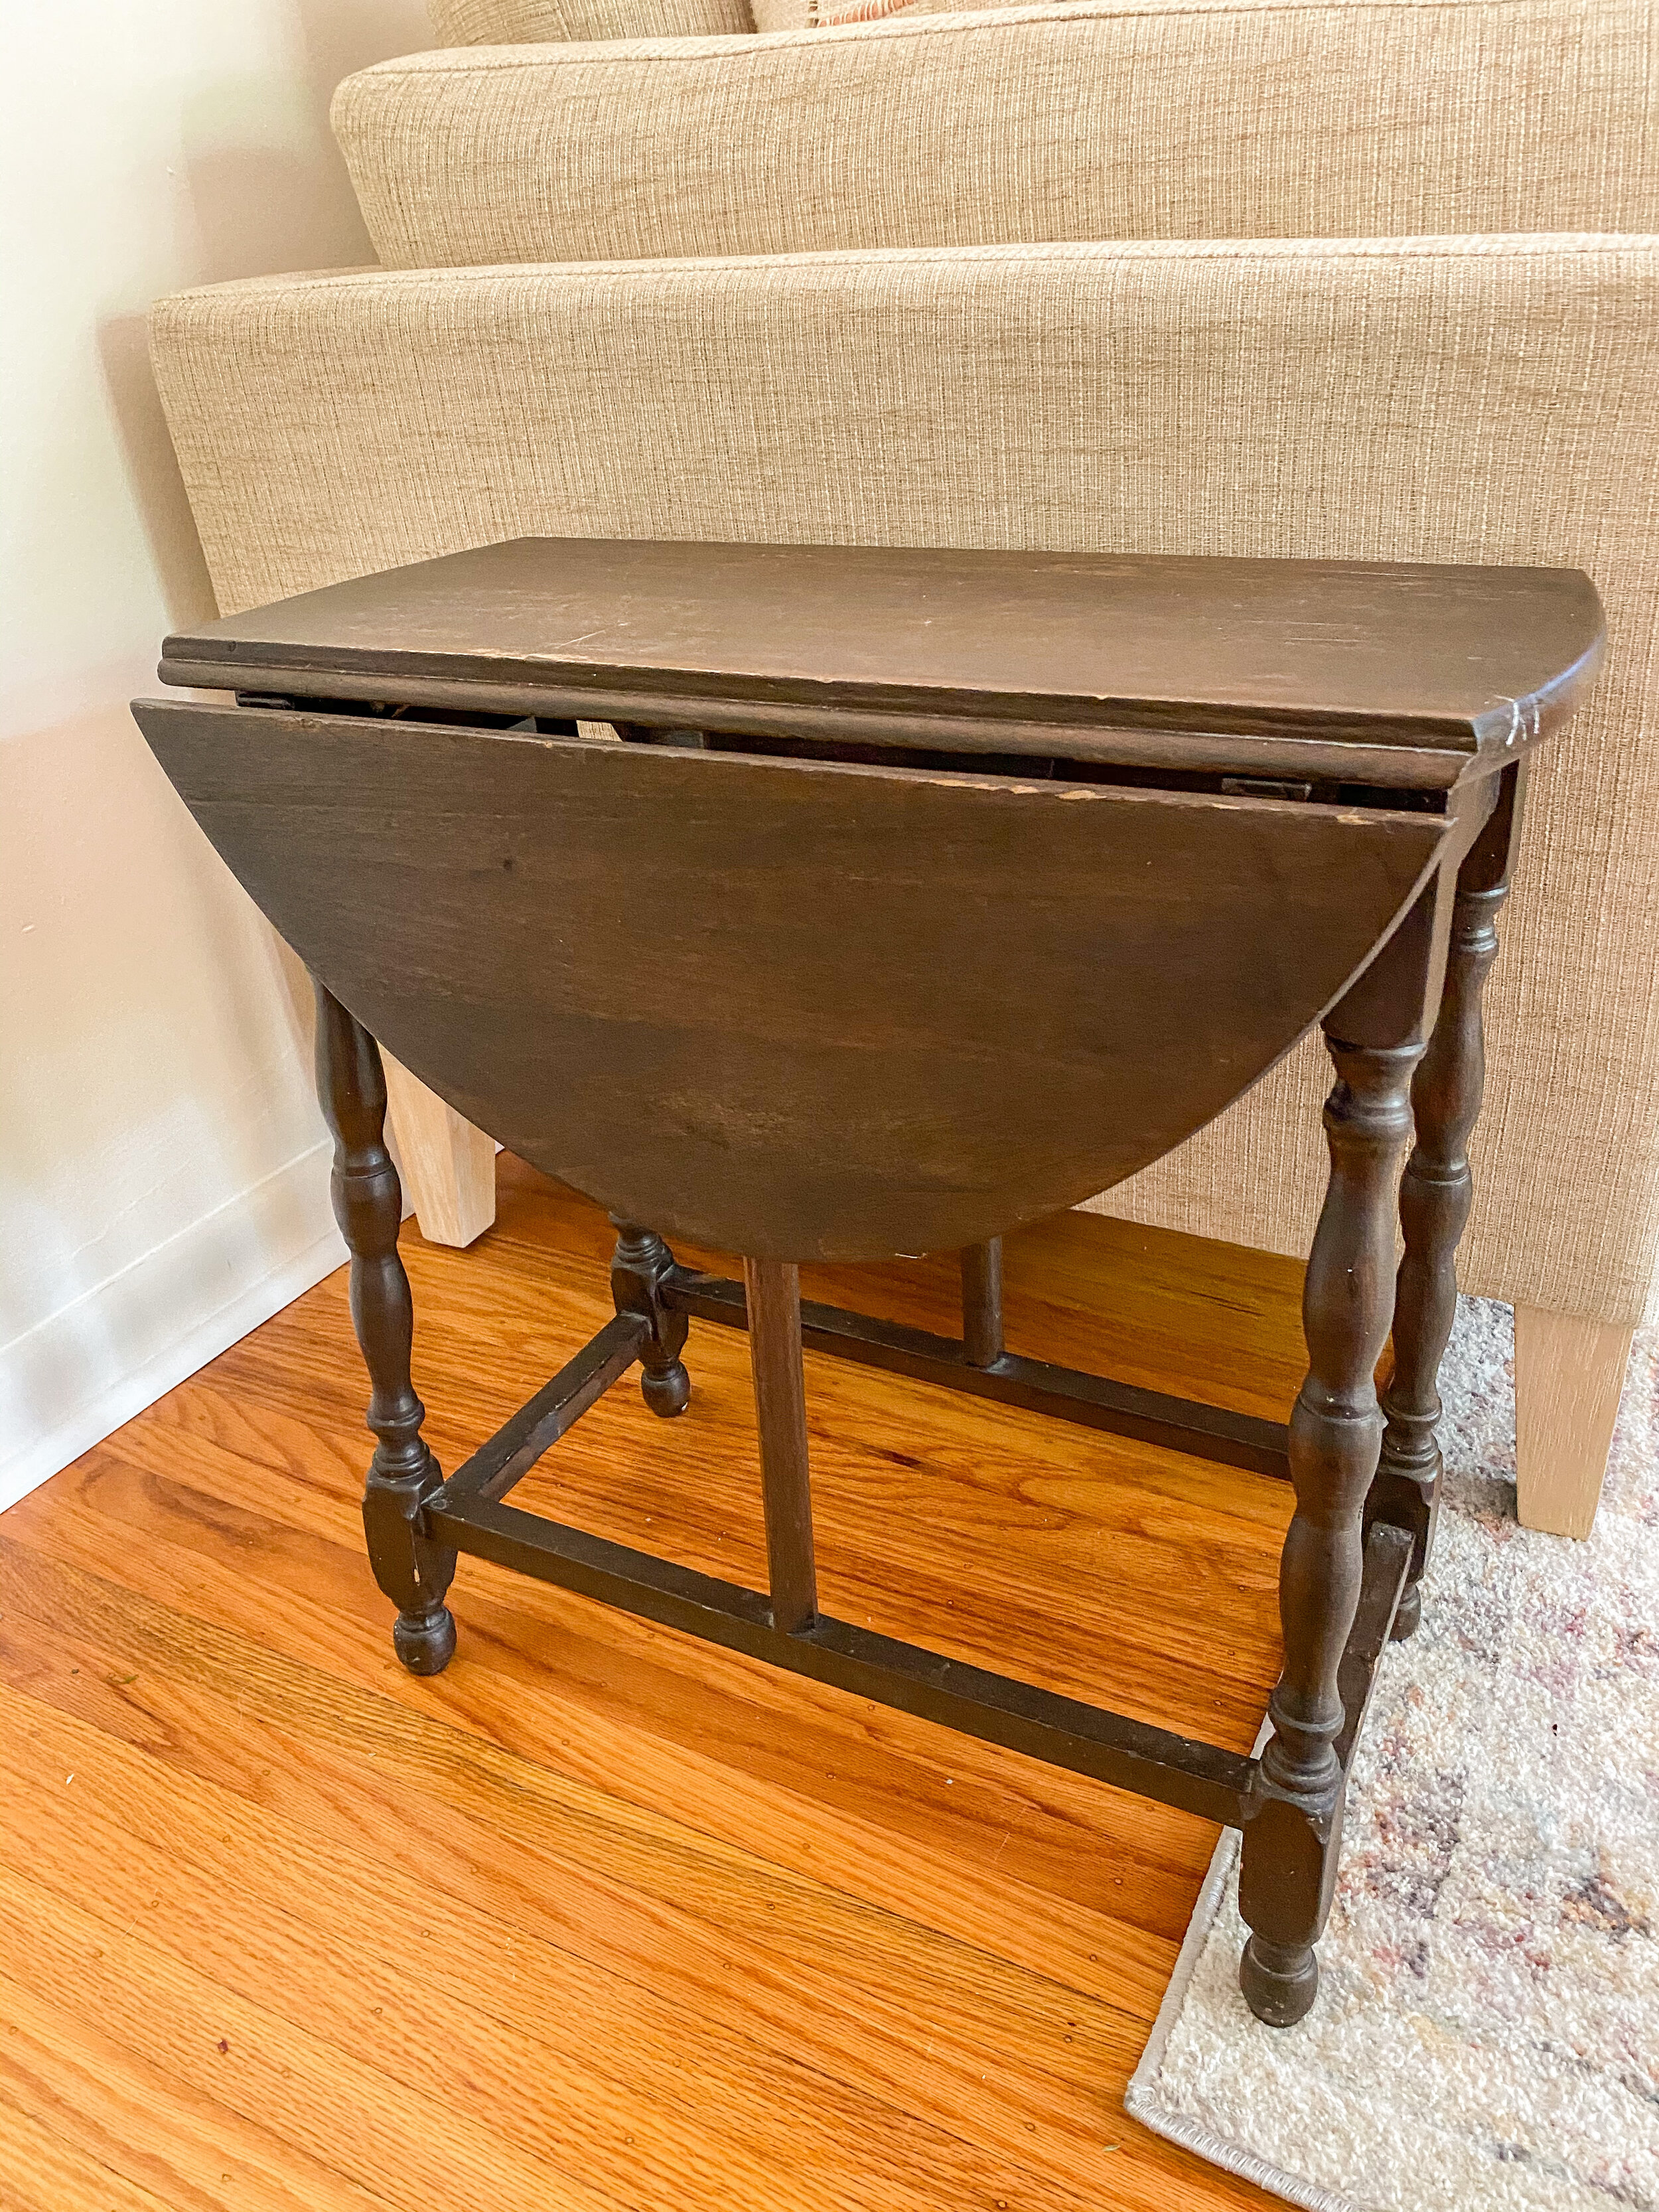
We recently found this little table at the end of someone’s driveway on our street. We decided to take it home with us and give it a little chalk paint makeover.
I love to chalk paint! It’s SO easy to use and can really make a piece look totally different. I have chalked painted a lot of things and it still always surprises me what paint can do to a piece!
This little tutorial is super easy to follow, if you are on the fence about chalk painting anything! This step by step guide can be applied to really any piece of furniture too, not just tables.

SUPPLIES:
Chalk paint of choice, I like rustoleum
Paint brush of choice, I usually like an angled brush to get into corners, crevices, etc.
Roller, if you are doing a large piece
Rag to clean off your piece of furniture
Wax or polycrylic to finish the piece
DIRECTIONS:
Prepare your table (or furniture) by making sure it is all clean and completely dry
There is no need to sand or prime it
Start painting your table by applying a light coat of paint with your brush or roller
I don’t go too crazy with making sure the first coat looks good, I kind of just get the piece entirely covered with paint
Apply a second coat of chalk paint
Chalk paint dries SUPER quick so I can usually start my second coat by the time I am done with the first coat
I typically apply this coat with a bit more precision as sometimes a piece will only need 2 coats so I try to cover it without leaving brush strokes and lines
If needed, apply a third coat of paint
I don’t always need a 3rd coat, but sometimes if I am covering a darker piece with a lighter color, then I will apply a 3rd coat which is what happened with this end table
Allow the paint to fully dry which is usually pretty quick
Apply your finishing wax or polycrylic
If you’re using wax, apply with a brush, then wipe away and buff it in with a rag
If you’re using polycrylic, use a brush or roller
This is a step I skip a lot because I don’t mind if a piece gets imperfections over time such as chipping

TIPS TO CHALK PAINTING
There is no odor so you can paint inside
There is no prep required, other than cleaning and drying the piece
Dries in a matte, chalky finish
Dries very fast
Very easy to apply and forgiving
Can use a brush or roller
Applies well on wood or faux wood finishes
I have not tried other surfaces (plastic, metal), but I have heard it works
You can distress the paint with sand paper after applying it and letting it dry

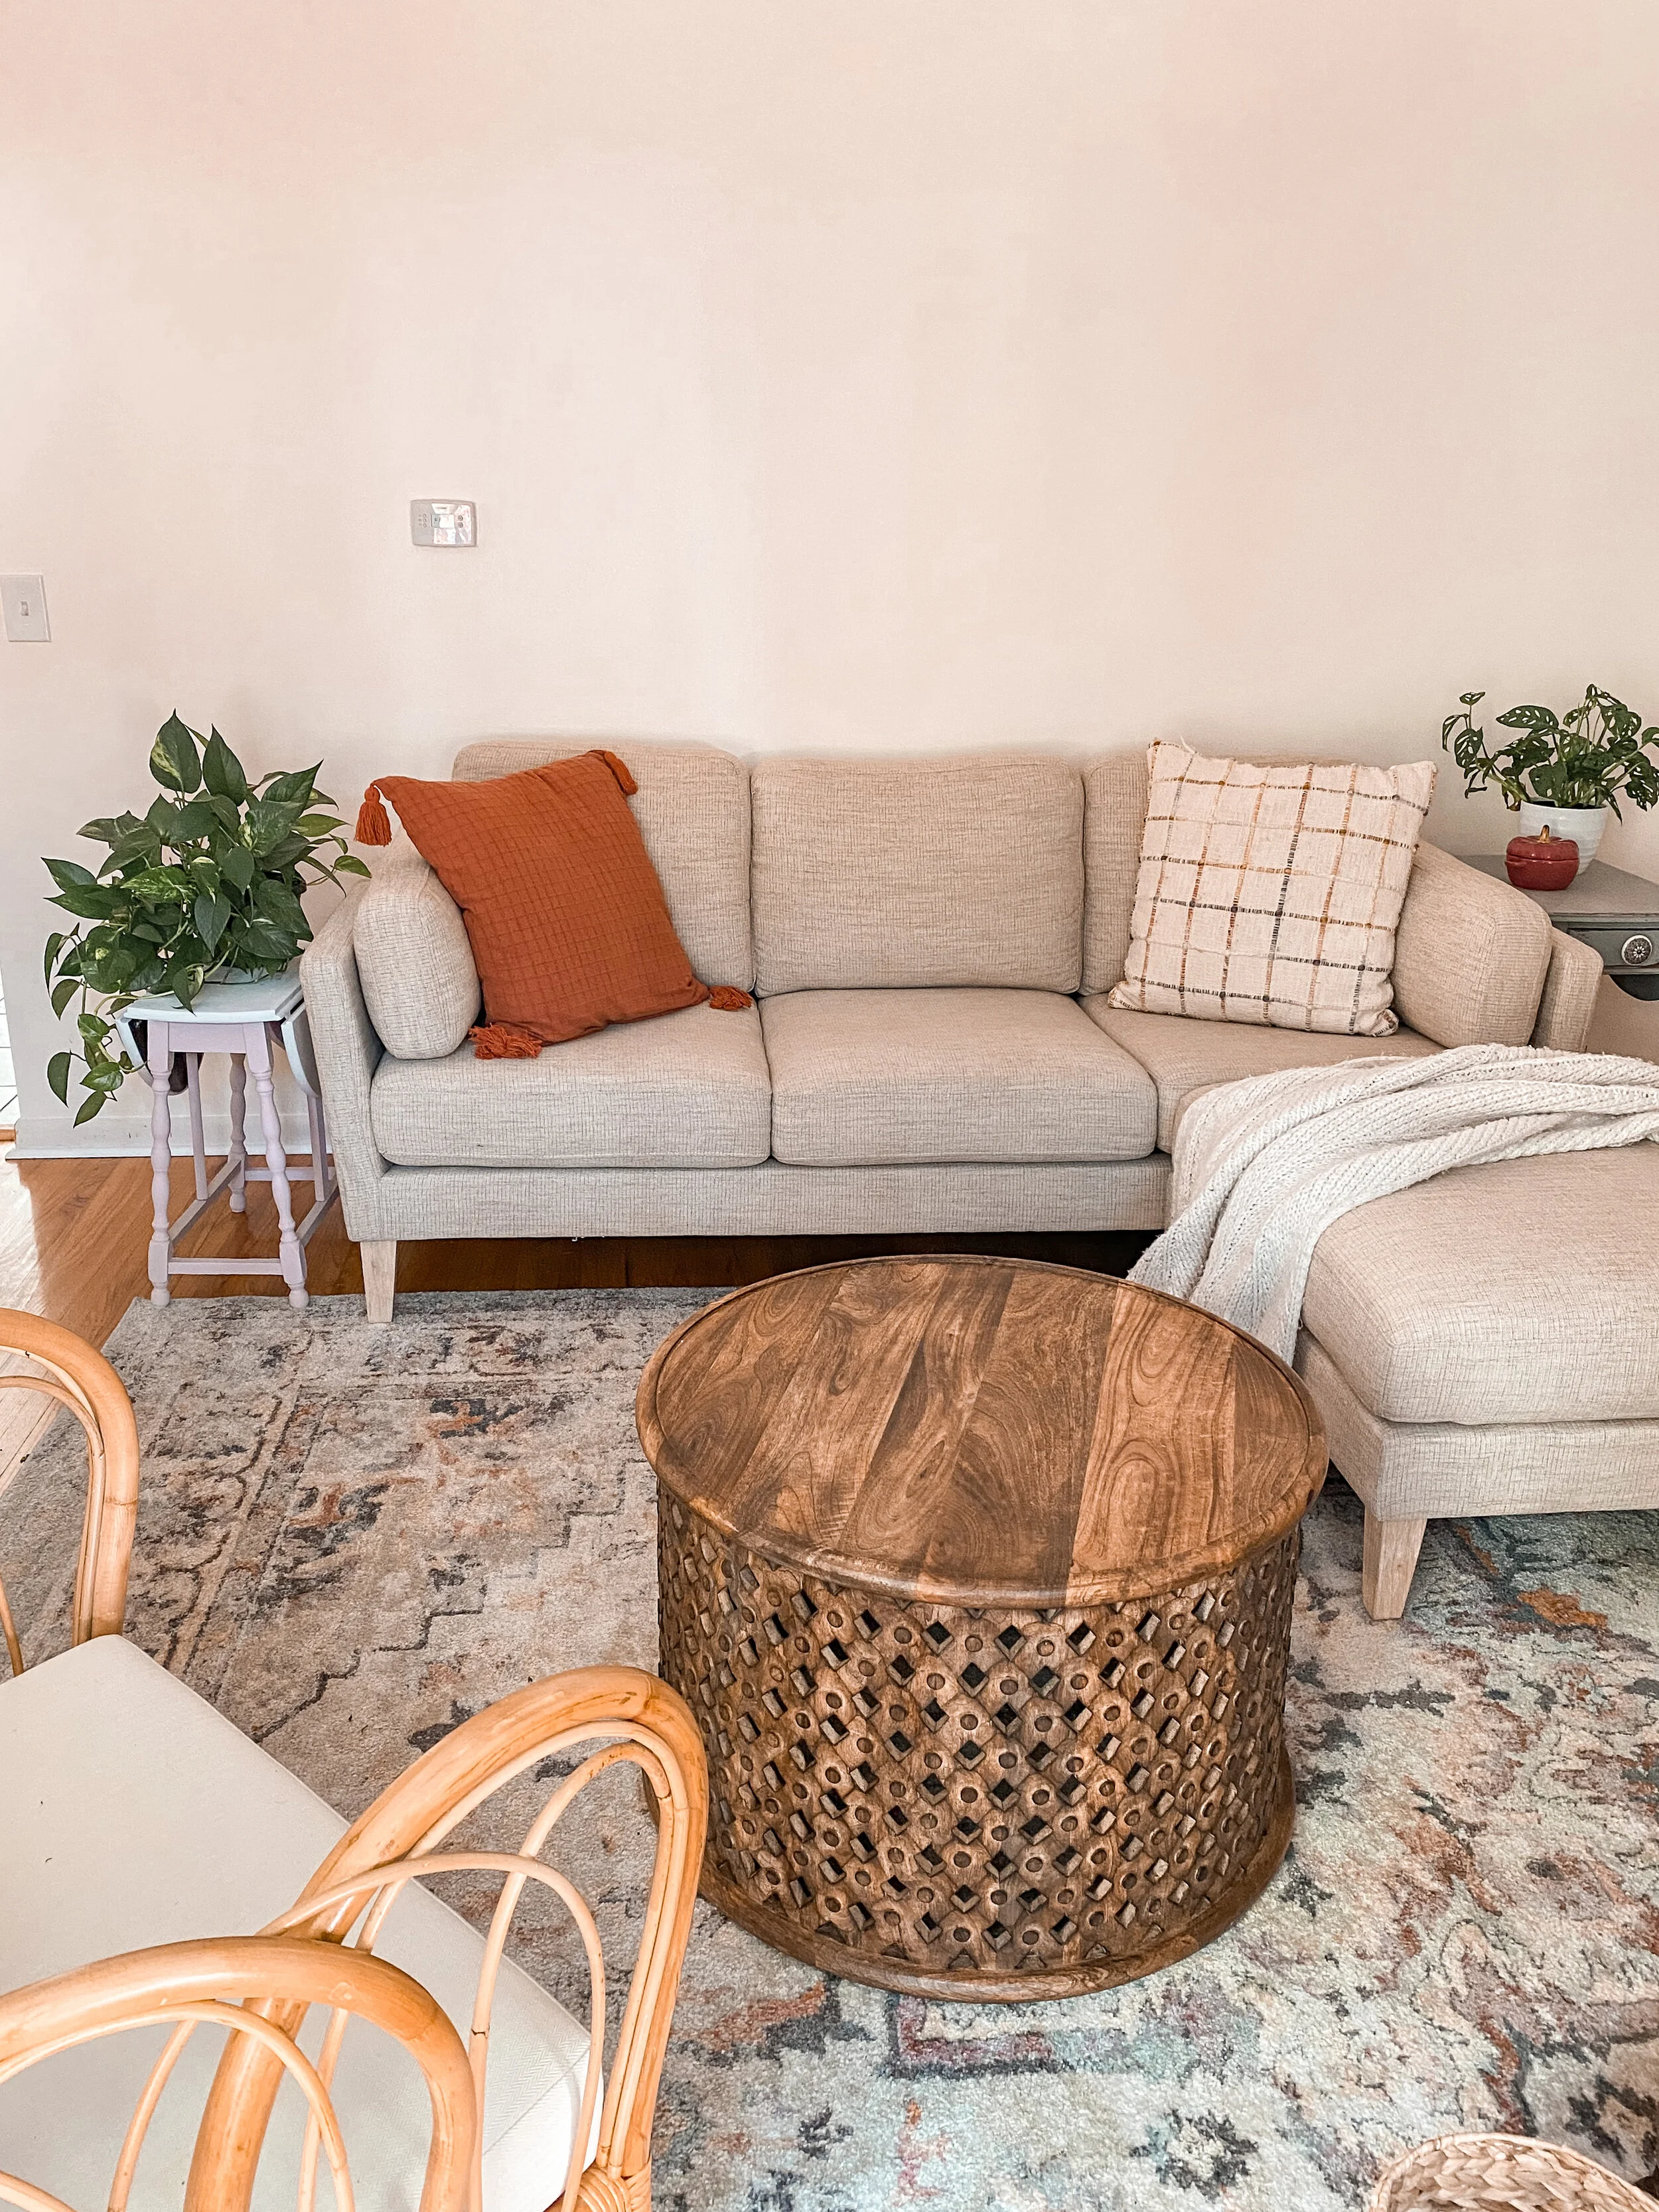
I love how this table turned out. It’s such a cute little end table for our living room. I painted it white on top and pink on the bottom. It goes so well with our living room colors and it’s the perfect size for next to our couch!
SHOP MY CHALK PAINT SUPPLIES:

SHOP MY LIVING ROOM:
Be sure to sign up for our free newsletter to stay up to date with what is going on over here :)
Upon signing up, you will receive 3 gallery wall printables, 5 on the go Mom hacks, and gain access to our FB group! Scroll to the bottom of the page to join! We’d love to have you as part of our community!
Thank you for stopping by the blog!
XO
-LA
SAVE THIS POST FOR LATER, PIN IT NOW: