DIY Painted Arch
I love doing a simple DIY project and this painted arch was so easy to do!
See more living room details HERE.
This painted arch is a fun and easy DIY project that adds a lot of dimension to a space.
This post contains affiliate links. If you click on these links and purchase something, I make a commission at no additional cost to you. This helps to support my blog, so thank you SO much!
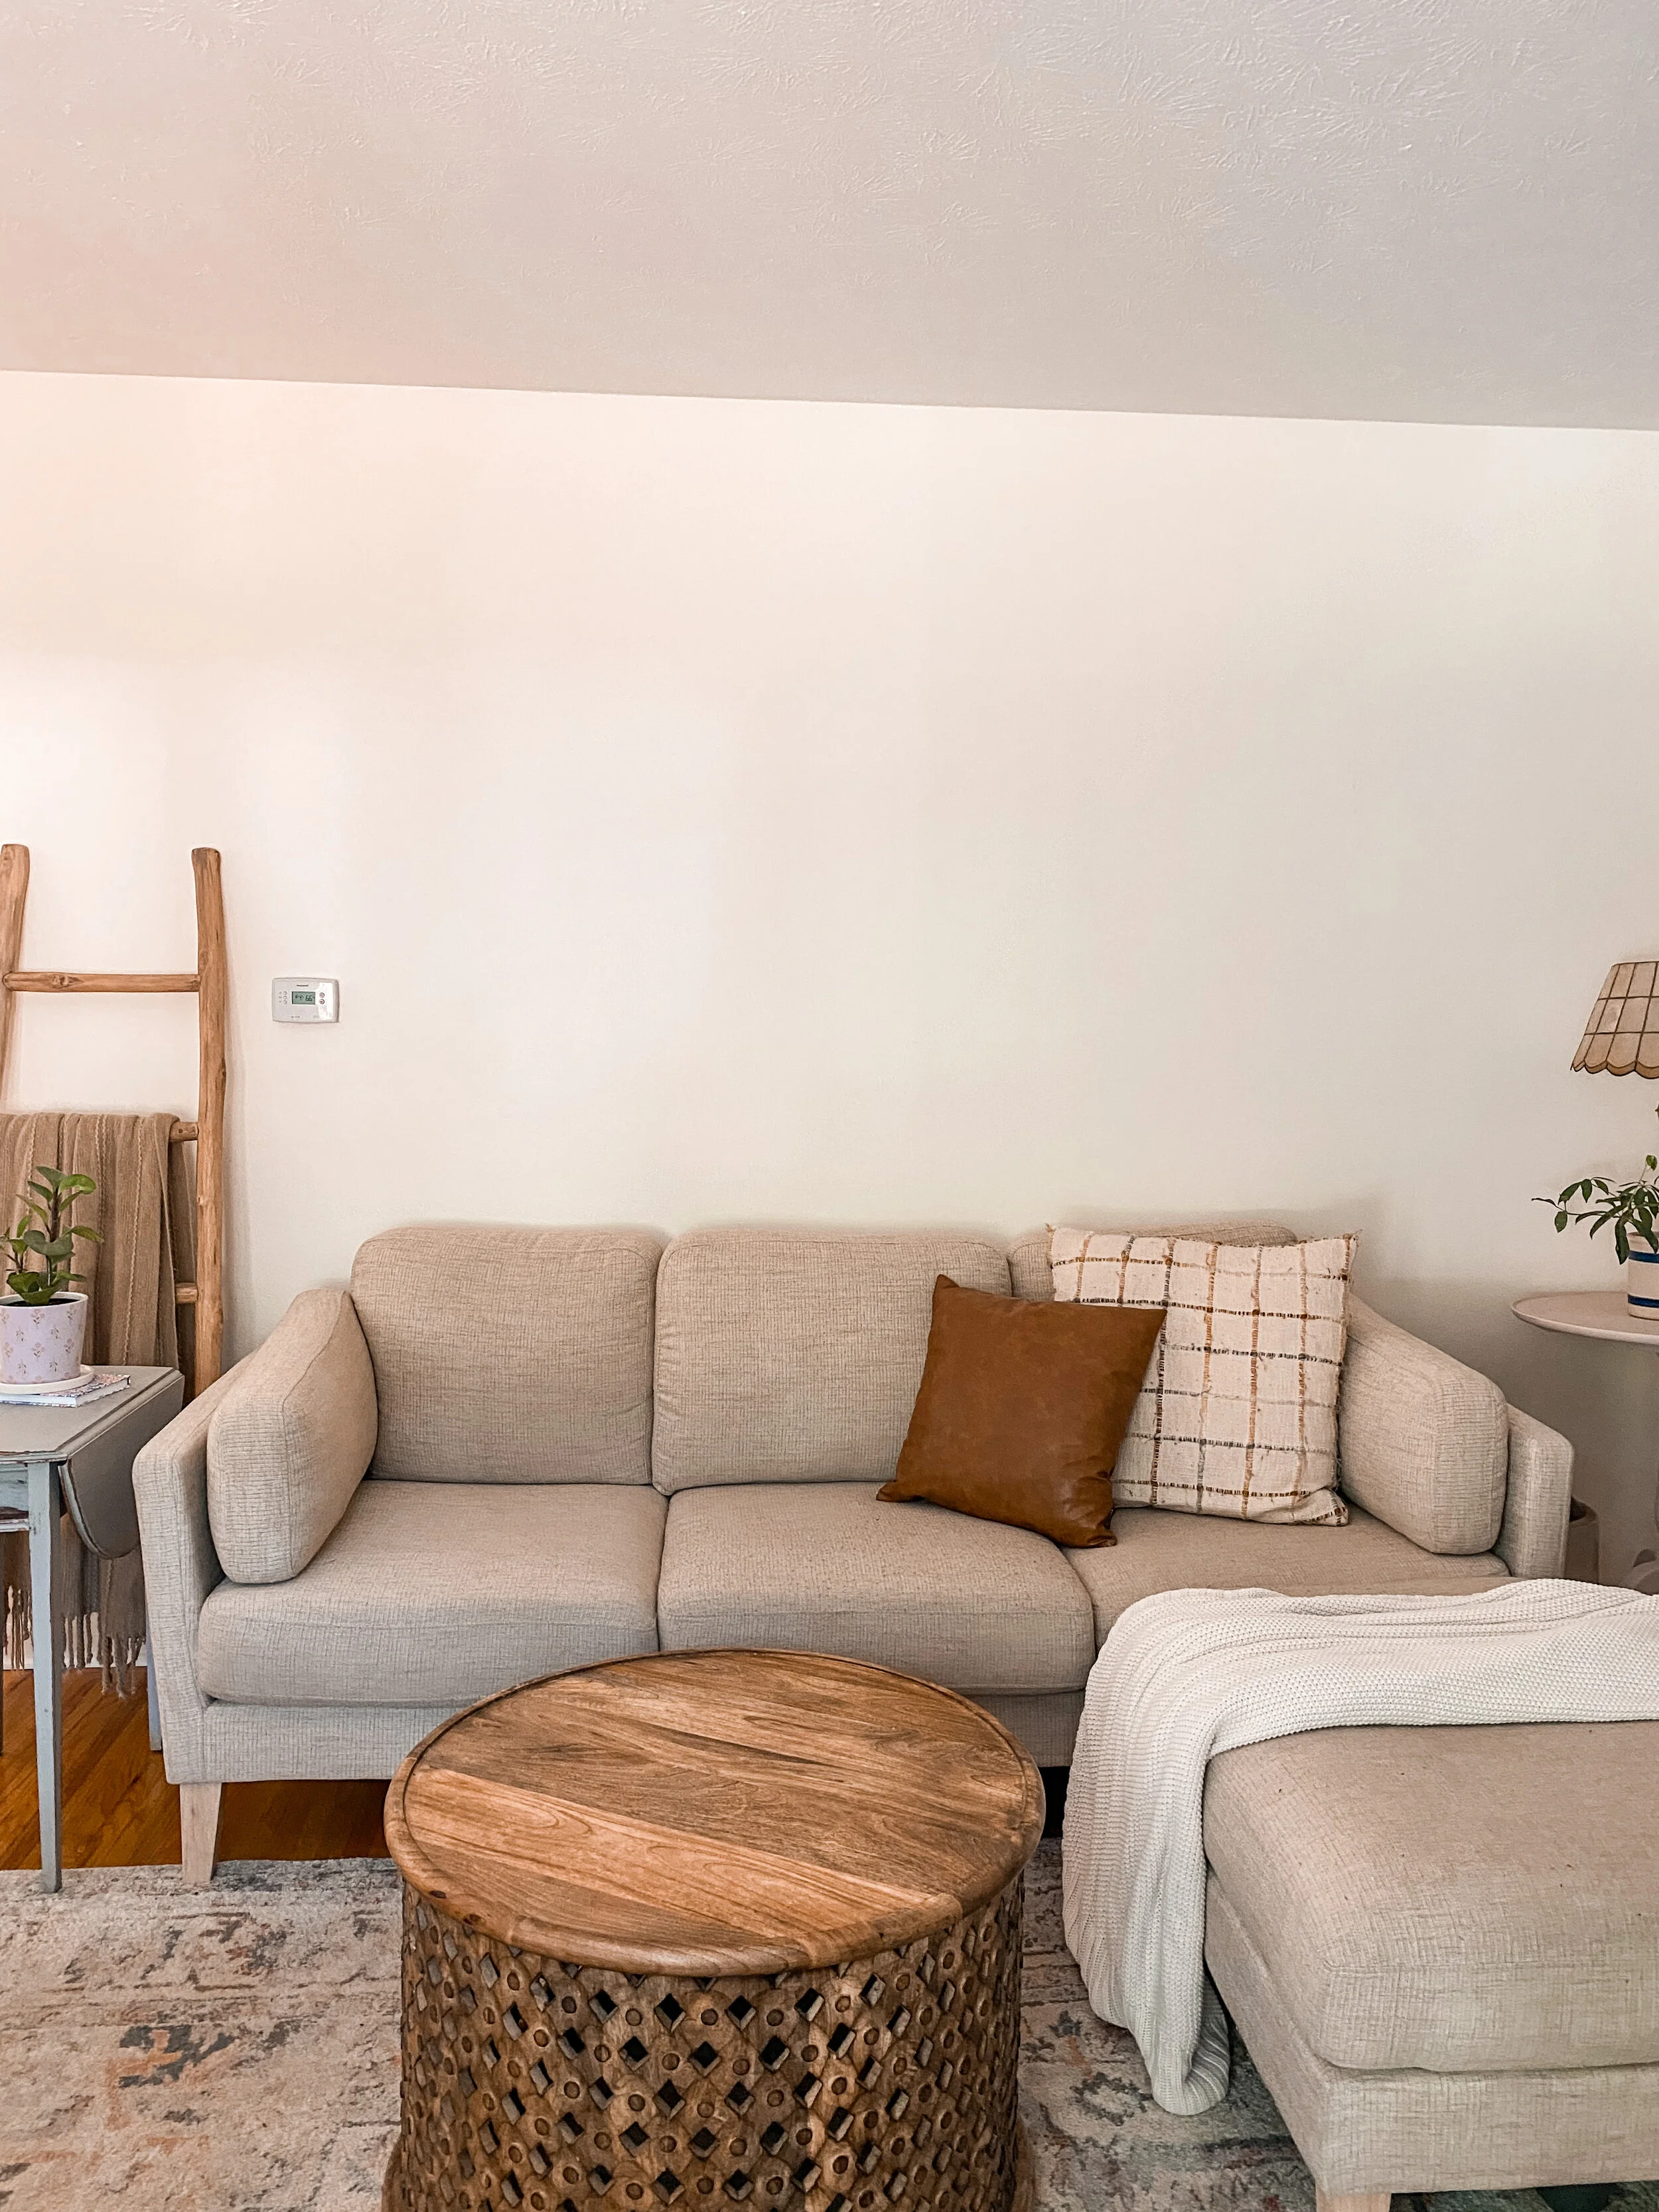
This big empty wall in our living room needed something. I have been wanting to put a big piece of artwork up here for so long. See more of my thoughts HERE.
Big pieces of art can get pricey, so I came up with this plan to paint an arch on the wall after I had found this beautiful piece of art. The art is only 20”x20” so I knew it wouldn’t take up enough wall space and would look pretty out of scale hanging above the couch with nothing else.

SUPPLIES:
Paint (I used Valspar’s Cream in my Coffee)
Pencil
DIRECTIONS:
Decide on the width of the arch, find the center and mark with a pencil
Measure the width all the way up the wall to the point where you want the curved part of the arch to start and mark with a pencil
Connect the dotted lines and check with a level to make sure they are even
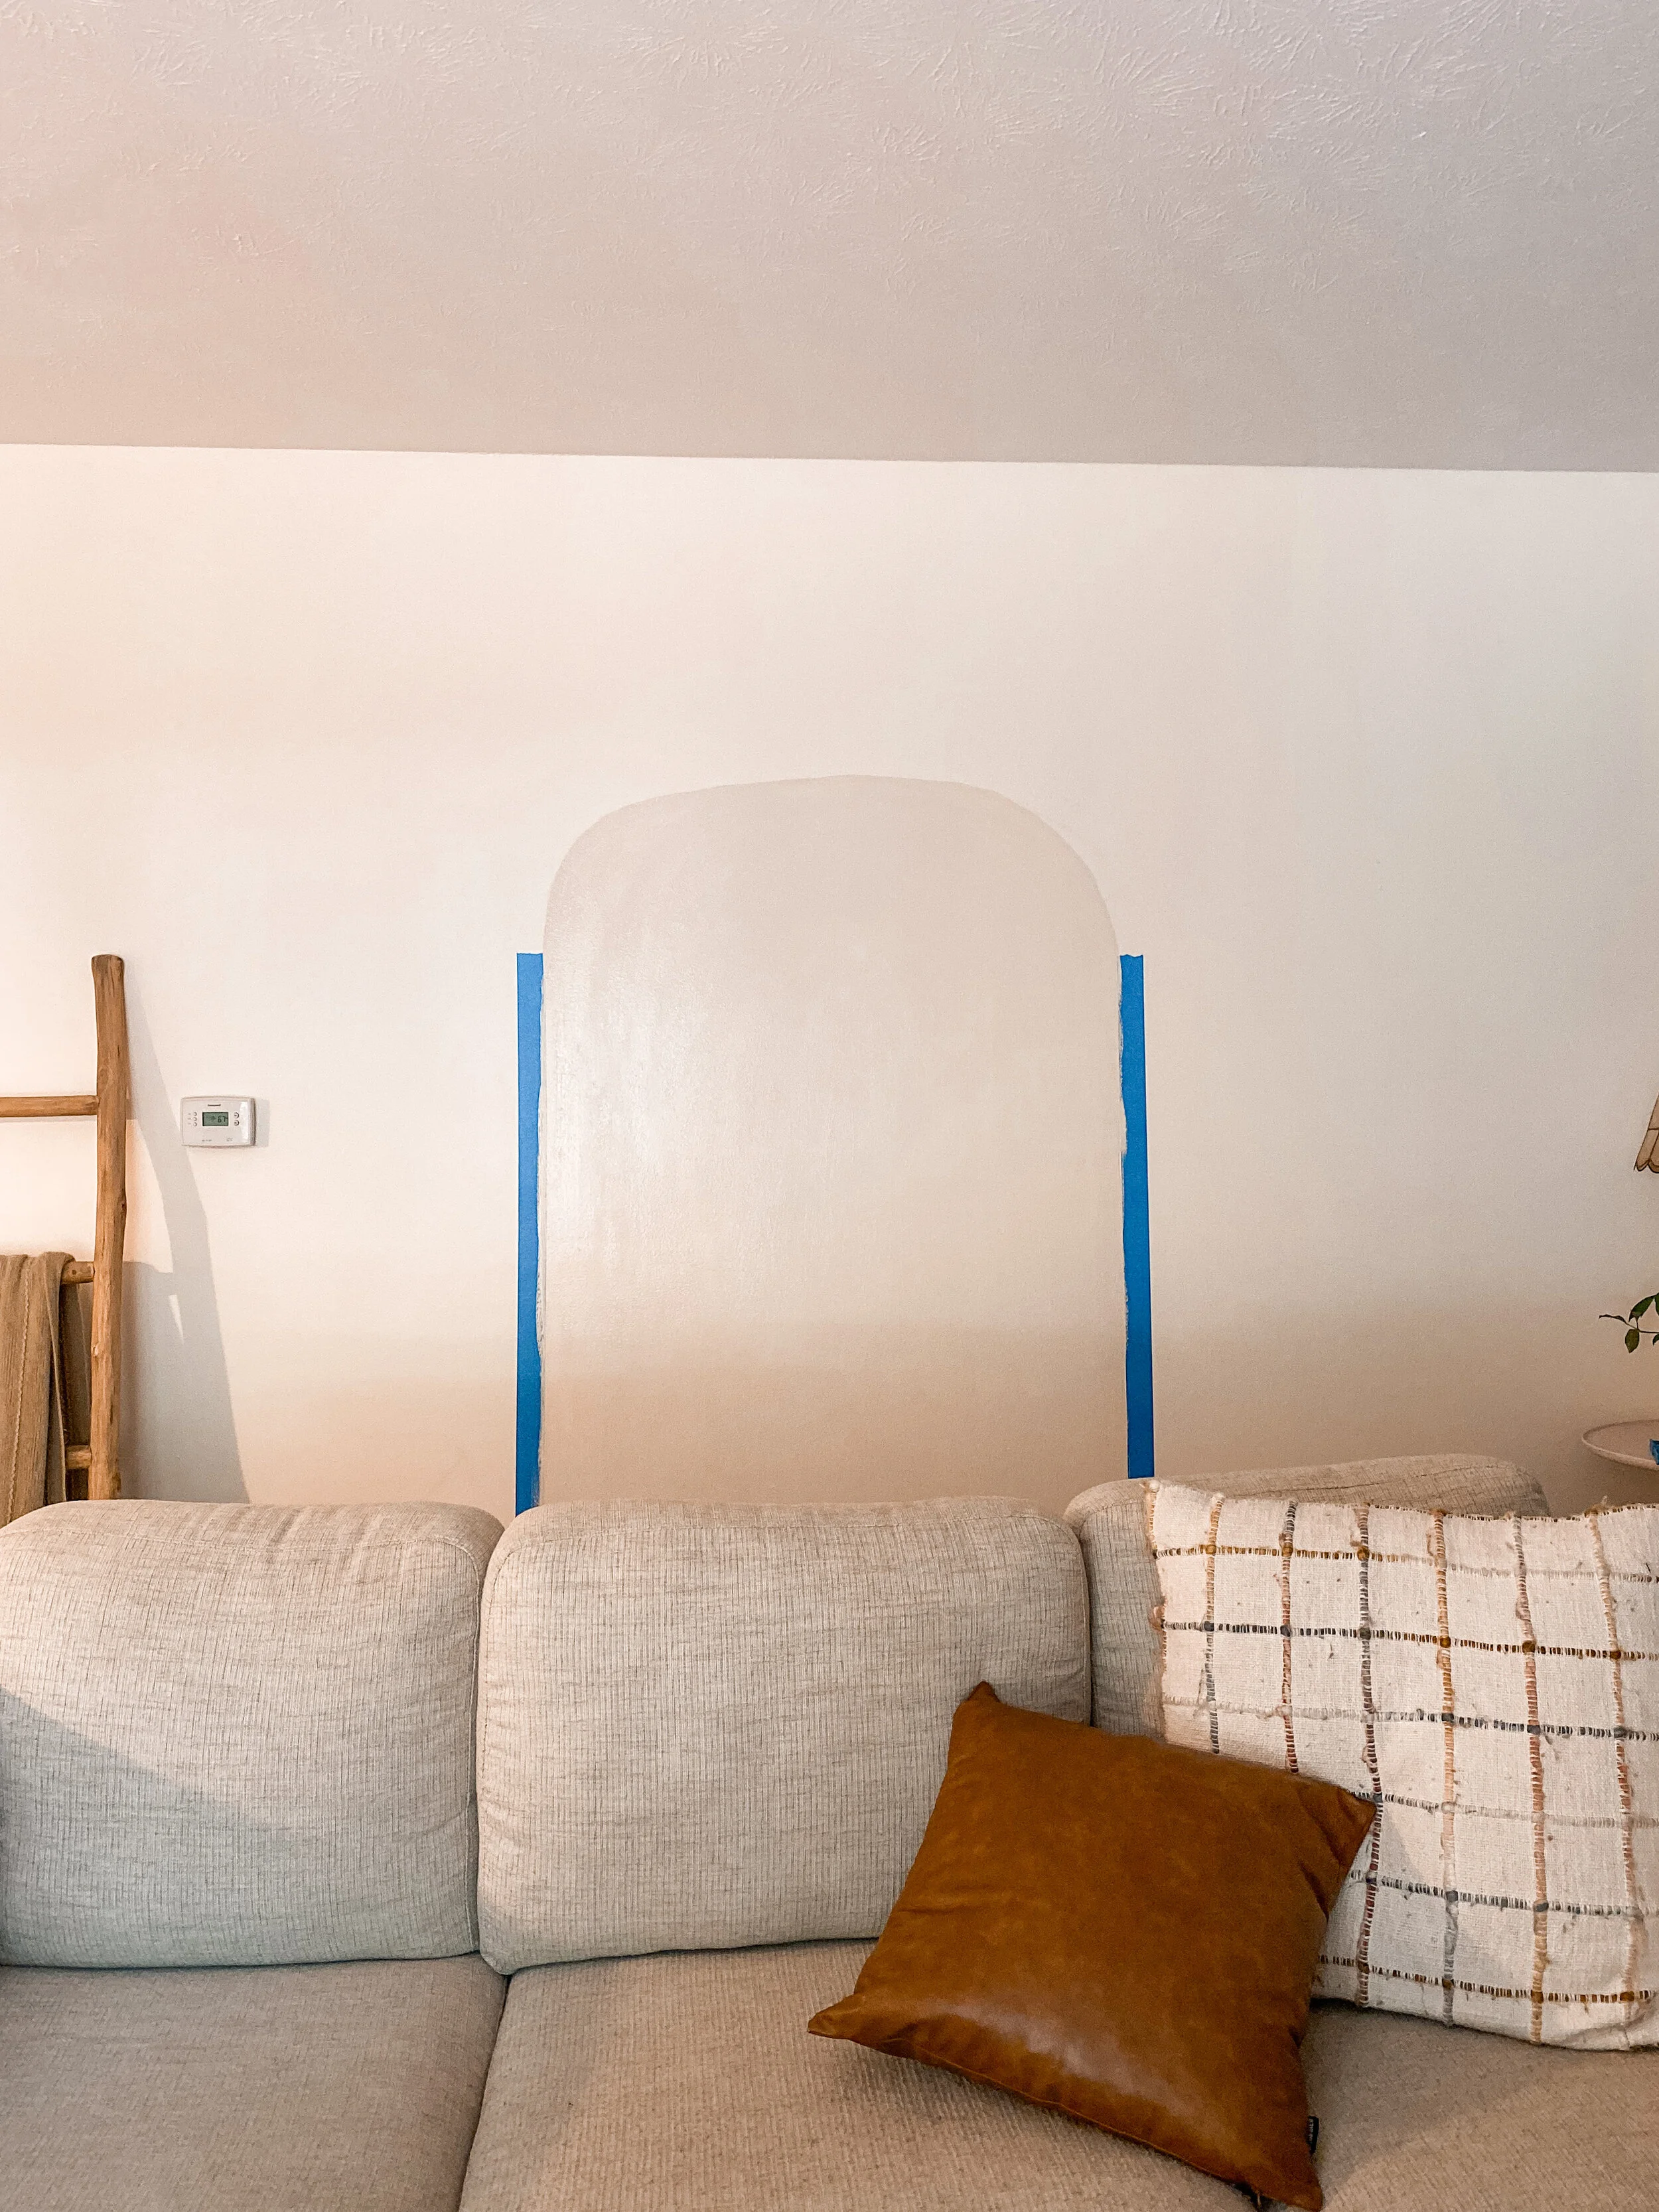
Use painters tape along the drawn line and check again with a level to make sure they are even
I free handed the arch and just kept standing back to tweak it. I am also not a perfectionist so I was ok with this method! You could trace something with a curve or make a template out of a cardboard box!
Start cutting in with the angled brush and paint the entire arch
Allow to dry and apply a 2nd coat
Remove the painters tape and do any touch ups needed along the sides or on the curve of the arch. It’s easier to do touch ups when it’s all done to make sure it is all even. I also used the wall color paint to do touch ups, if I felt I went too outside the lines for the arch
This project really was simple, but made such an impact on this bare wall. I love how it turned out and added so much dimension and texture to the space!
See my IG Reel, HERE, to see the whole DIY in action!

SHOP THE PROJECT:

Would you try this project? Send me a photo if you try it out :)

Be sure to sign up for our free newsletter to stay up to date with what is going on over here :)
Upon signing up, you will receive 3 gallery wall printables, 5 on the go Mom hacks, and gain access to our FB group! Scroll to the bottom of the page to join! We’d love to have you as part of our community!
Thank you for stopping by the blog!
XO
-LA
SAVE THIS POST FOR LATER, PIN IT NOW: