DIY Hanging Floral Garland
Today it FINALLY feels like Spring in Western NY. With these warmer temps, my brain starts spinning with all sorts of ideas of how to refresh our home.
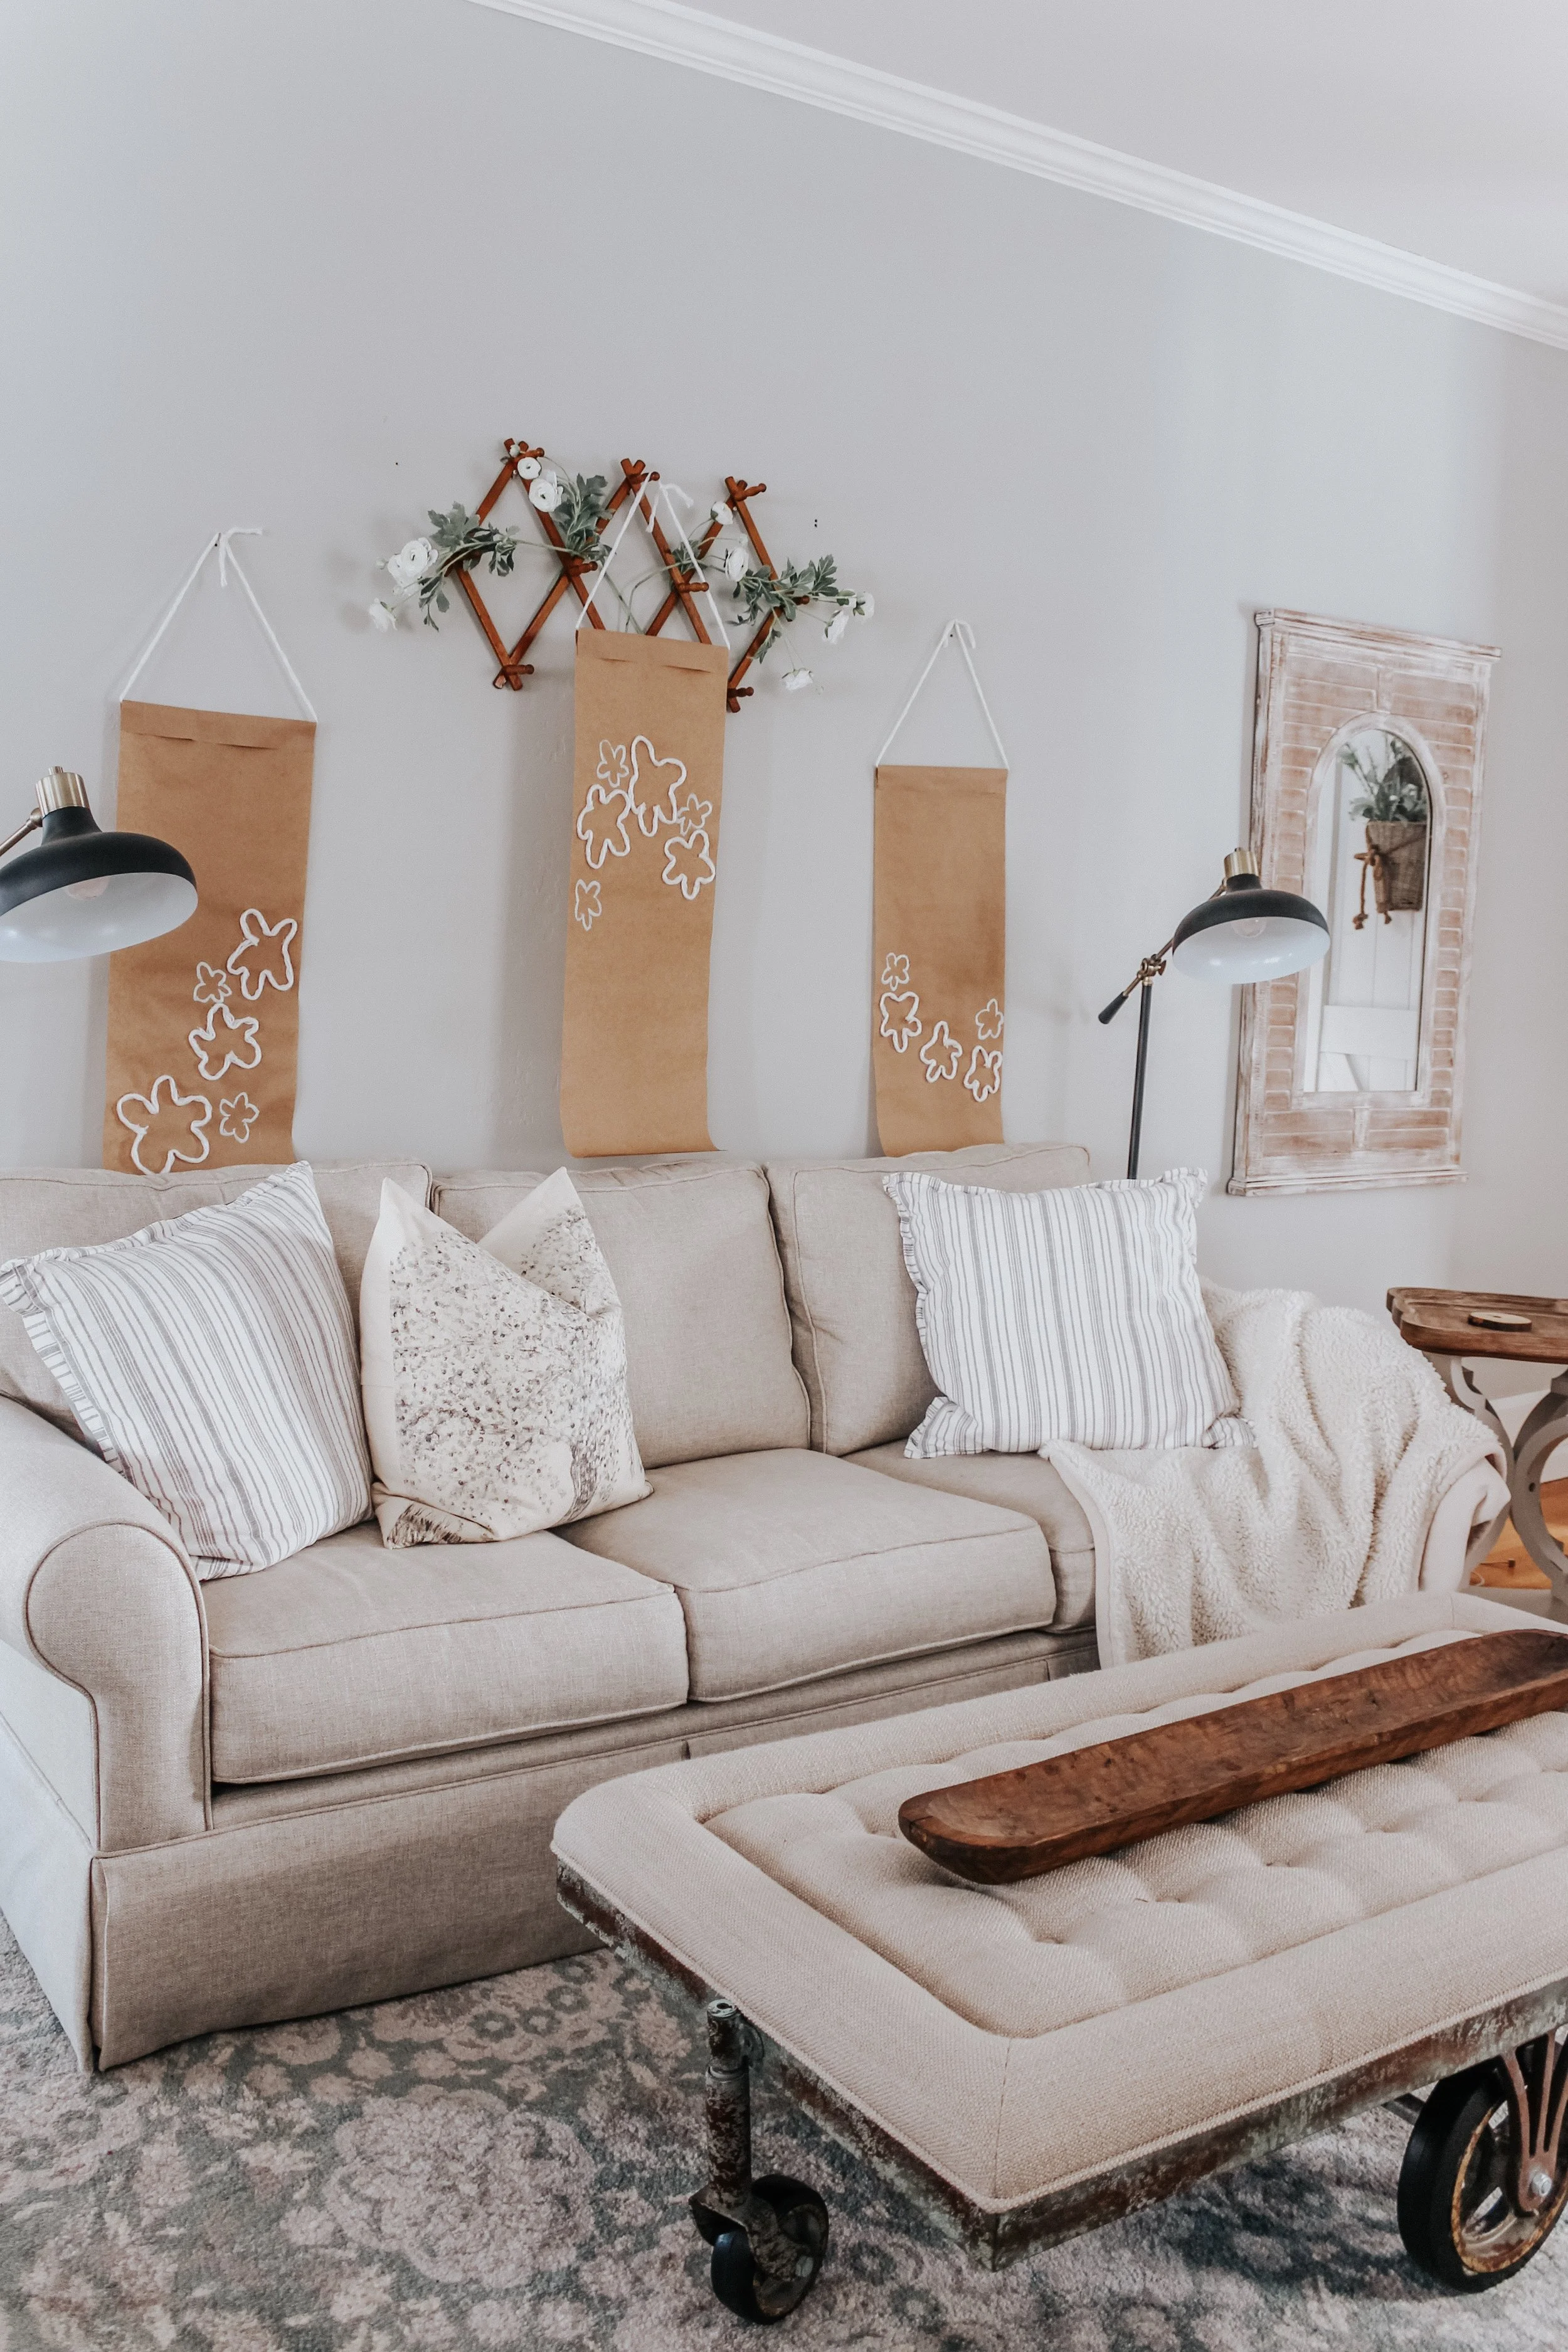
We recently rearranged our Sunroom & we are loving the new arrangement. This move freed up a big empty wall that previously had our TV on it. I saw this as an opportunity to make something fun for this space.
I want our Sunroom to feel light & airy to compliment all of the windows & sunshine that streams in. I came up with this whimsical hanging floral garland & I think it is the perfect touch to our Sunroom! It was really simple to make too!
*This post contains affiliate links*

Supplies:
- 3-4 stalks of faux floral (I used little floral buds from Michael's in white, pink, & lavender, but you could also use any of these from AMAZON.)
- 1 wooden dowel (I used a 36" long x 1/2" dowel from Michael's or order it in bulk on PRIME HERE)
- roll of twine (HERE)
- scissors
- command hook or nail, screw, etc.
- sharpie
- measuring tape
Directions:
1. Measure your dowel & mark on the back of it with a sharpie where you want your twine pieces to hang. I measured 3" from each end & then every 5" in between. I chose to have 5 hanging pieces of twine.

2. Measure & cut your twine pieces. I cut 3 pieces at 24" & 2 pieces at 18"

3. Tie the twine pieces to the inside marks of the dowel. The outside marks will be used for the hanging part of the garland.

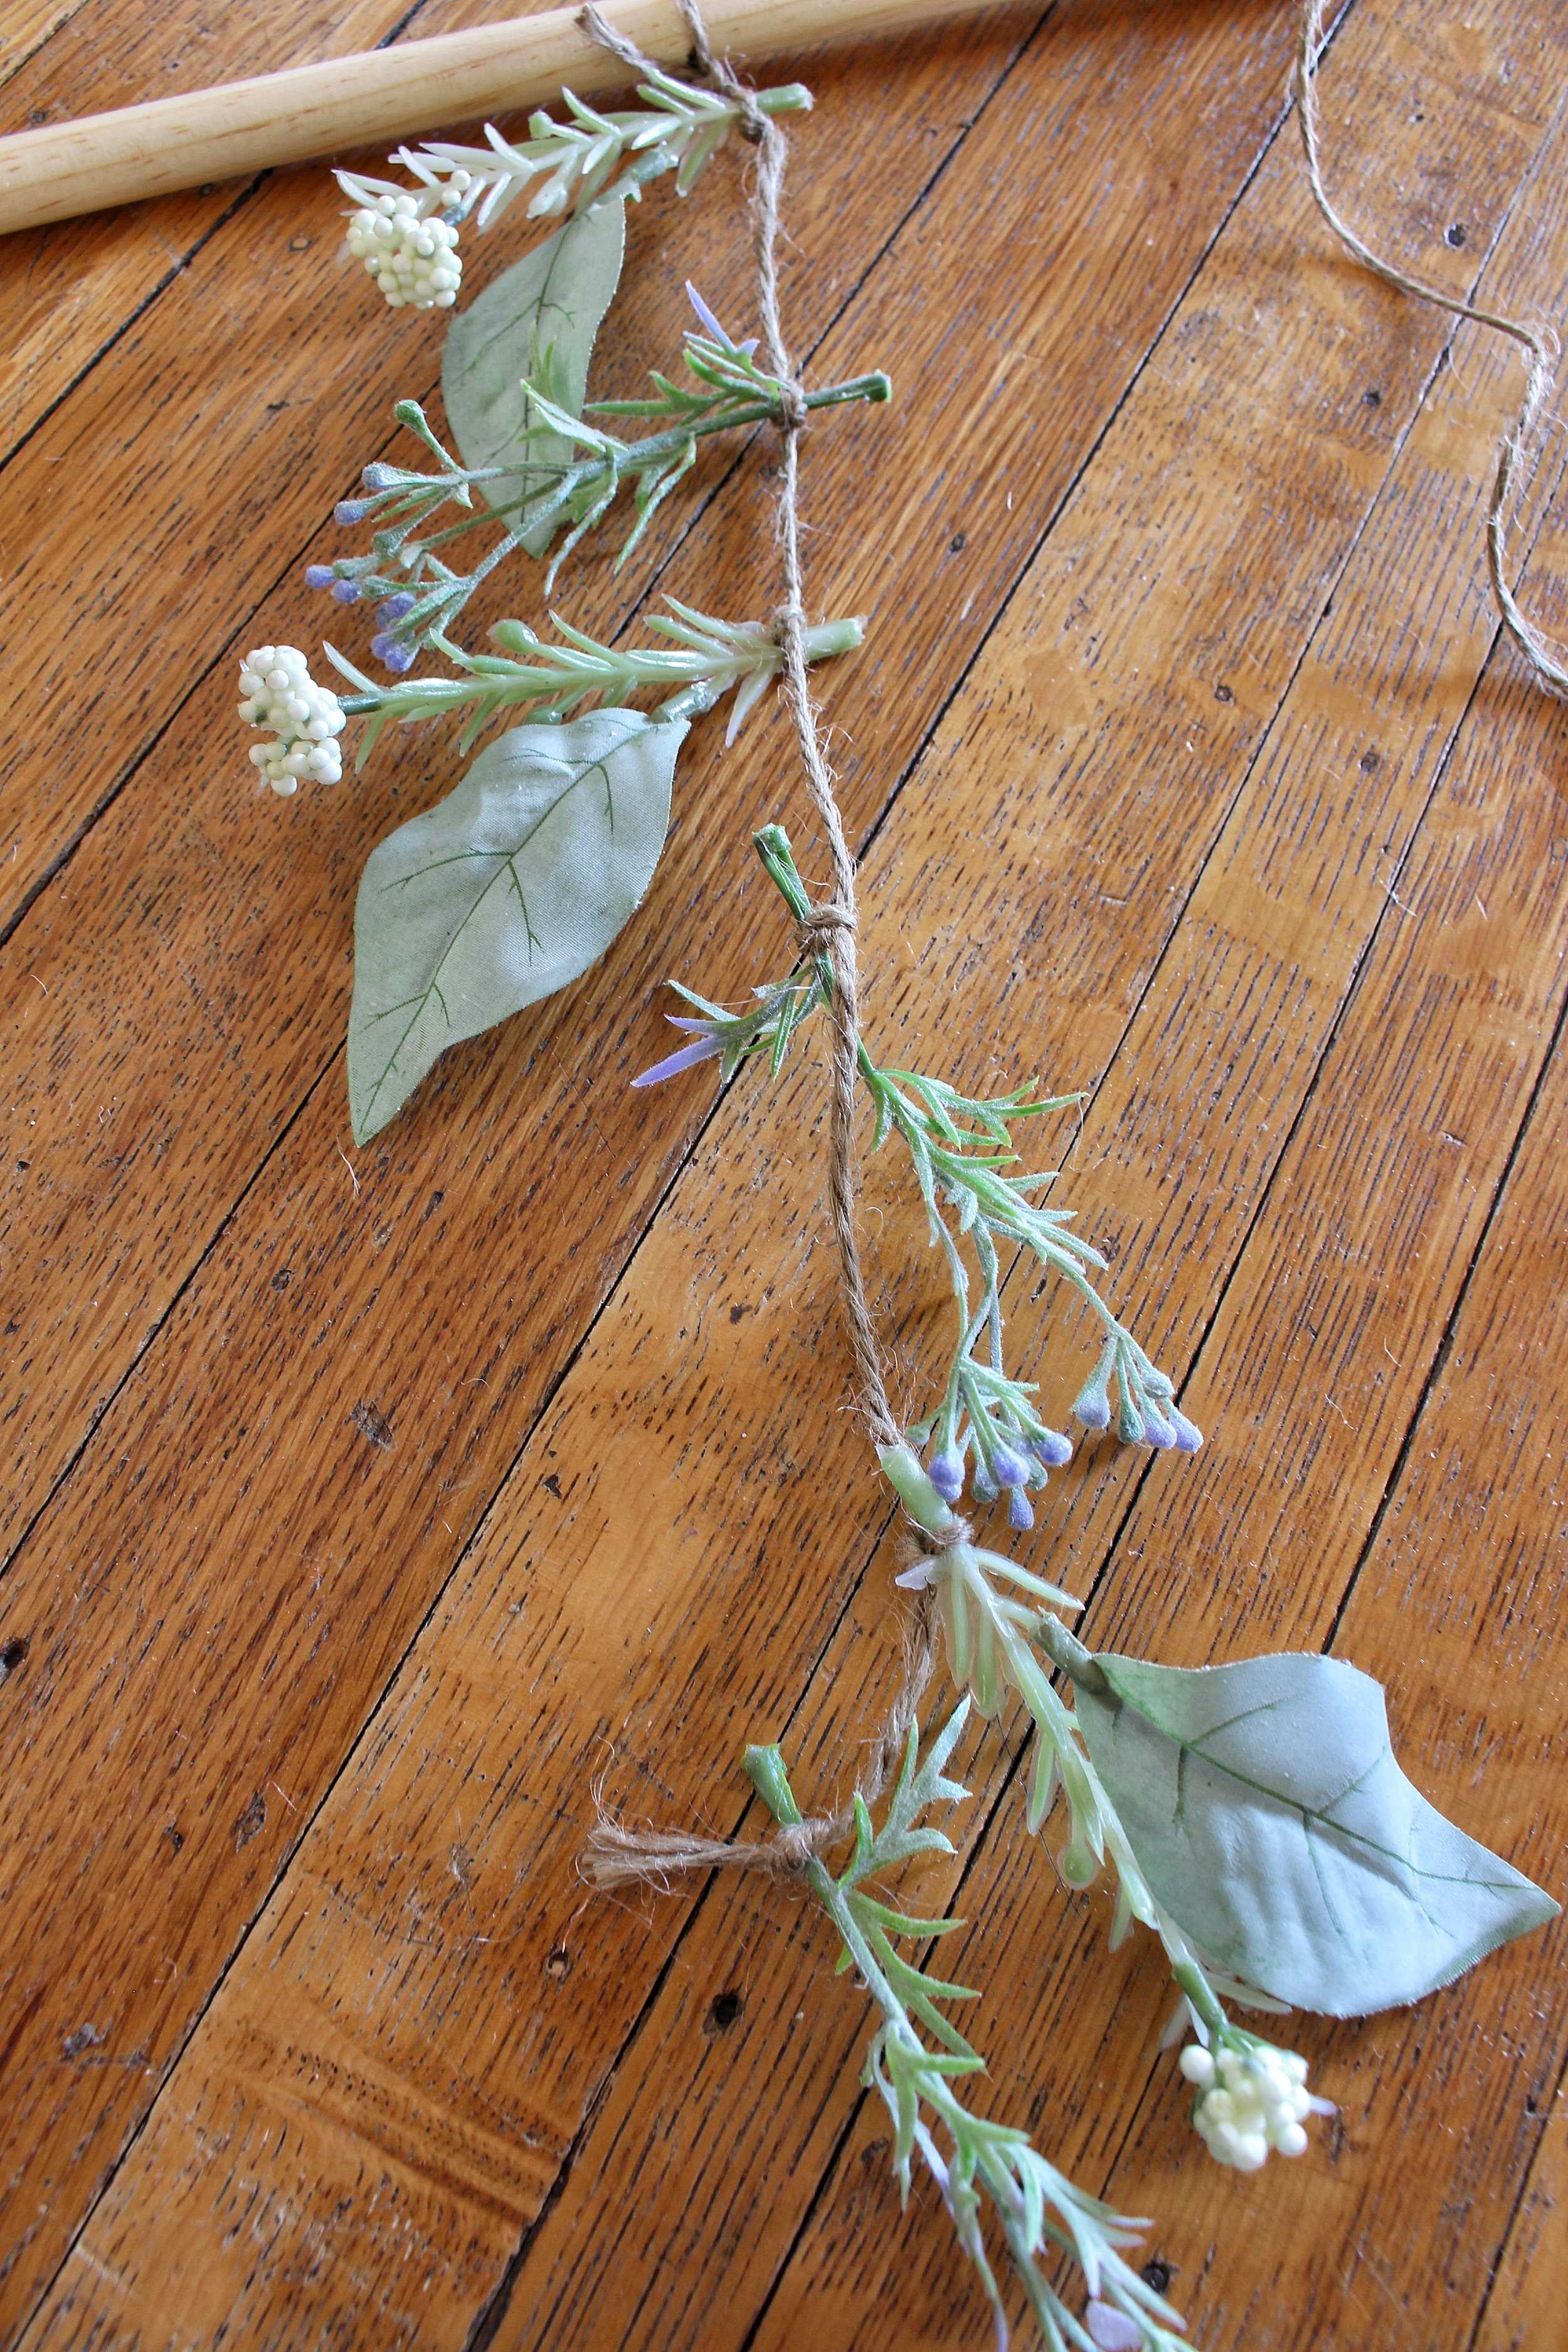
4. Begin to pull off some of the floral stems. I didn't even have to cut mine because they were just stuck onto the branches. This was great because I was able to reattach some extra ones I had pulled off.

5. Start from left to right & tie the first floral stem onto the left piece of twine. Work your way down each piece of twine. I double knotted each of the floral stems so that they would not move. I decided to do a pattern. The 2 outside twine pieces have 6 floral stems alternating in white & lavender. The 2 18" twine pieces have 4 floral stems alternating in white & pink. The middle piece of twine has 5 floral stems alternating in pink & lavender. Here is where you can be creative & do whatever you would like! You don't have to do a pattern, you can do it random too! My OCD & need for symmetry had me create a pattern with the floral stems though.

6. Cut pieces of twine to make the hanging part of the garland. I cut 2 pieces into 36" pieces so I would have extra to tie a cute little bow at the top.
7. Use your command hook or nail/screw to attach the hanging to the wall.
8. ENJOY!
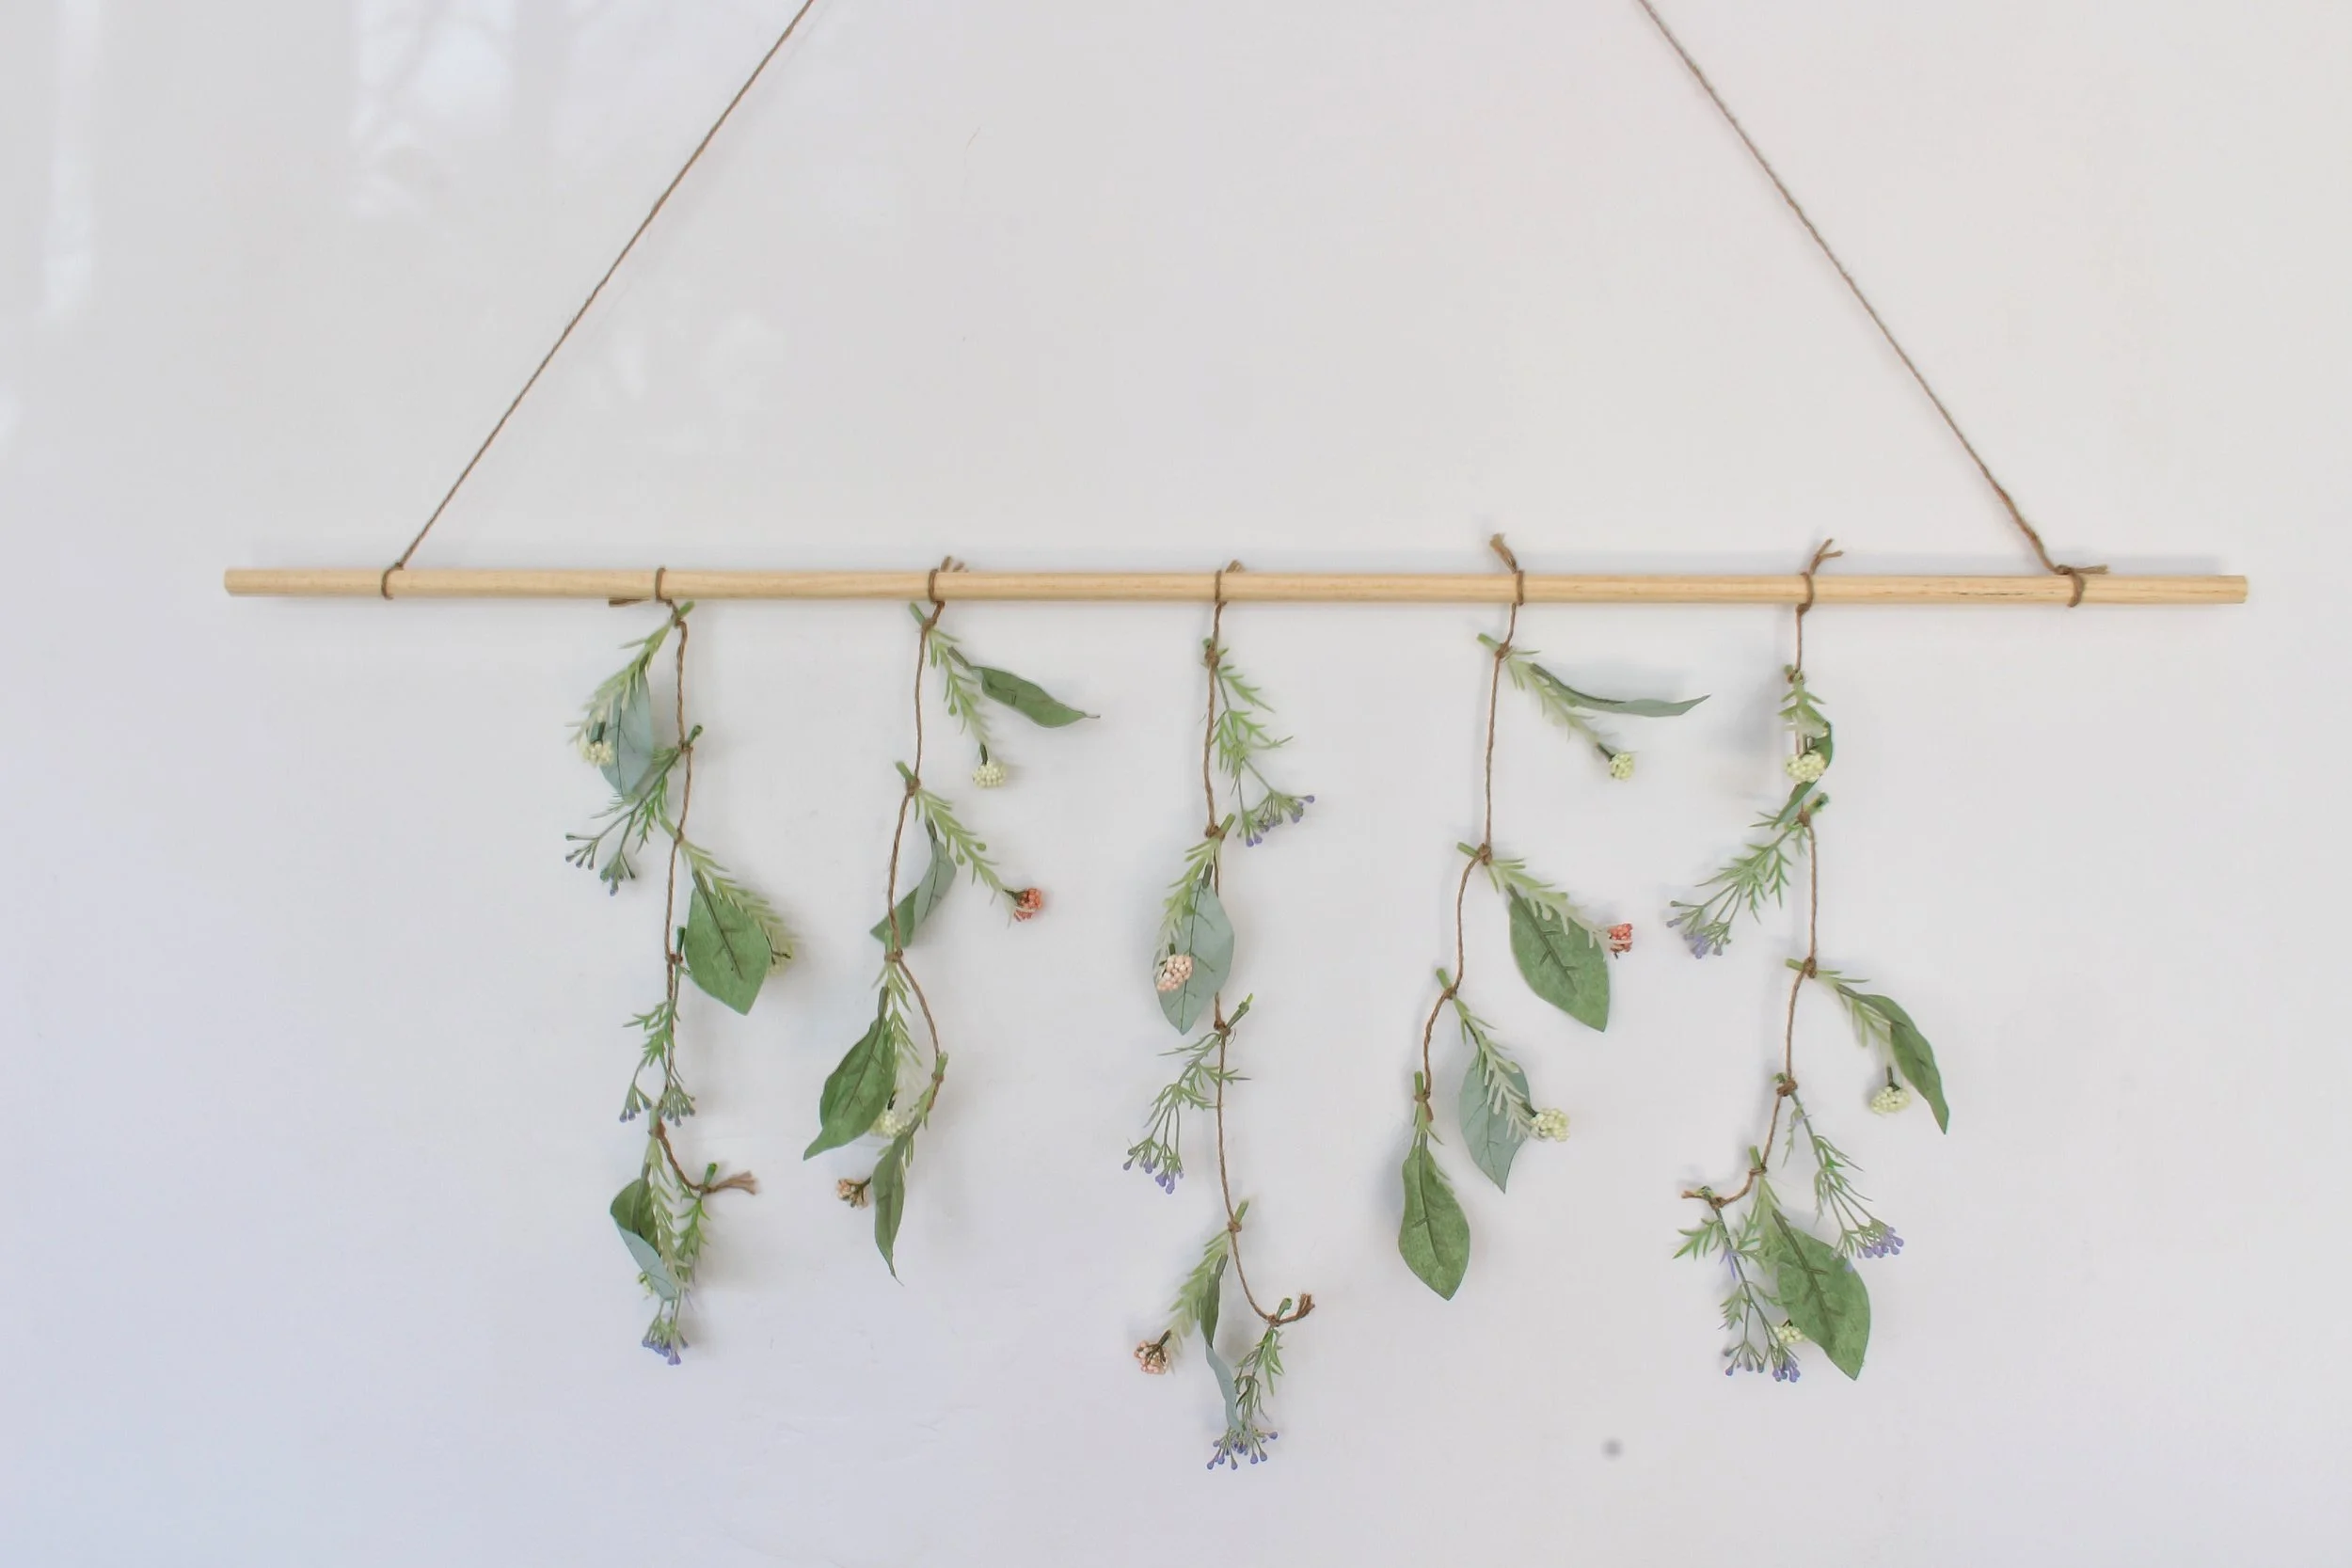


That's it, friends! See how easy! It maybe took me an hour or so. It made such a pretty impact in here for under an hour & under $30! Can't beat that :)


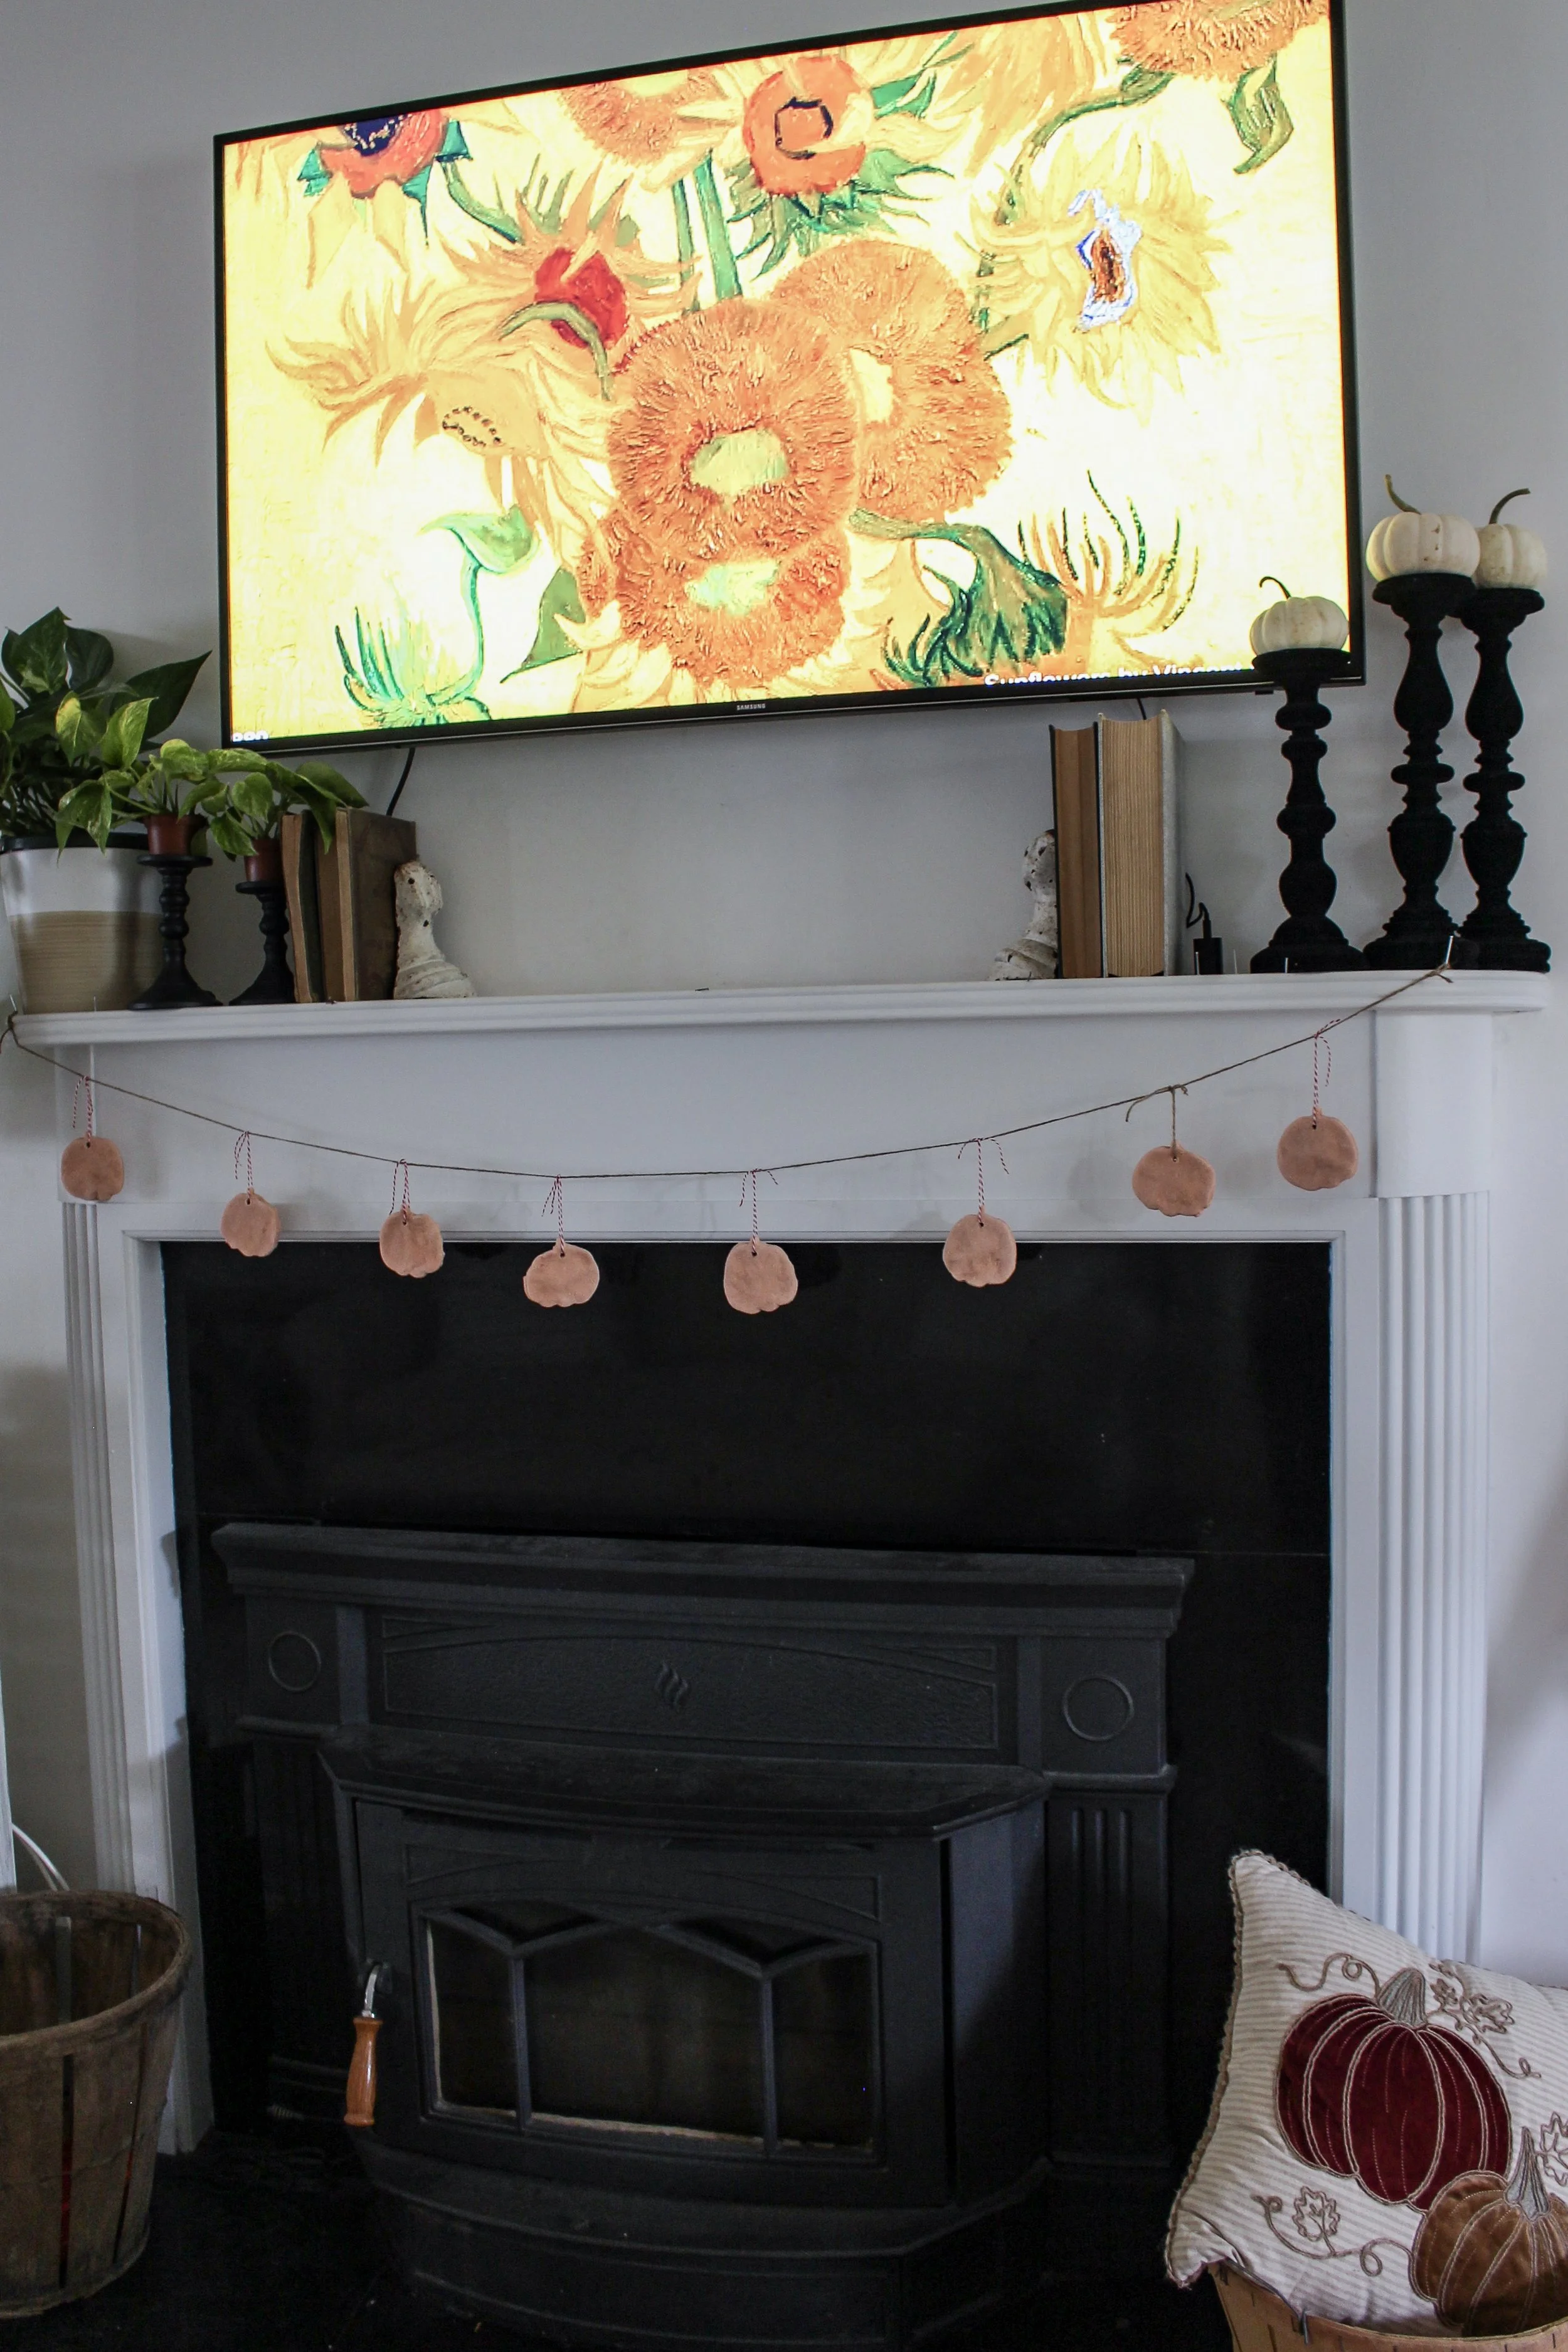
What do you think of my hanging floral garland? I'm thinking I could switch this up for Fall/Christmas with different floral! So fun!
Thank you for stopping by the blog today.
XO
-LA