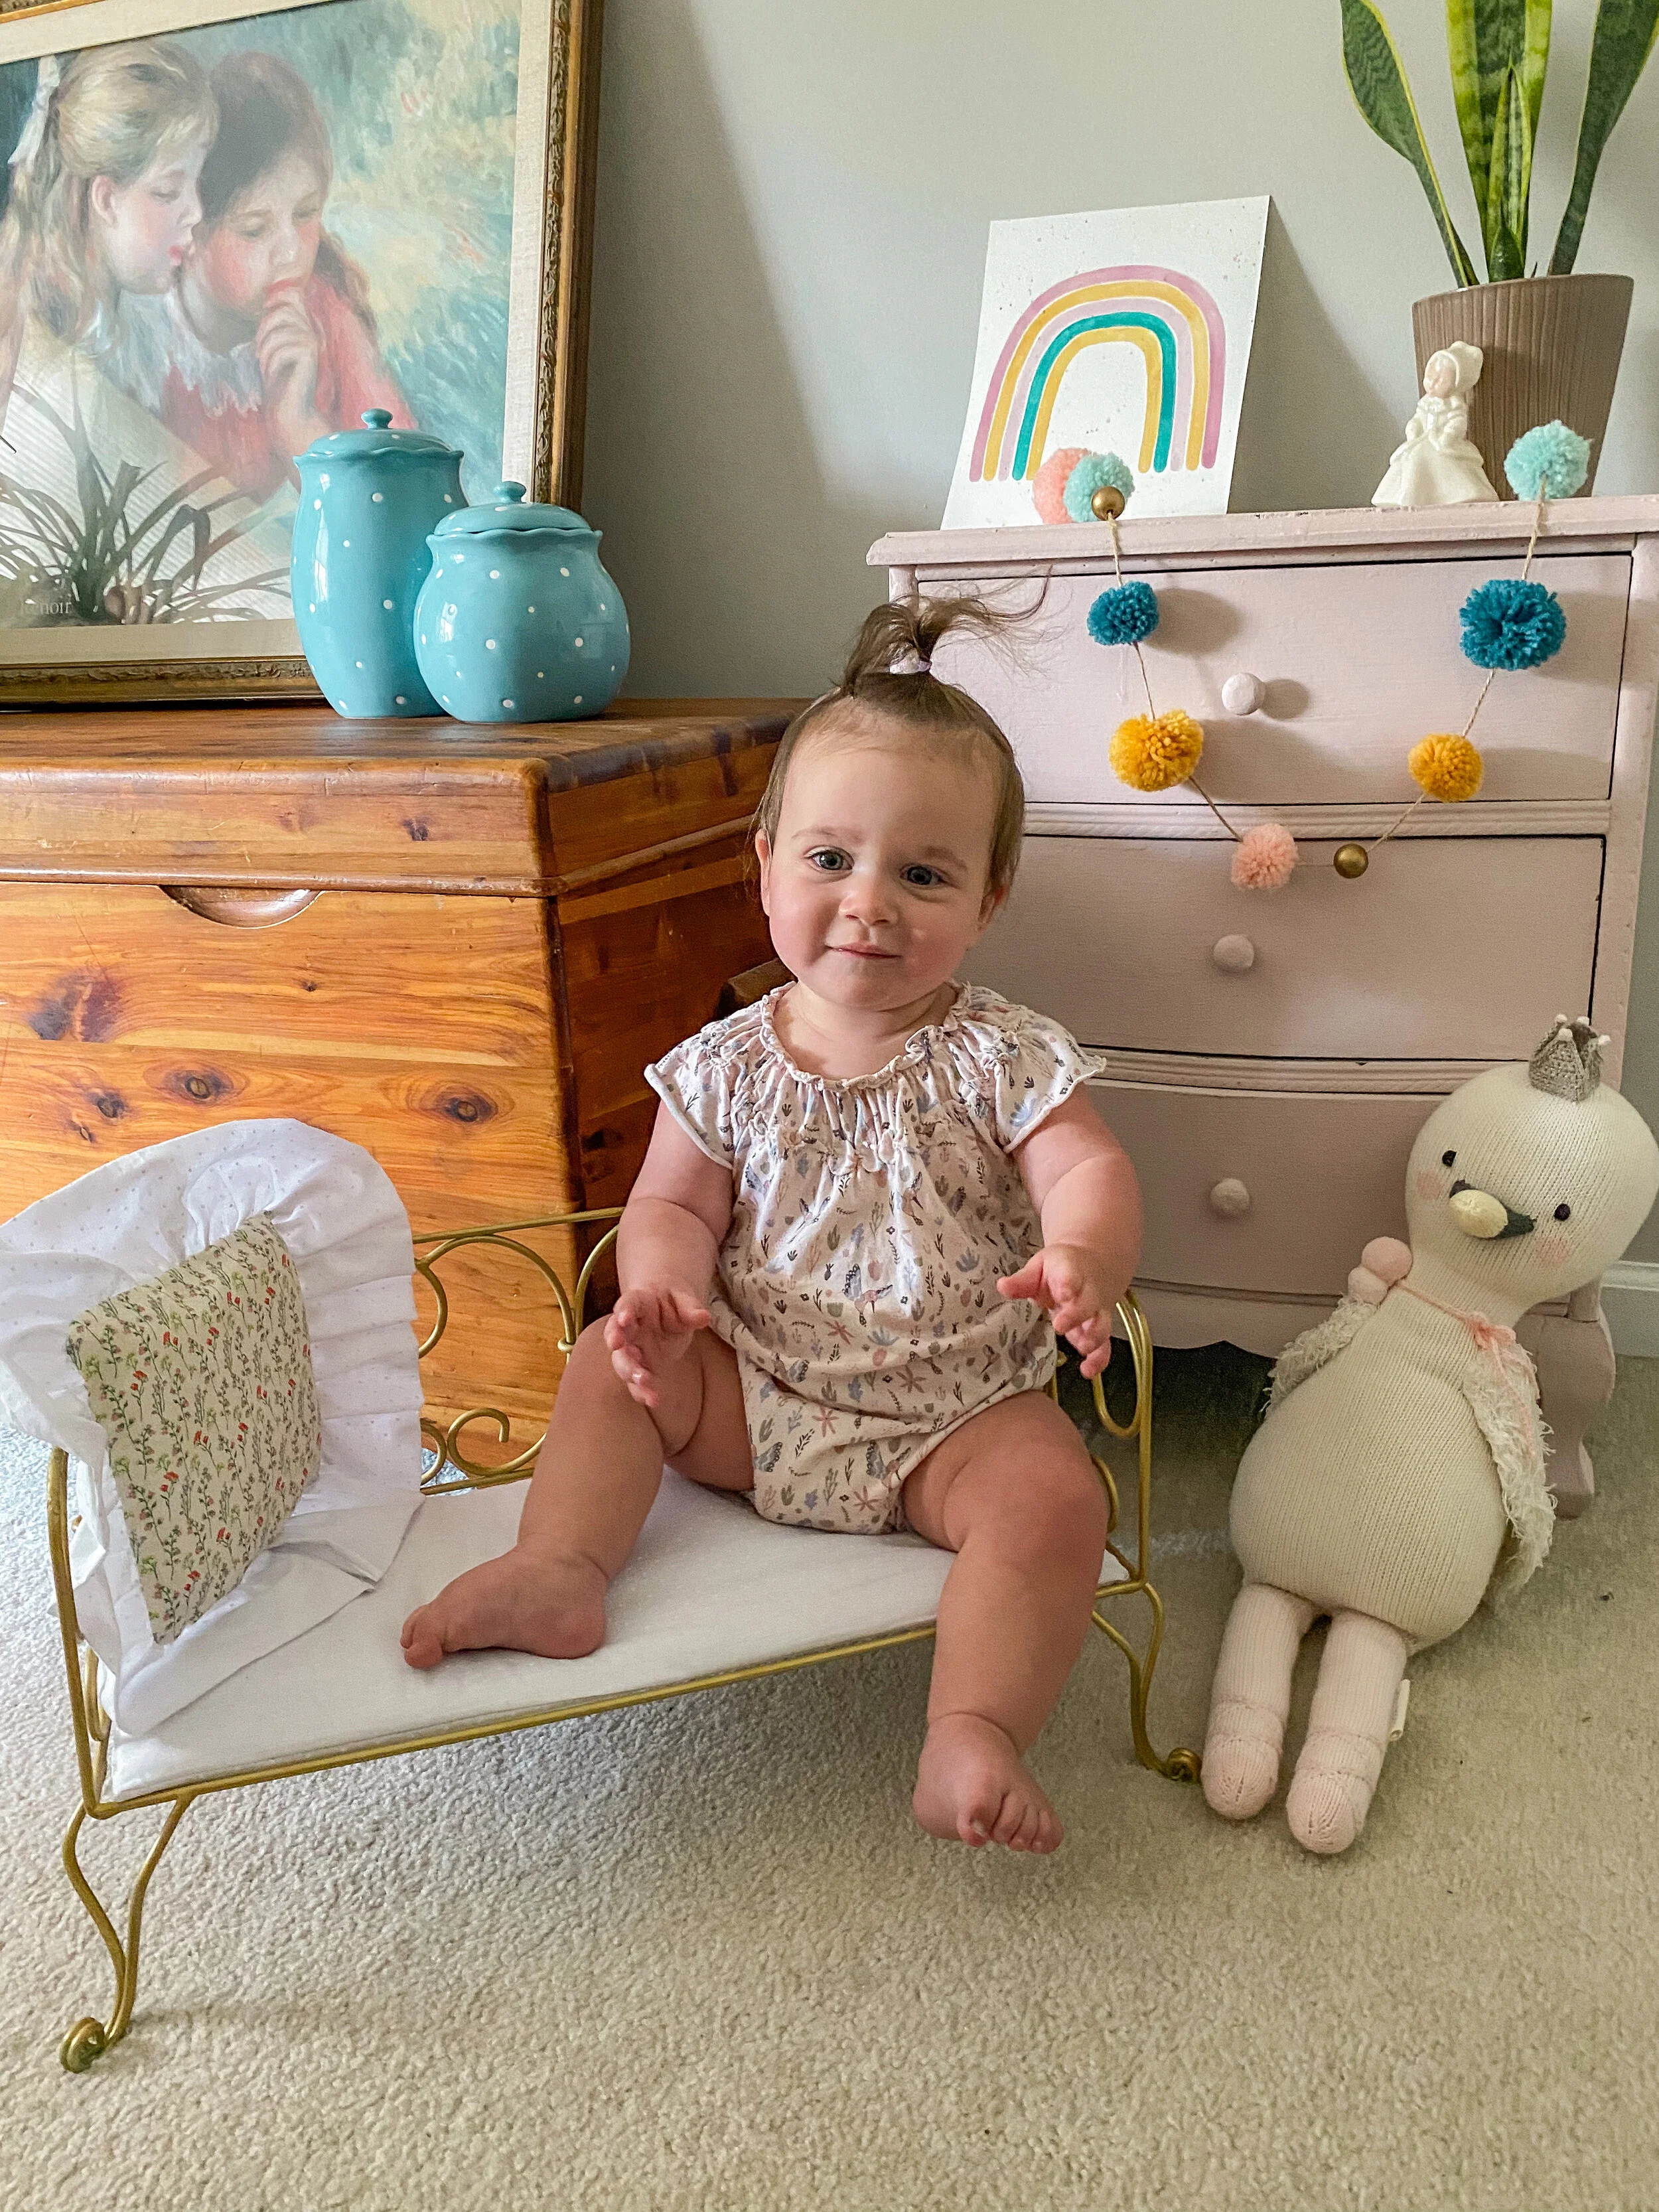
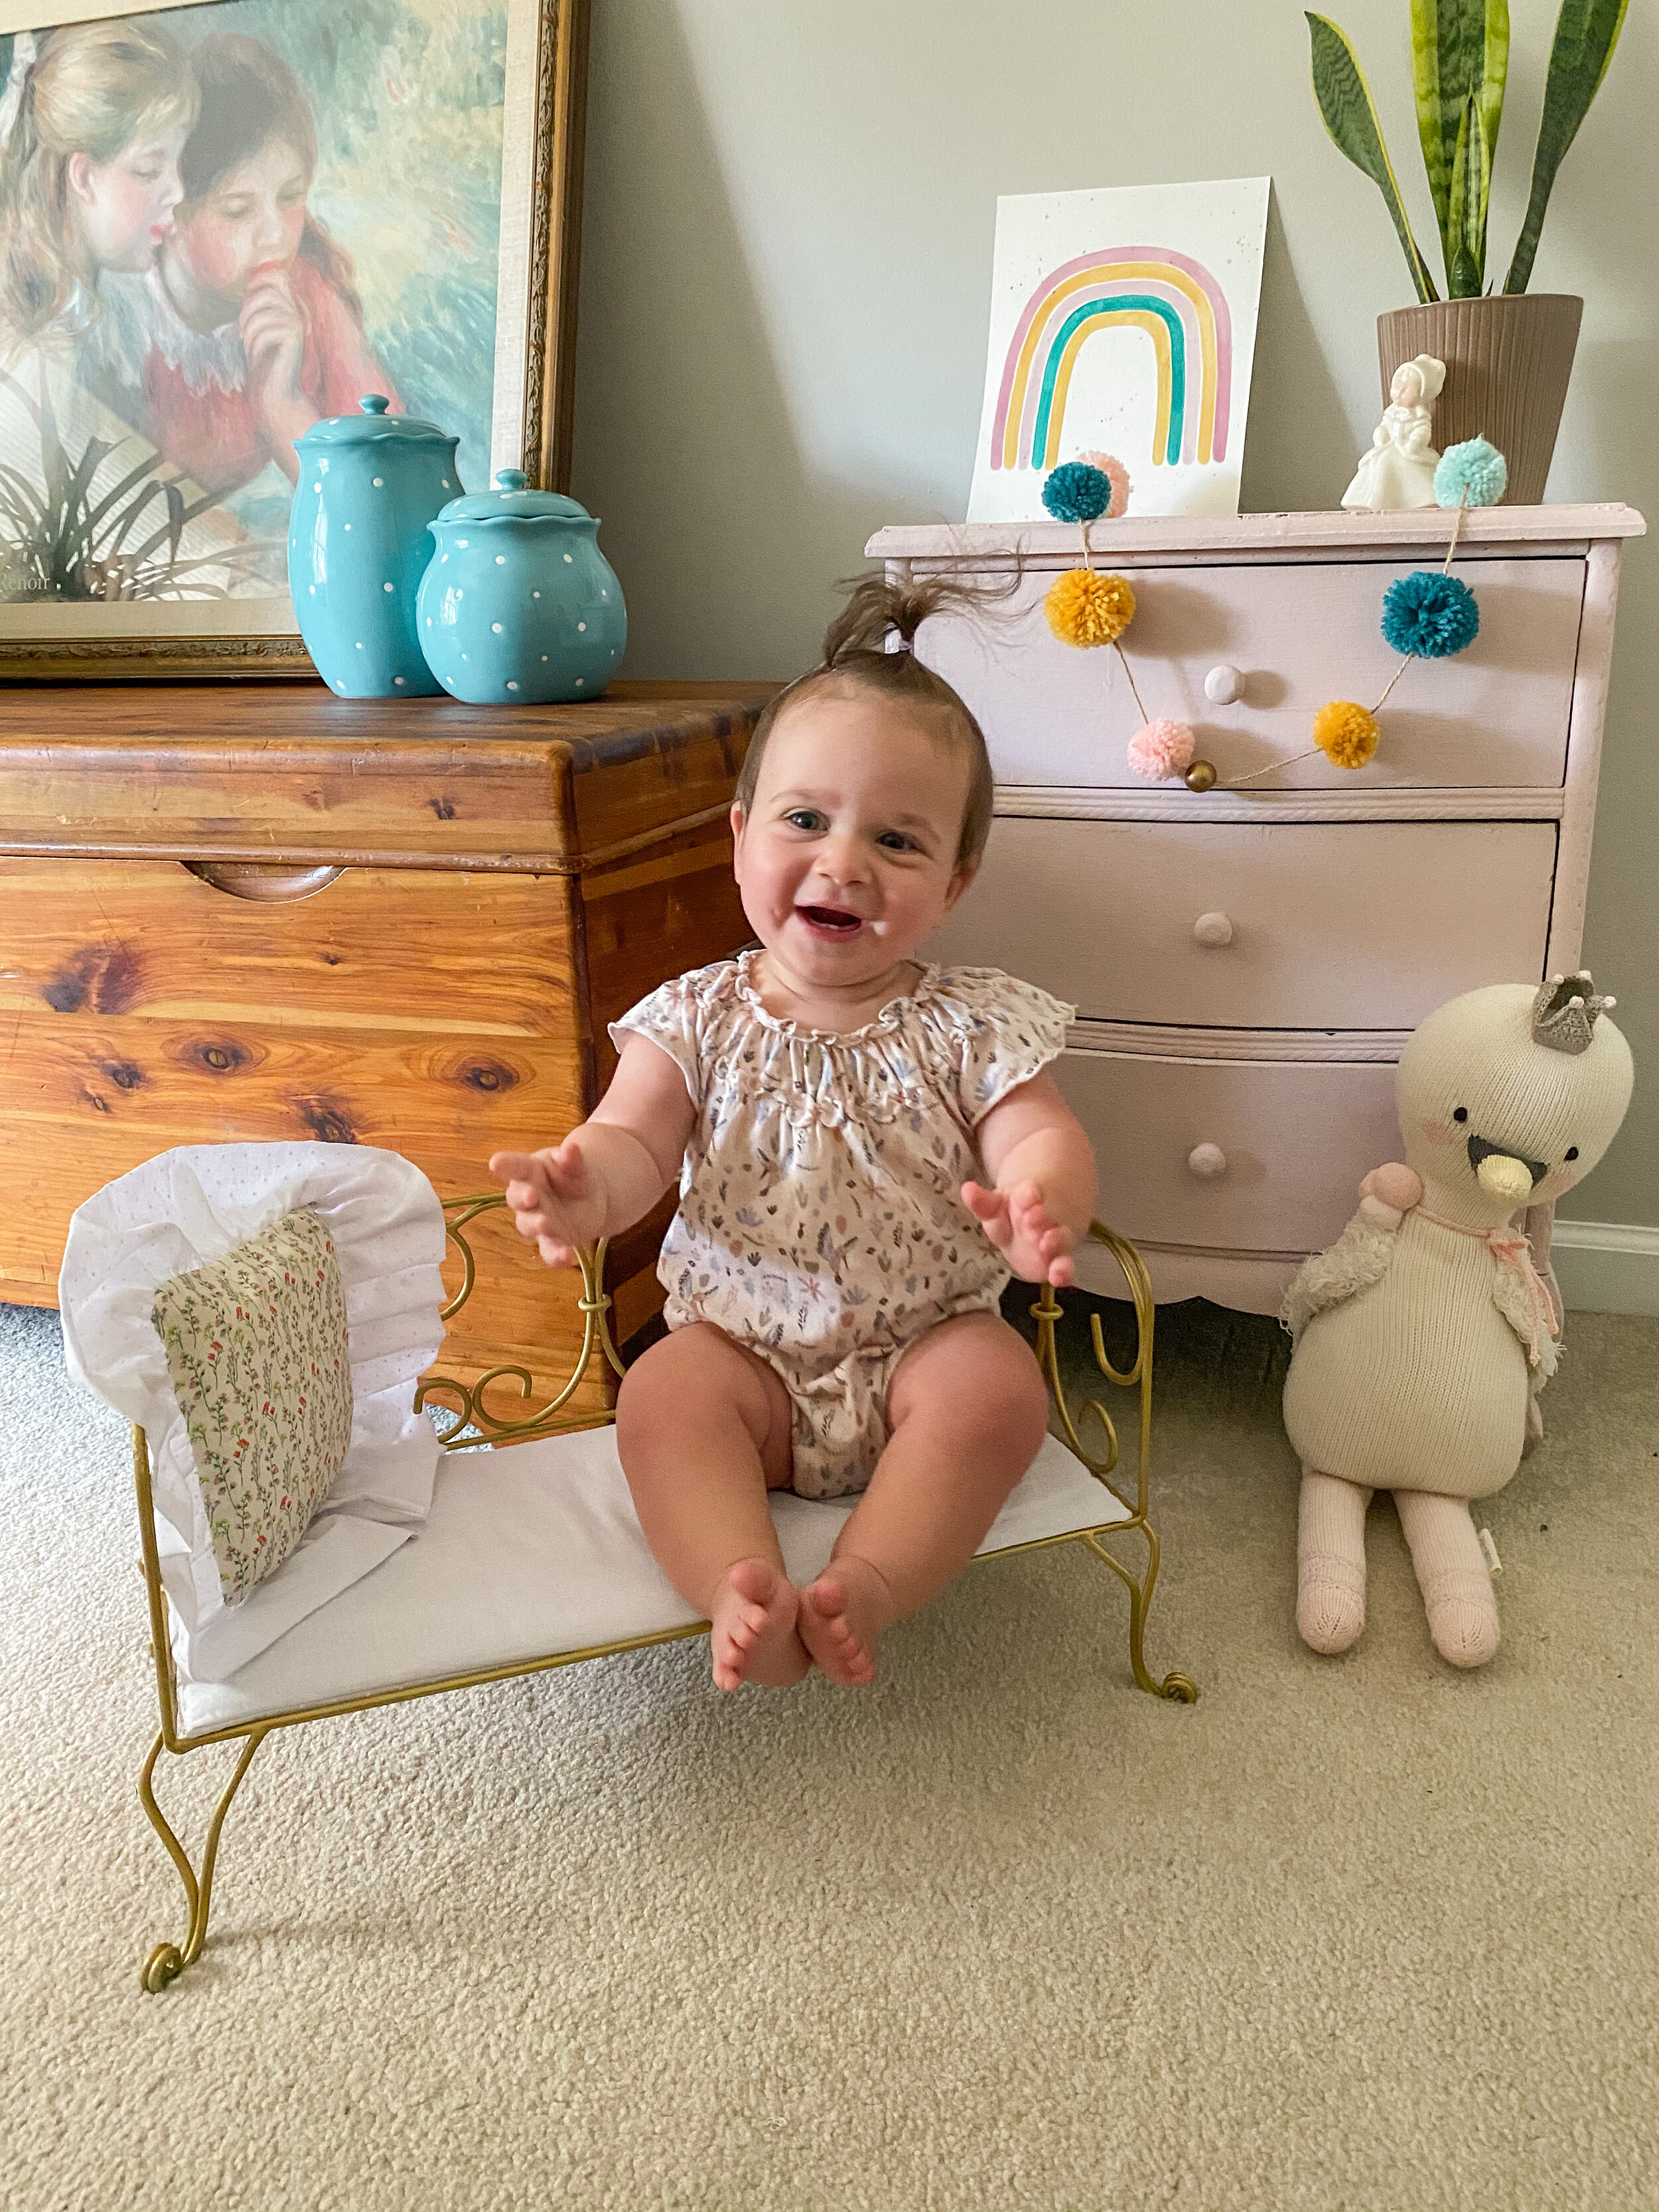
DIY Doll Bed Makeover
We gave this doll bed a simple DIY makeover and it came out so cute!
See my nursery ideas for Gigi’s new room HERE.
My MIL and I did this simple DIY makeover on this doll bed for all of Giulietta’s little loveys.
This post contains affiliate links. If you click on these links and purchase something, I make a commission at no additional cost to you. This helps to support my blog, so thank you SO much!
My Aunty Jody gave this little doll bed to me a couple of years ago, before I was even pregnant with Giulietta. She figured I might want to give it a makeover one day and she was absolutely right. She has since passed away and I think this is such a sweet piece to have in Gigi’s room to remember her by!
This is also a special makeover because I asked my Mother in Law to help me with the sewing part. She is an amazing seamstress and has made so many things over the years. It was so fun making this with her and it will be something we treasure forever.
SUPPLIES USED:
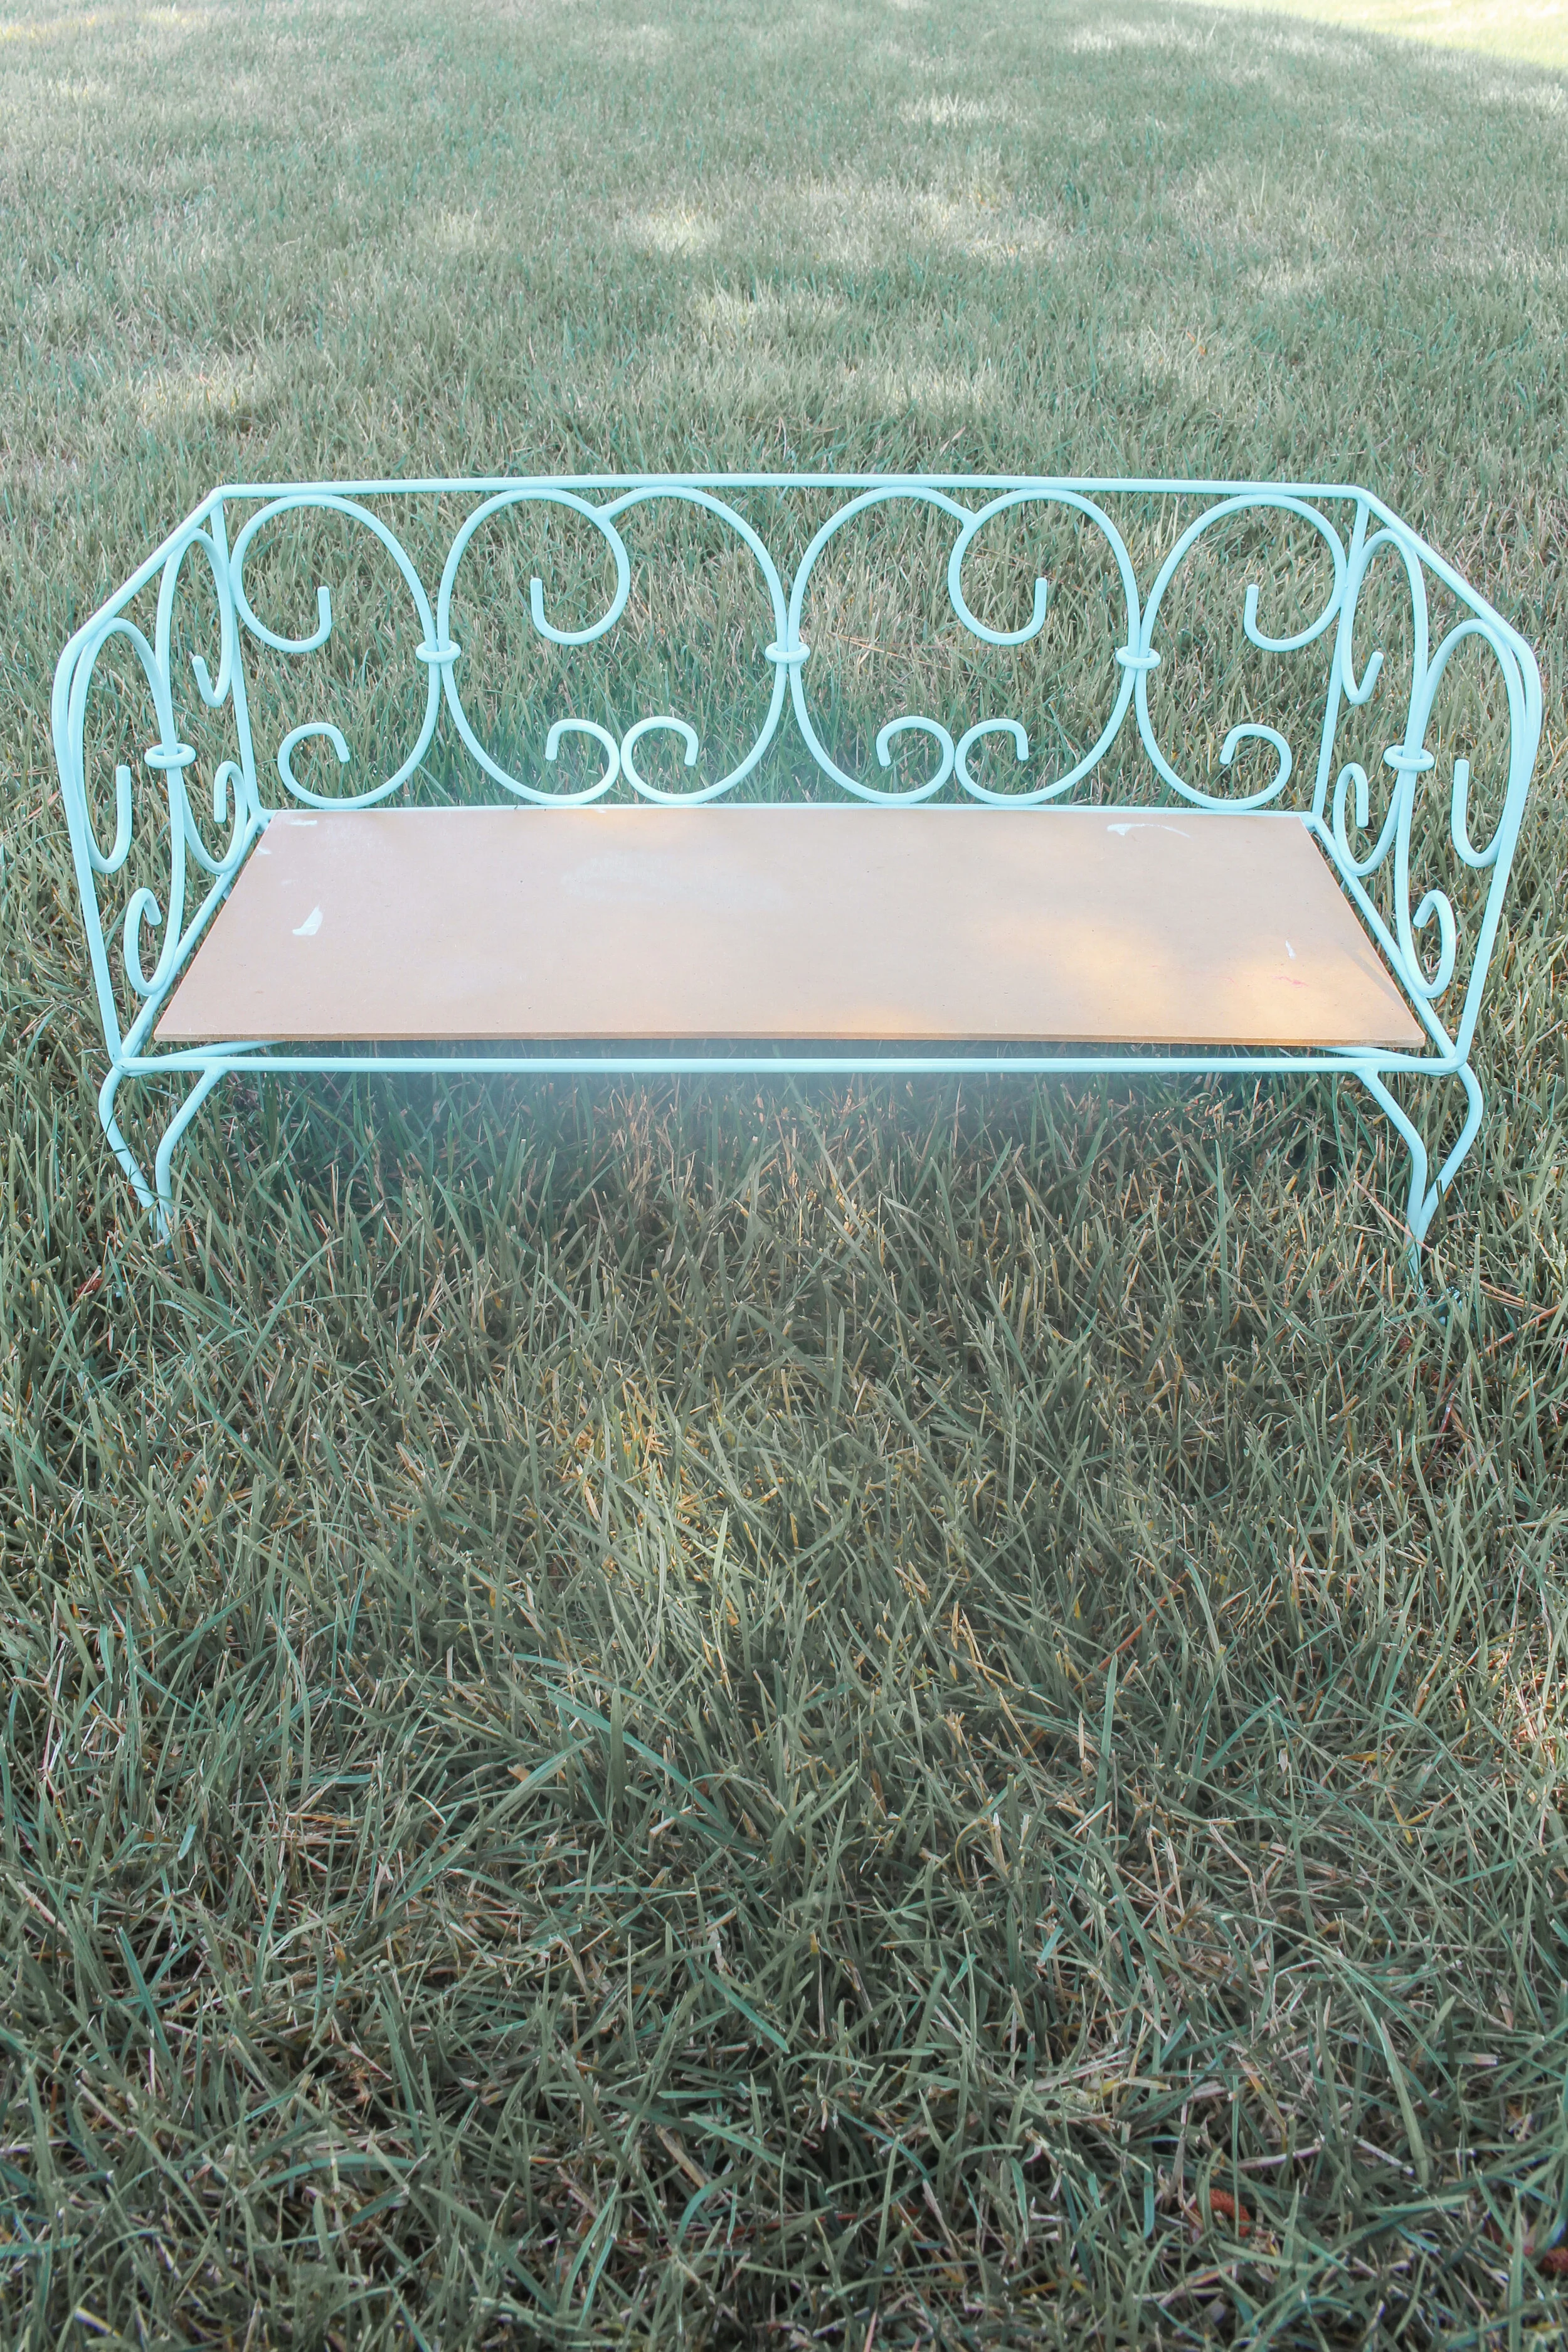
Doll bed
Vintage Gold spray paint
Fabric
Batting
Thread
TUTORIAL:
FOR THE FRAME:
Cleaned and dried the bed frame
Spray painted the bed with the vintage gold spray paint. I love the color! It’s not too shiny or glittery. It’s the perfect brassy/vintage gold color.
Be sure to stand about 6-12” away from the piece when spray painting and keep moving the can
Allow to dry completely before applying a second coat

FOR THE BED CUSHION:
Measured the bed size and cut batting and fabric accordingly
Pinned 3 sides together and used a 1/2” seam allowance
Stitch the 3 sides together
Make sure you stitch the right sides together
Turn it inside out and stuff the batting inside
Turn the raw edge a 1/4” inside and hand sew together

FOR THE PILLOW:
Determine the size of the pillow and cut the fabric
We did 7”
For the ruffle, you want to make sure you have 1.5X the length of the pillow
We cut a strip of fabric 42” long and 5” wide
Take the strip and fold it in half and press so you have a nice edge
Turn each end two times and top stitch the edge
Put a gathering stitch 1/2” down on the raw edge all along the ruffle
Leave long tails of thread
Pull the tails until you get the desired amount of gather
Take one piece of the pillow fabric and pin it to the ruffle right side up starting in the middle on the bottom
Using a regular stitch, sew the ruffle to the pillow until the edges meet in the bottom
Take the other pillow piece and put the right side down on top of the ruffle and pin together
Leave an opening at the bottom for turning inside out (my MIL does a 3-4” opening)
Using a regular 1/2” stitch, sew the second pillow piece to the ruffle
Turn inside out, put the batting in
Stuff to your desired fullness
Hand sew the opening closed

MY MOTHER IN LAW’S BEST SEWING TIPS:
Take your time on the ruffle because it can be tricky
Use colored pins so that you can see them easier on cloth
Make sure the heads of the pins are facing you so it’s easy to pull them out
Use batting instead of stuffing so that it doesn’t separate
Husqvarna sewing machine is what she recommends
If you have a metal sewing machine, KEEP IT! They’re very good quality
Brothers Machine is a good quality, budget friendly option
Use the right size needle: we used a size 8
Schmetz needles are her fave—universal gets you a lot of needles
Gutermann thread is best quality—use better quality thread for better results
Dual Duty is another good brand (budget friendly)
Bent handled shears are the best for cutting fabric
use big cuts to get a clean edge
Fiskars is her favorite brand
Invest in a seam ripper to fix mistakes
Trim scissors are helpful for cutting excess thread, but not necessary
Use the right size hand needle for the right type of fabric
we used a small one so that it didn’t leave big holes
keep in a pin cushion so that the edges stay sharp
Adjust the basting stitch depending on the fabric—smaller stitch for thinner and larger basting stitch for thicker (flannel)
Double thread instead of single thread when hand sewing for more durability
Use a basting stitch for the ruffle and regular stitch for everything else
SHOP MY MIL’S FAVE SEWING SUPPLIES + THINGS WE USED HERE:

Be sure to sign up for our free newsletter to stay up to date with what is going on over here :)
Upon signing up, you will receive 3 gallery wall printables, 5 on the go Mom hacks, and gain access to our FB group! Scroll to the bottom of the page to join! We’d love to have you as part of our community!
Thank you for stopping by the blog!
XO
-LA
SAVE THIS POST FOR LATER, PIN IT NOW: